
Paper Sushi + Ghoul Parade Fabric Stamped Zipper Pouch Tutorial
Posted by Emily on 10th Jul 2014
Paper Sushi collaborated with Portland-local embroidery & textile business, Ghoul Parade, this week to create some adorable little "zippy" pouches! In this tutorial, Charlotte, owner of Ghoul Parade, shows you how to make your very own Paper Sushi stamped zippered pouch!
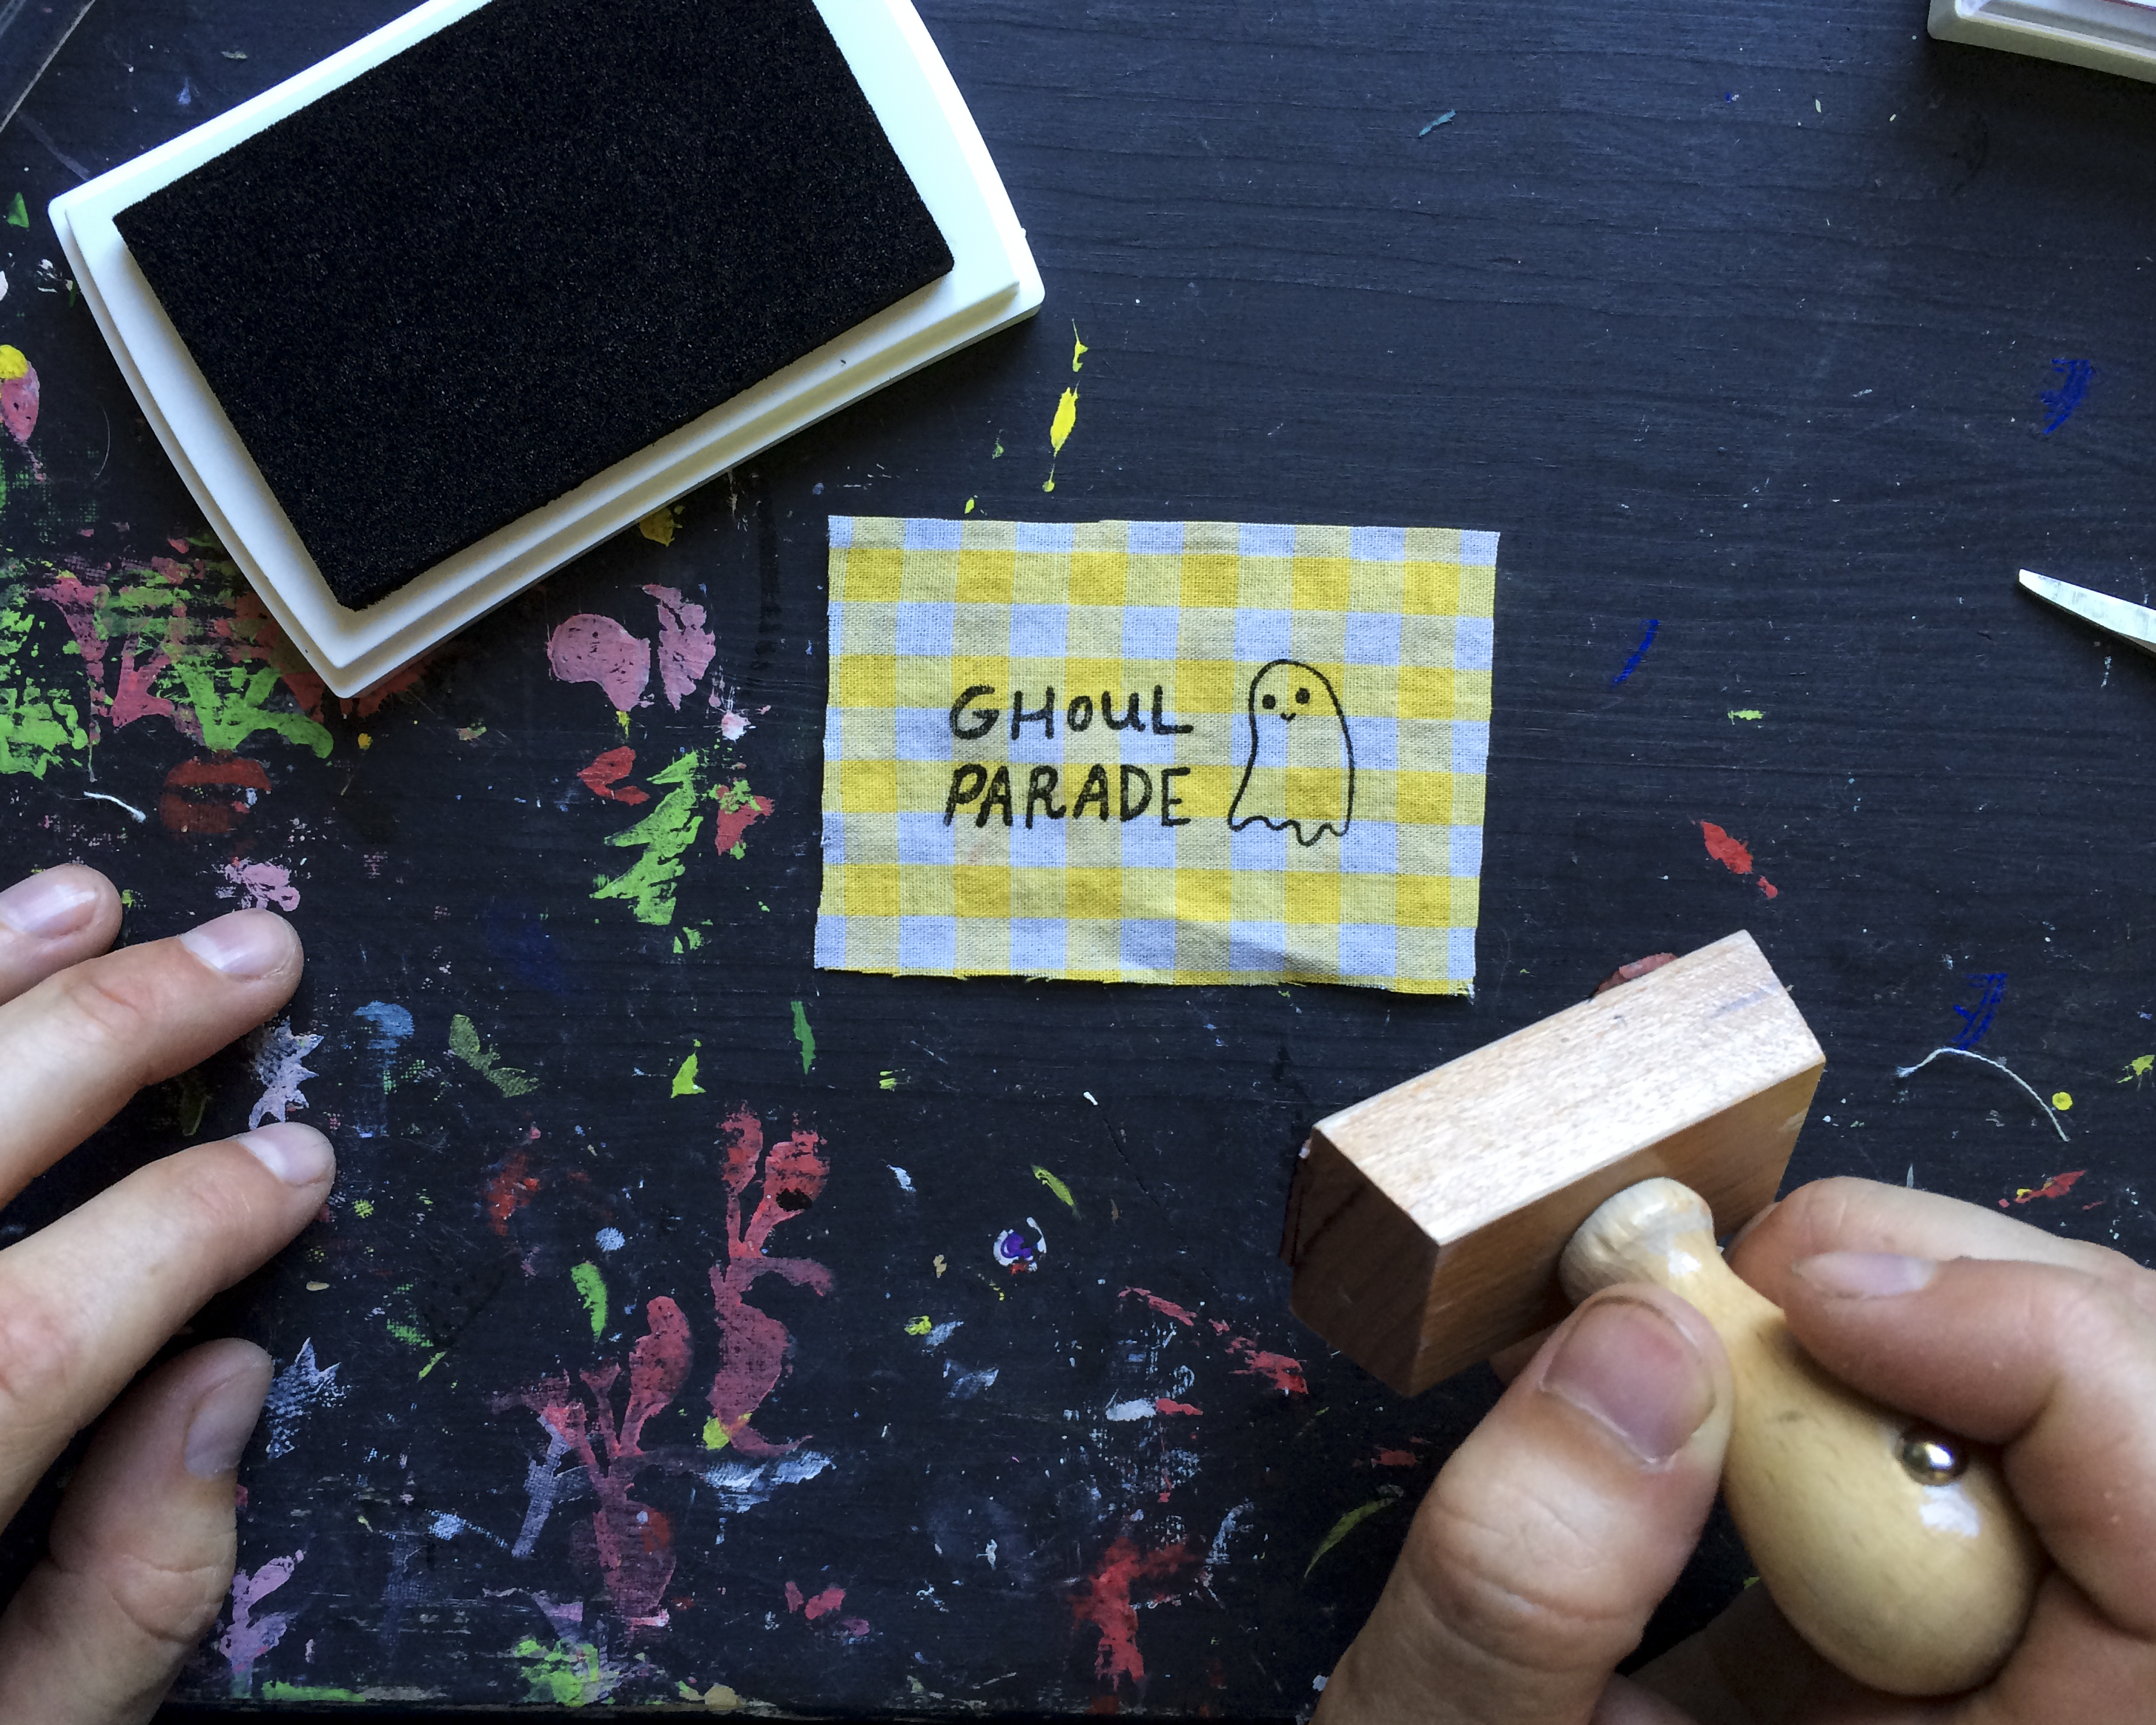
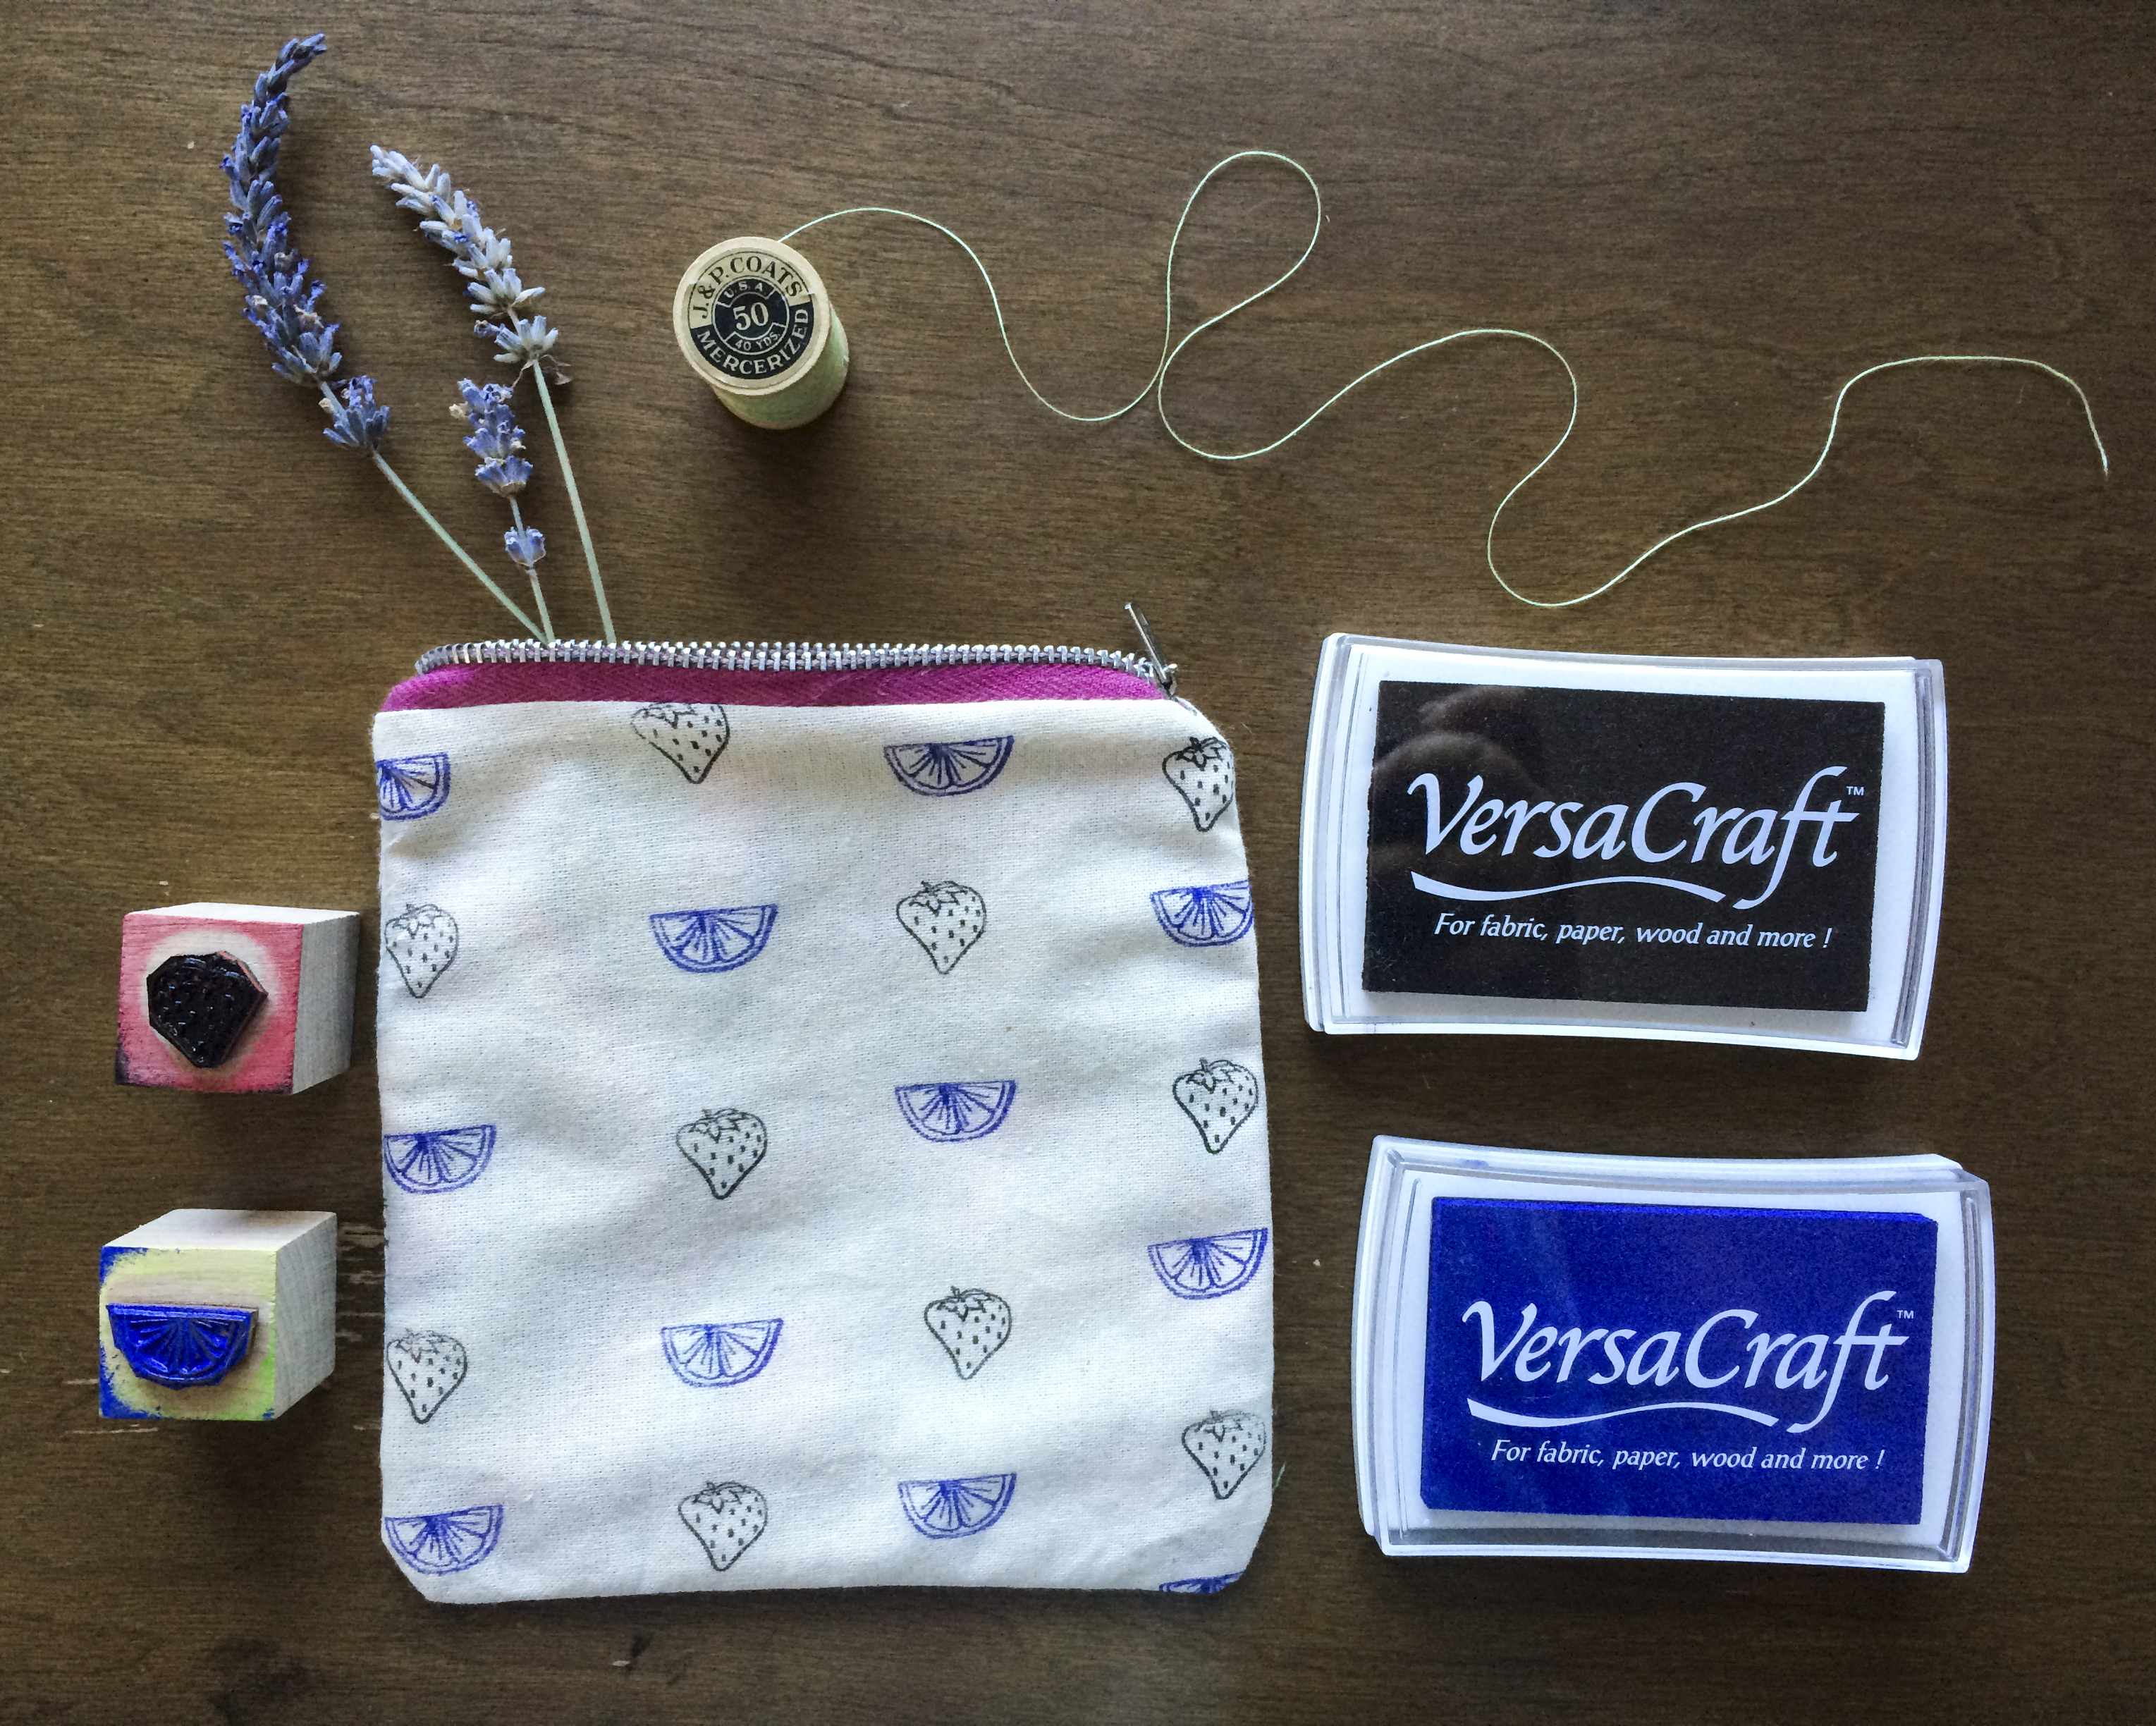
After receiving her very own Paper Sushi custom logo stamp, to stamp on the inside of her handmade zippies, Charlotte thought it would be fun to collaborate with Paper Sushi. She grabbed a Fruit Bento Box stamp set, some VersaCraft inks, muslin, an iron, and her sewing machine, and came up with some ideas!
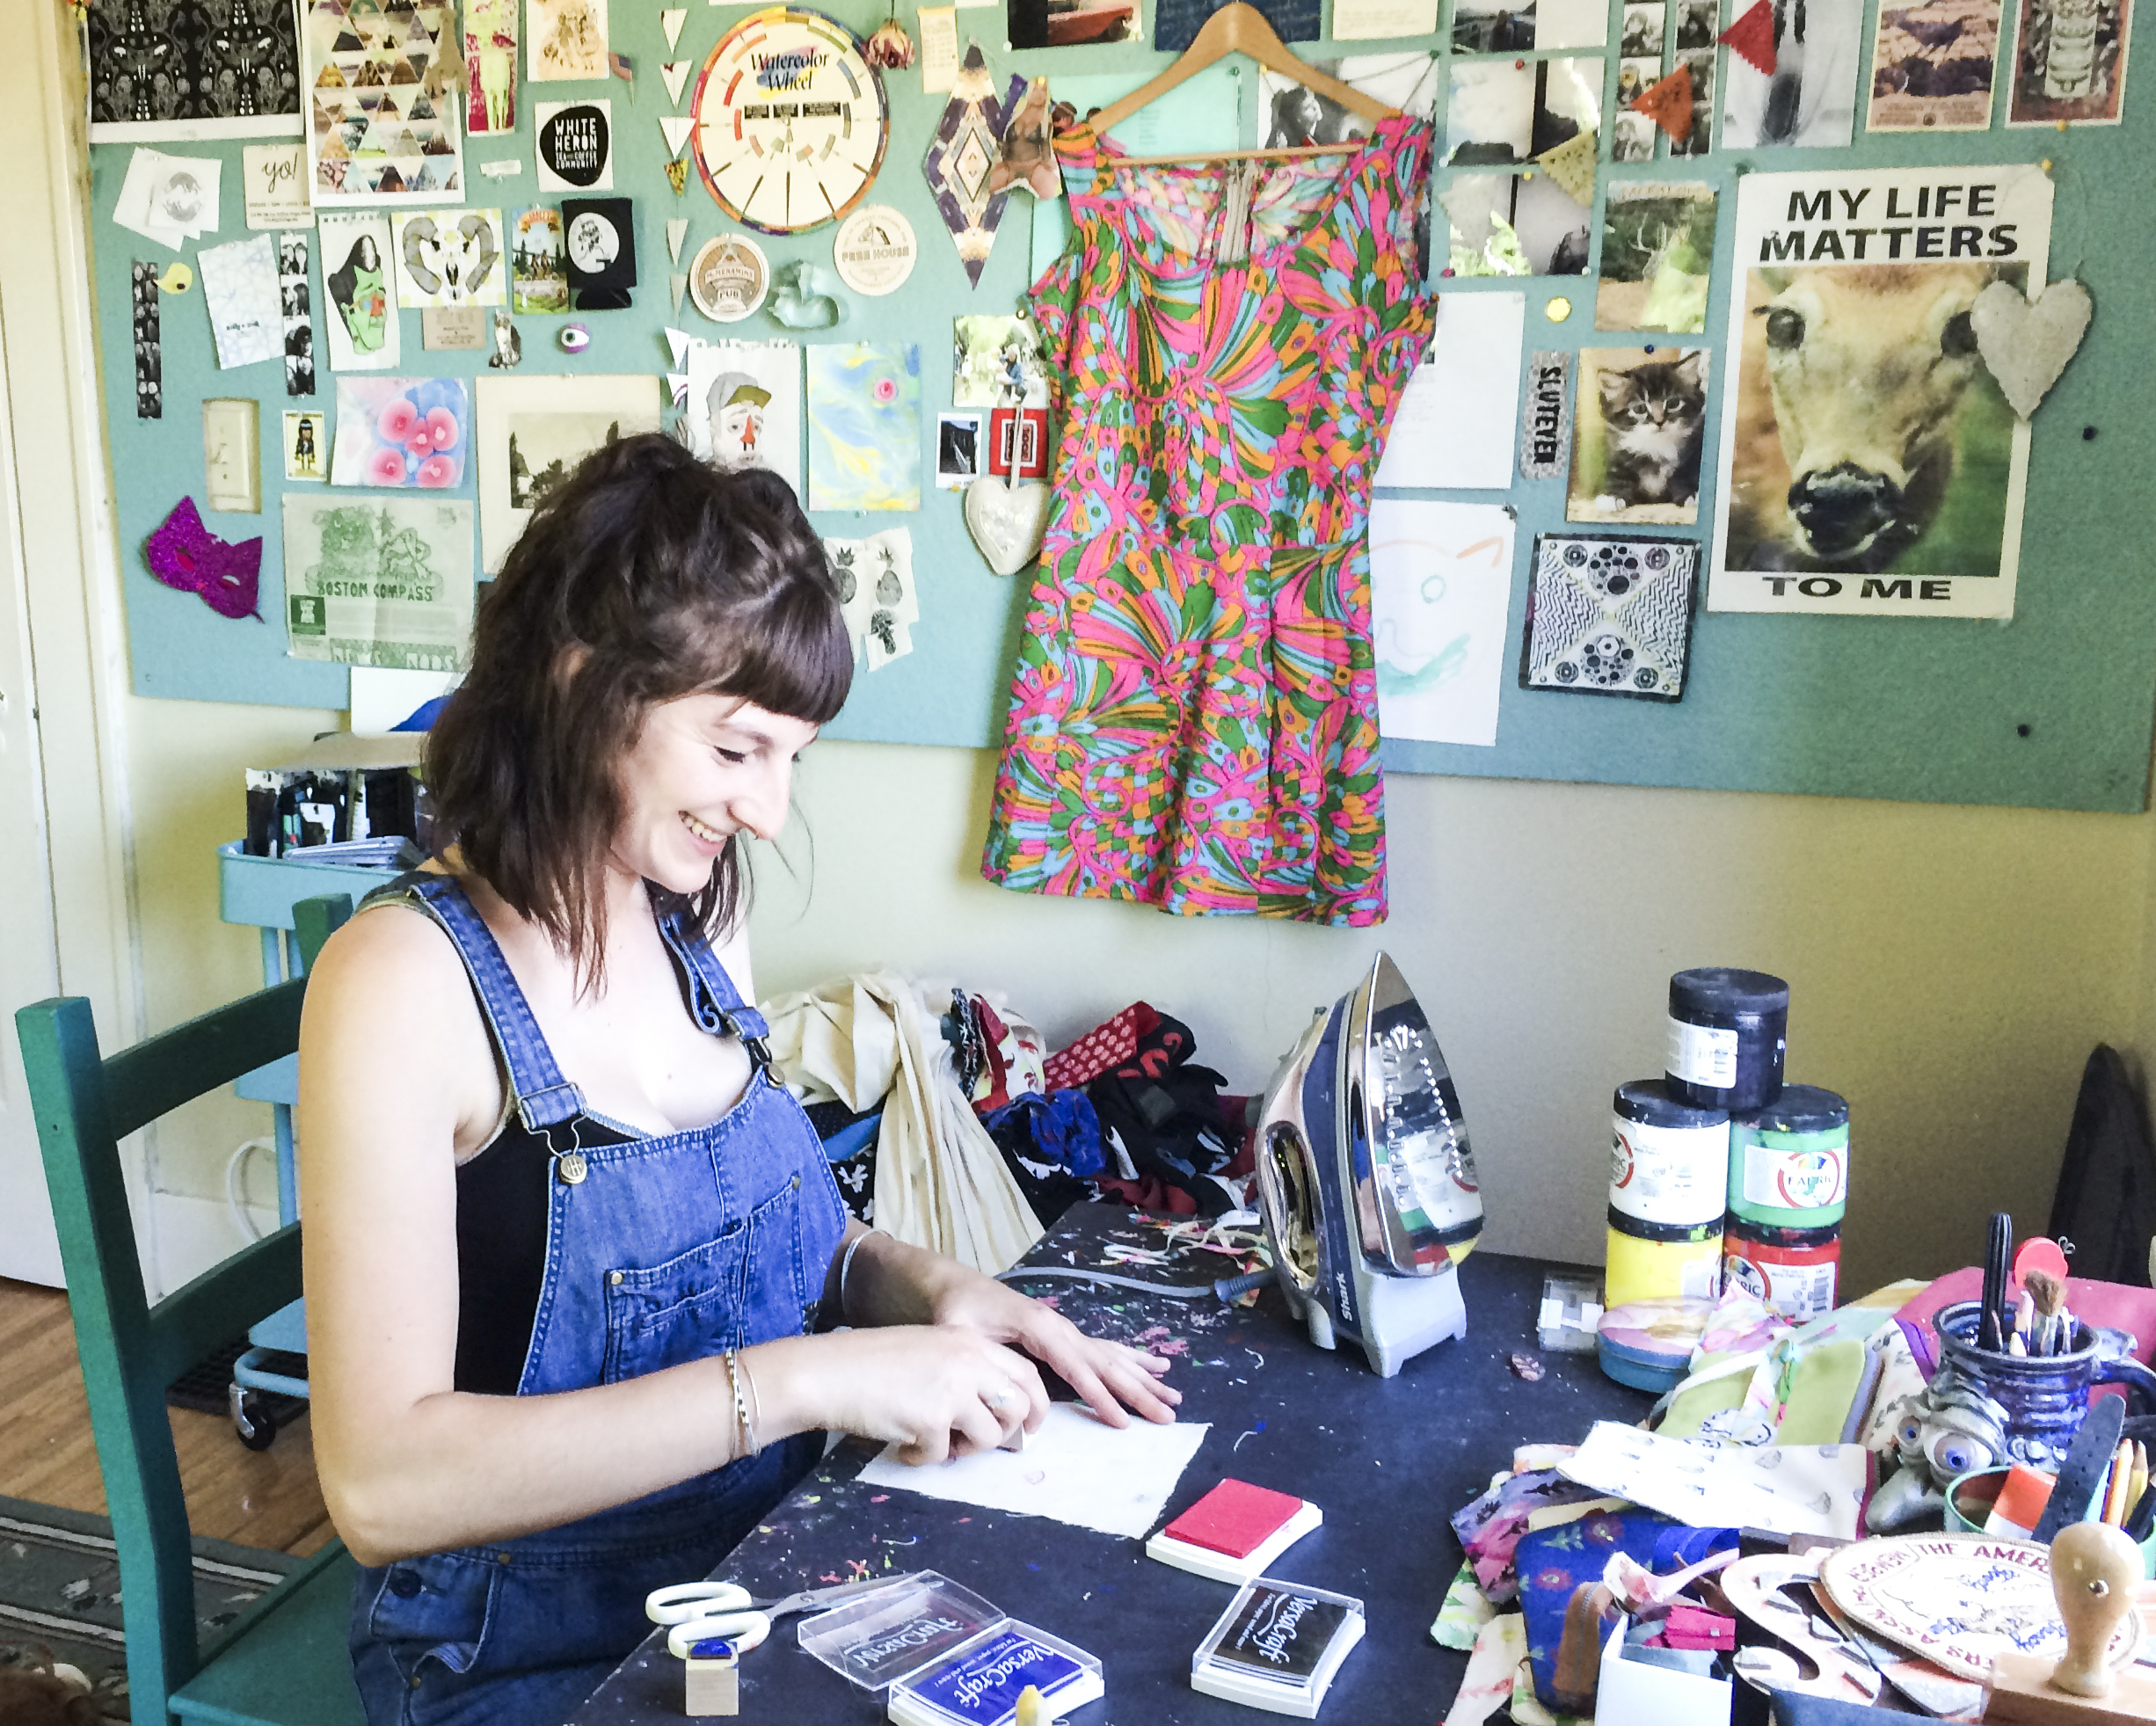
Here she is in her home studio!
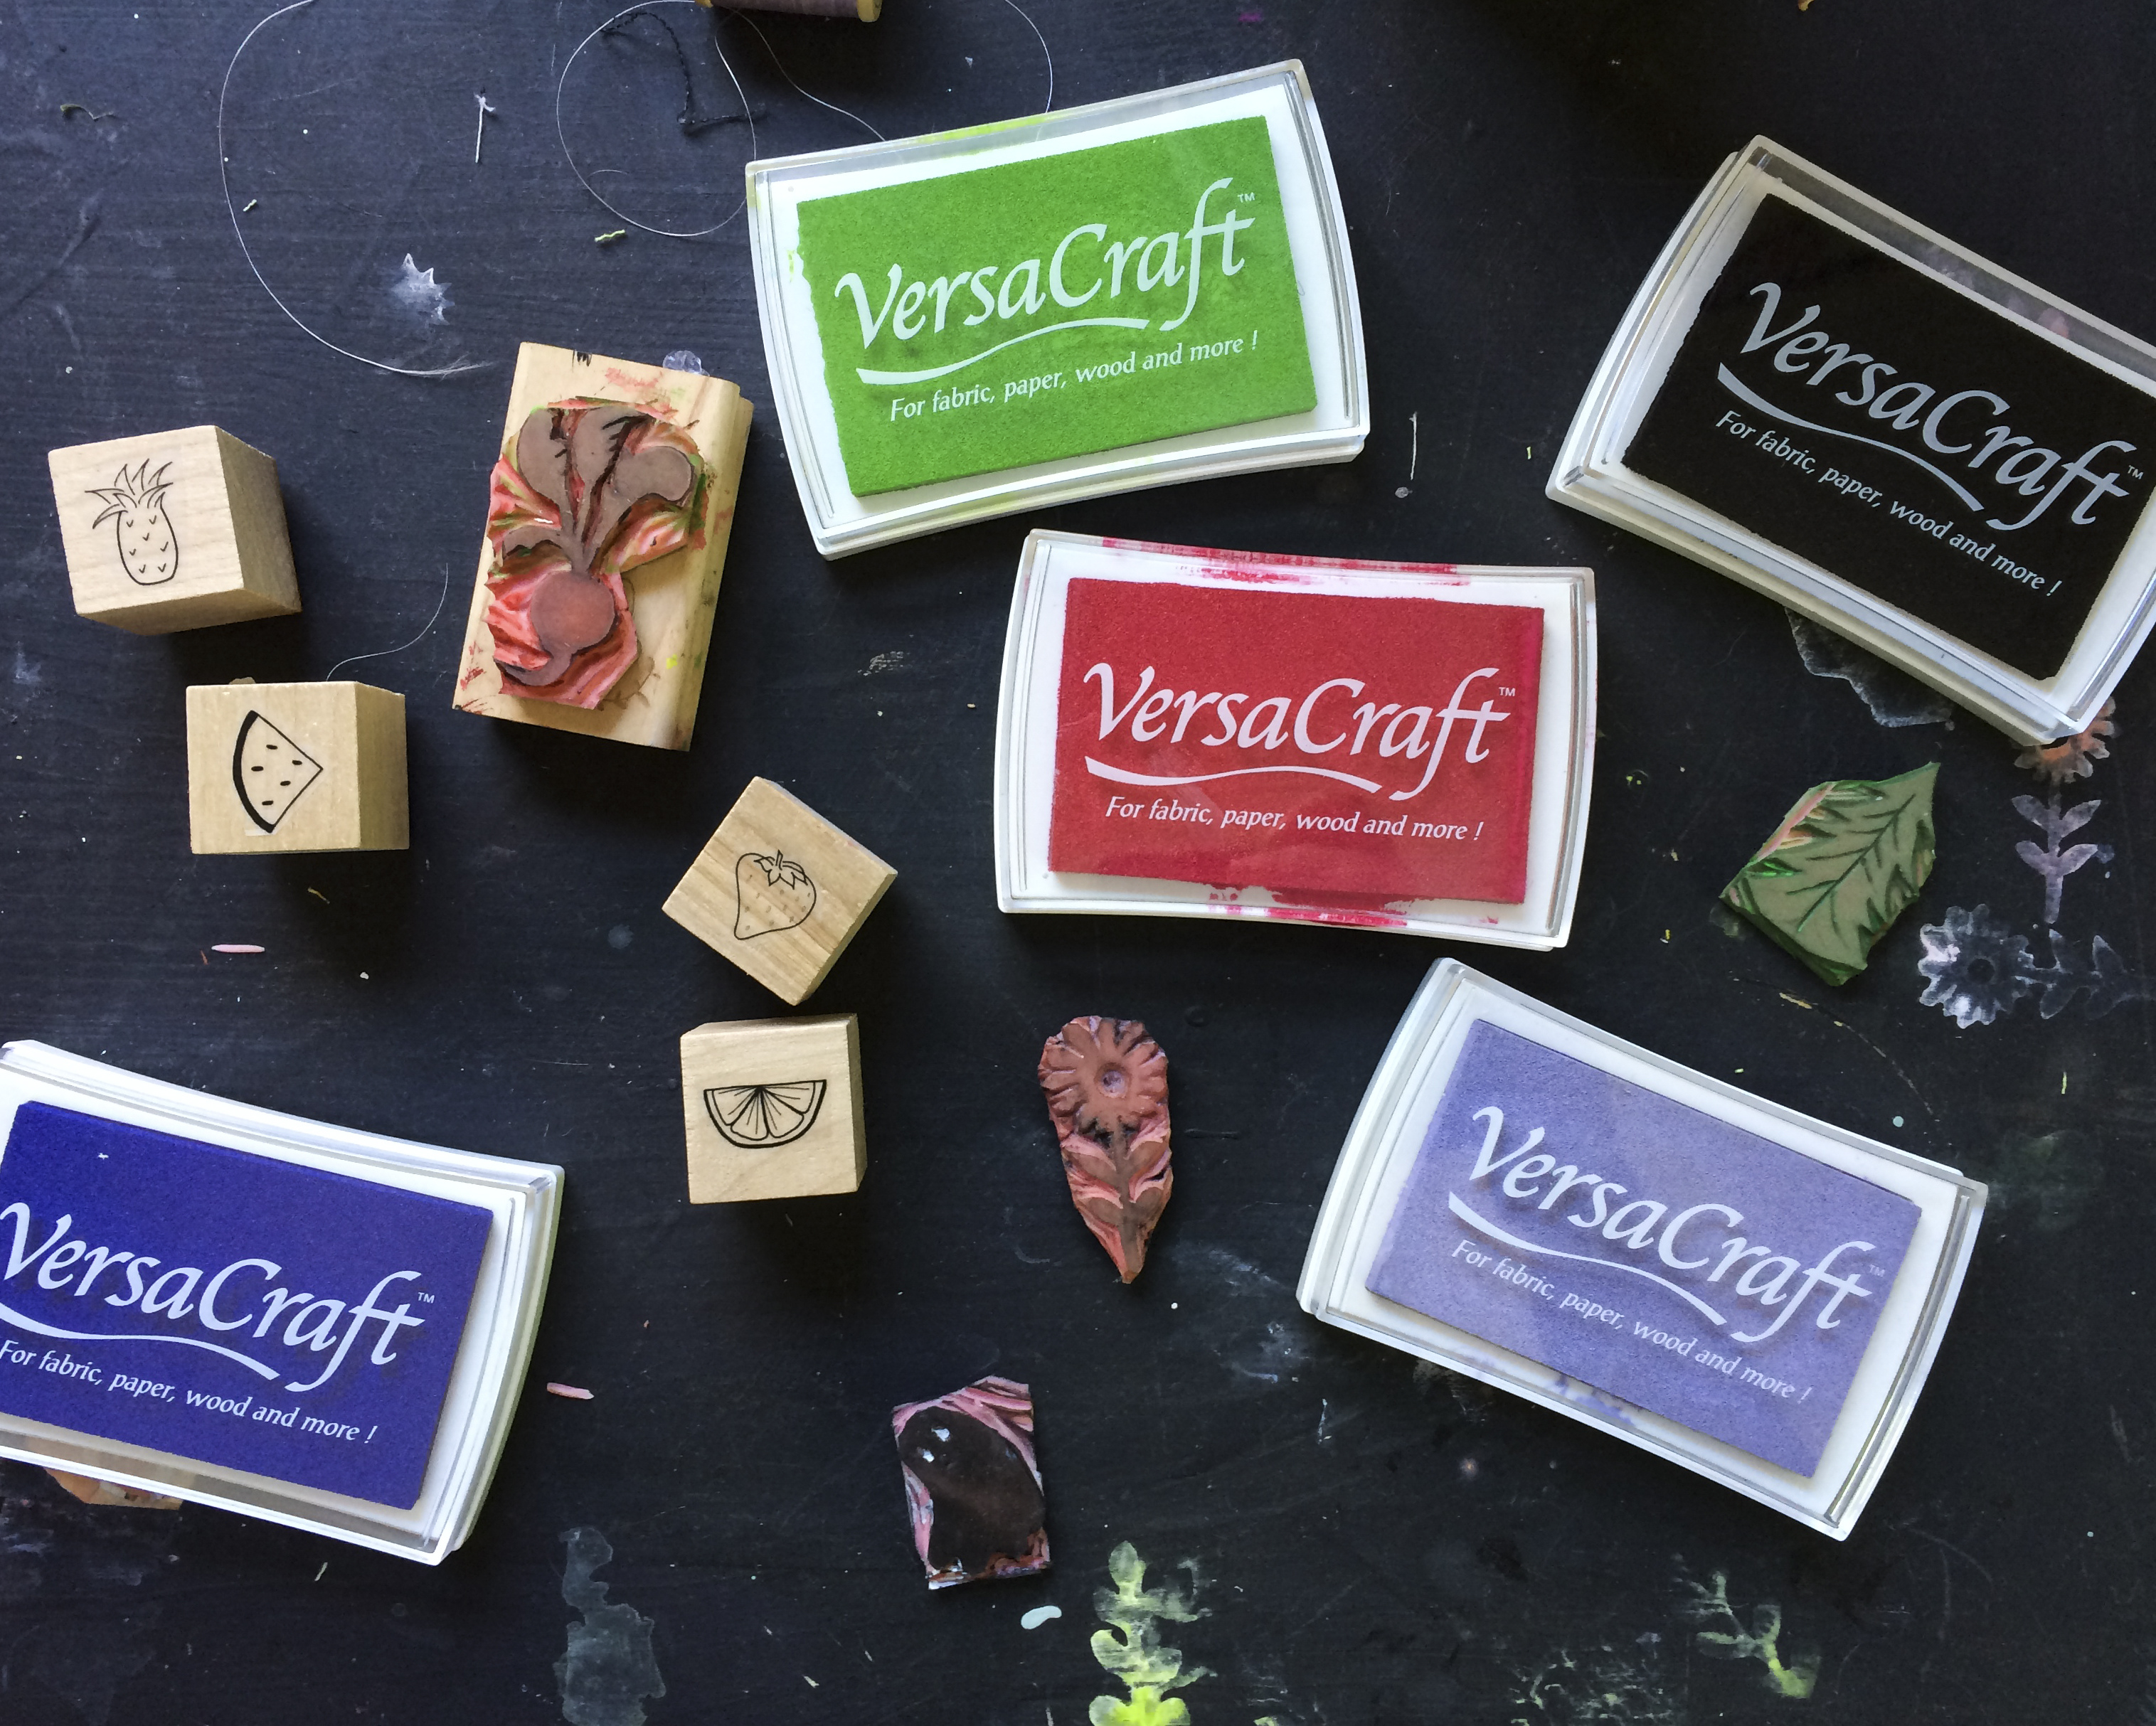
Though Charlotte often carves her own stamps (pictured above), she also loves working with Paper Sushi stamps, as she says they are "clean, precise, and delicate"!
Supplies:
Muslin (or a solid color fabric)
liner fabric (she used a vintage fabric)
fabric scissors
zipper
sewing machine
matching thread + bobbin
cutting mat
After laying out her supplies, Charlotte got to work ironing her muslin and pouch liner fabric, to ensure an even stamp print!
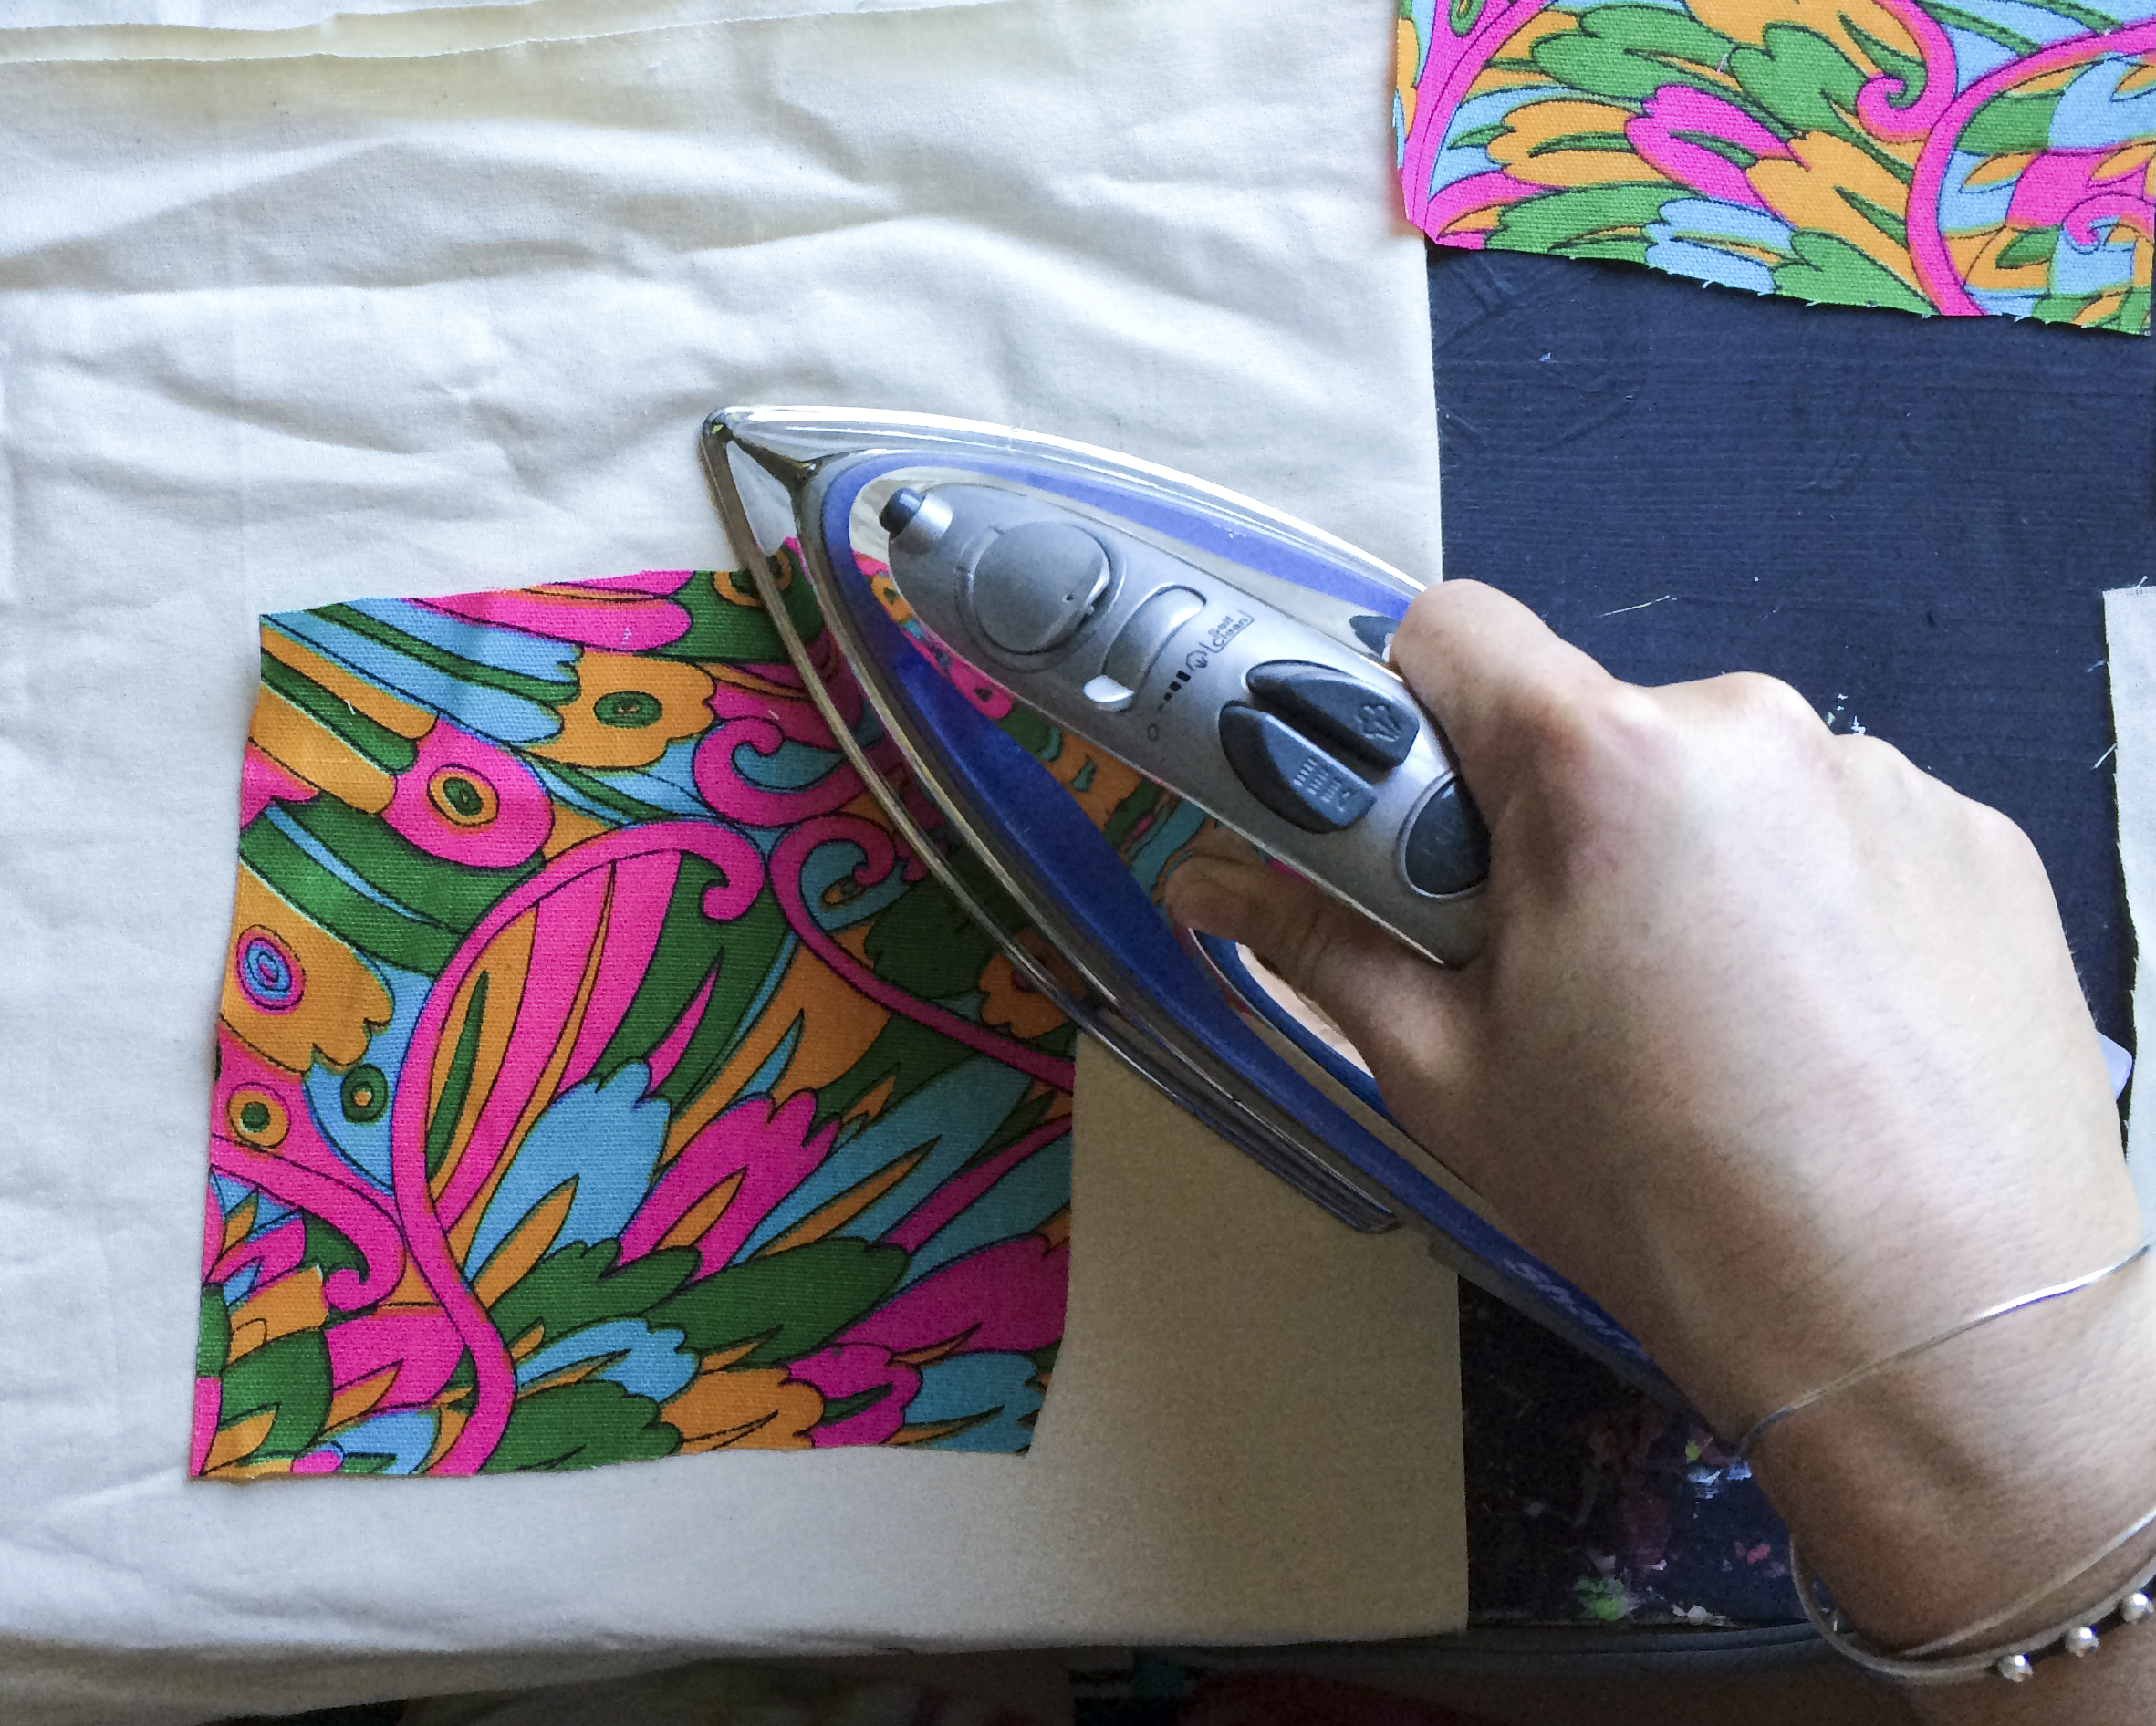
"Ironing is extremely important throughout this entire process!" as it ensures even edges, sewing, and stamping. After double checking that her four 5"x6" pieces of fabric (2 muslin, 2 liner) had straight and clean edges, she prepared for stamping.
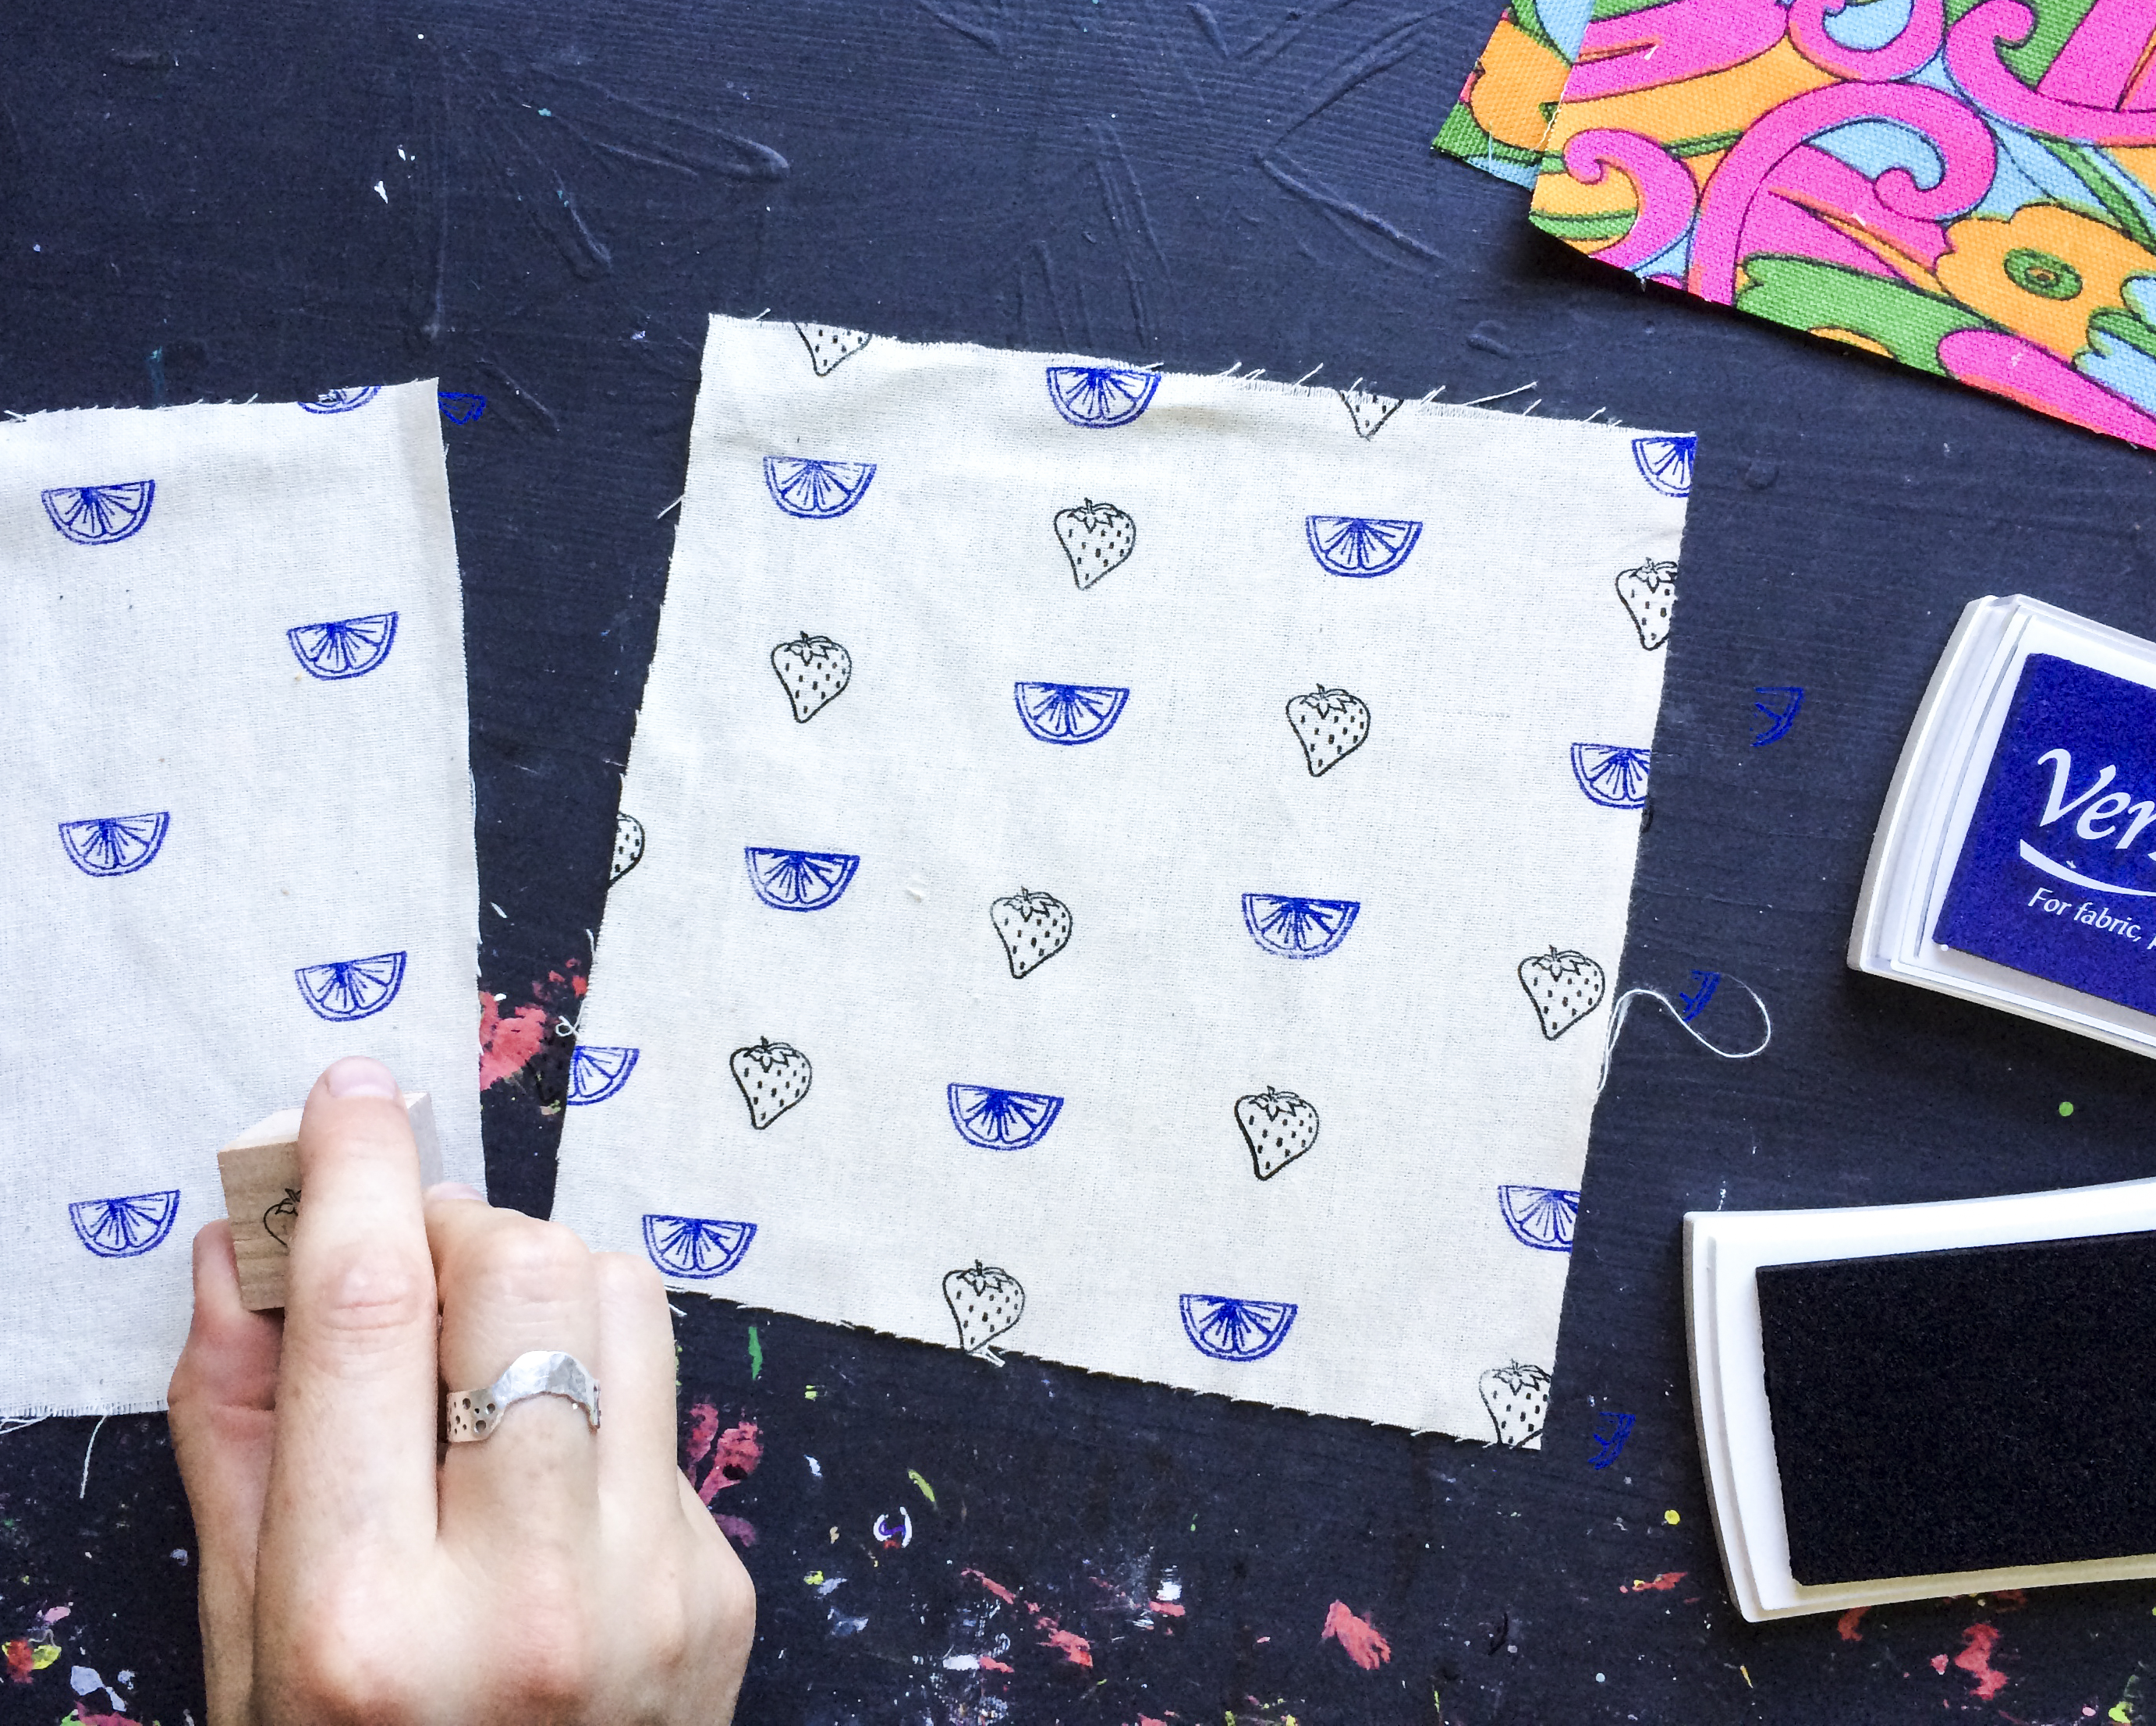
Charlotte chose Versacraft black and Versacraft Ultramarine to stamp the strawberry and citrus stamps from the Paper Sushi Fruit Bento Box stamp set. After a few test prints, she created her own adorable pattern on the muslin, alternating the strawberry and lime stamps! She stamped on both pieces of muslin (the front and back of the zippy pouch). Make sure you heat-set the stamped fabric by ironing it between a couple pieces of scrap fabric for a few minutes.
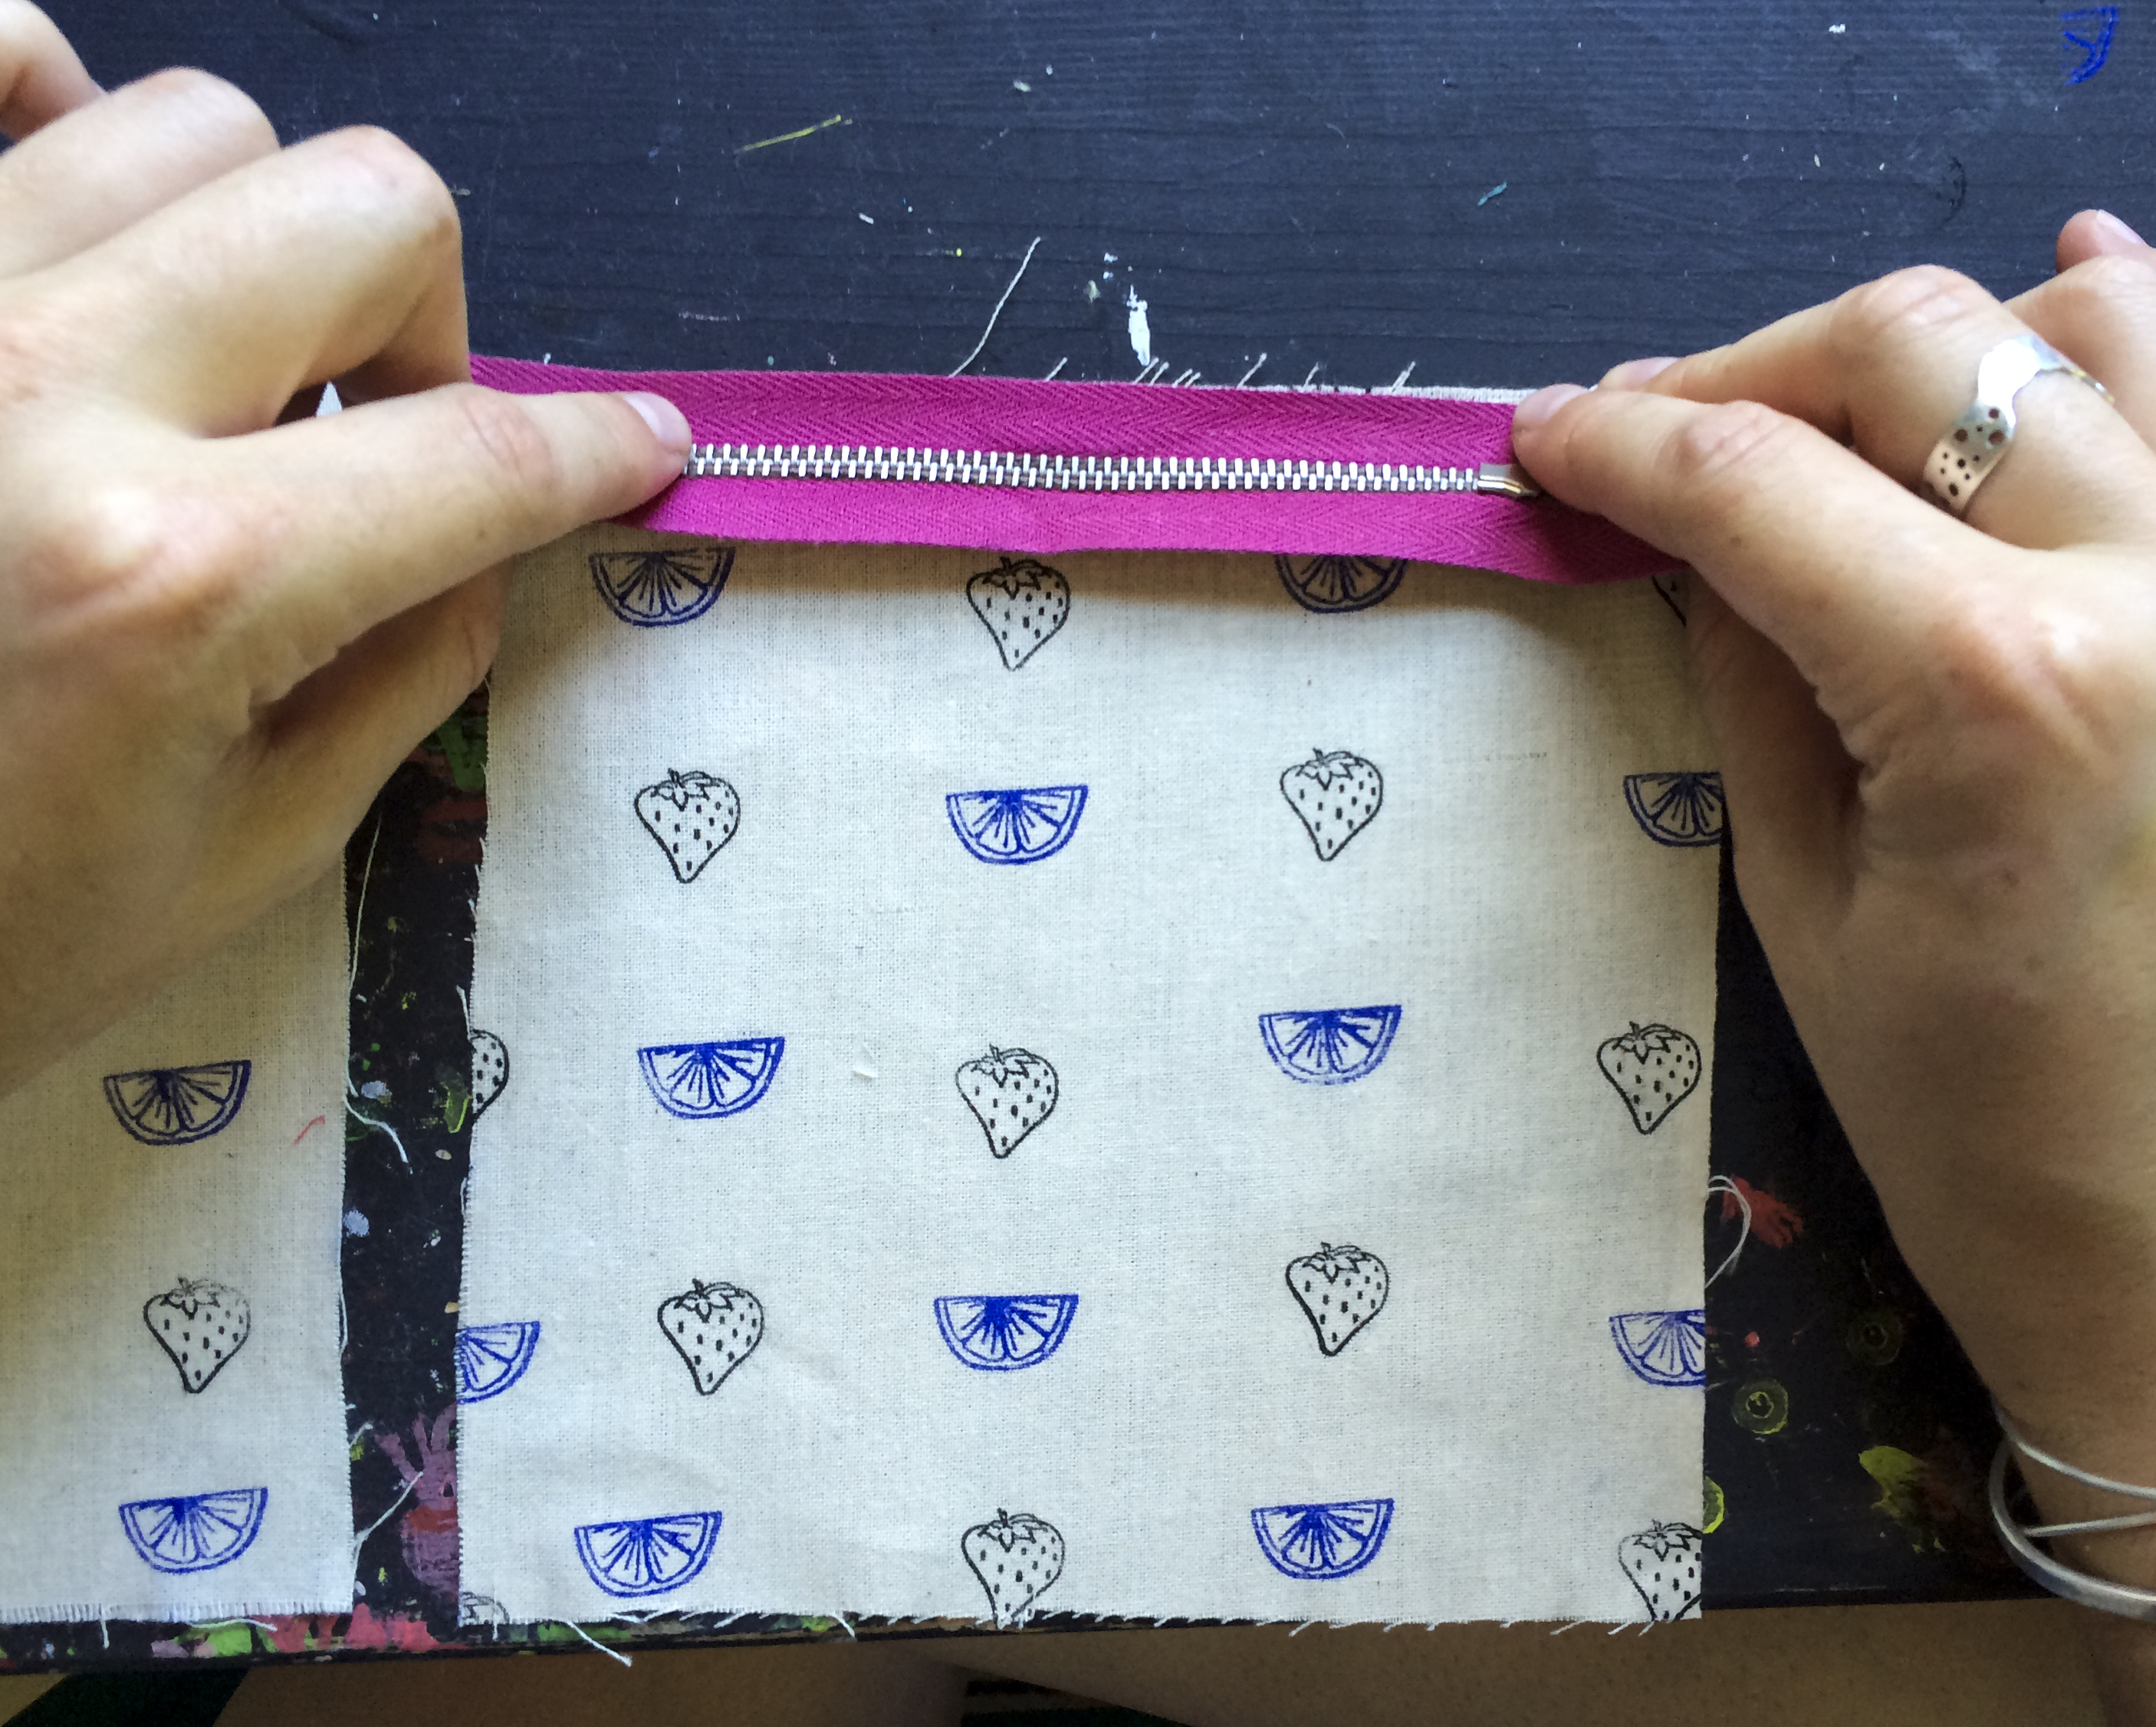
She took the zipper and flipped it upside down, lining it up against the hand-stamped muslin.
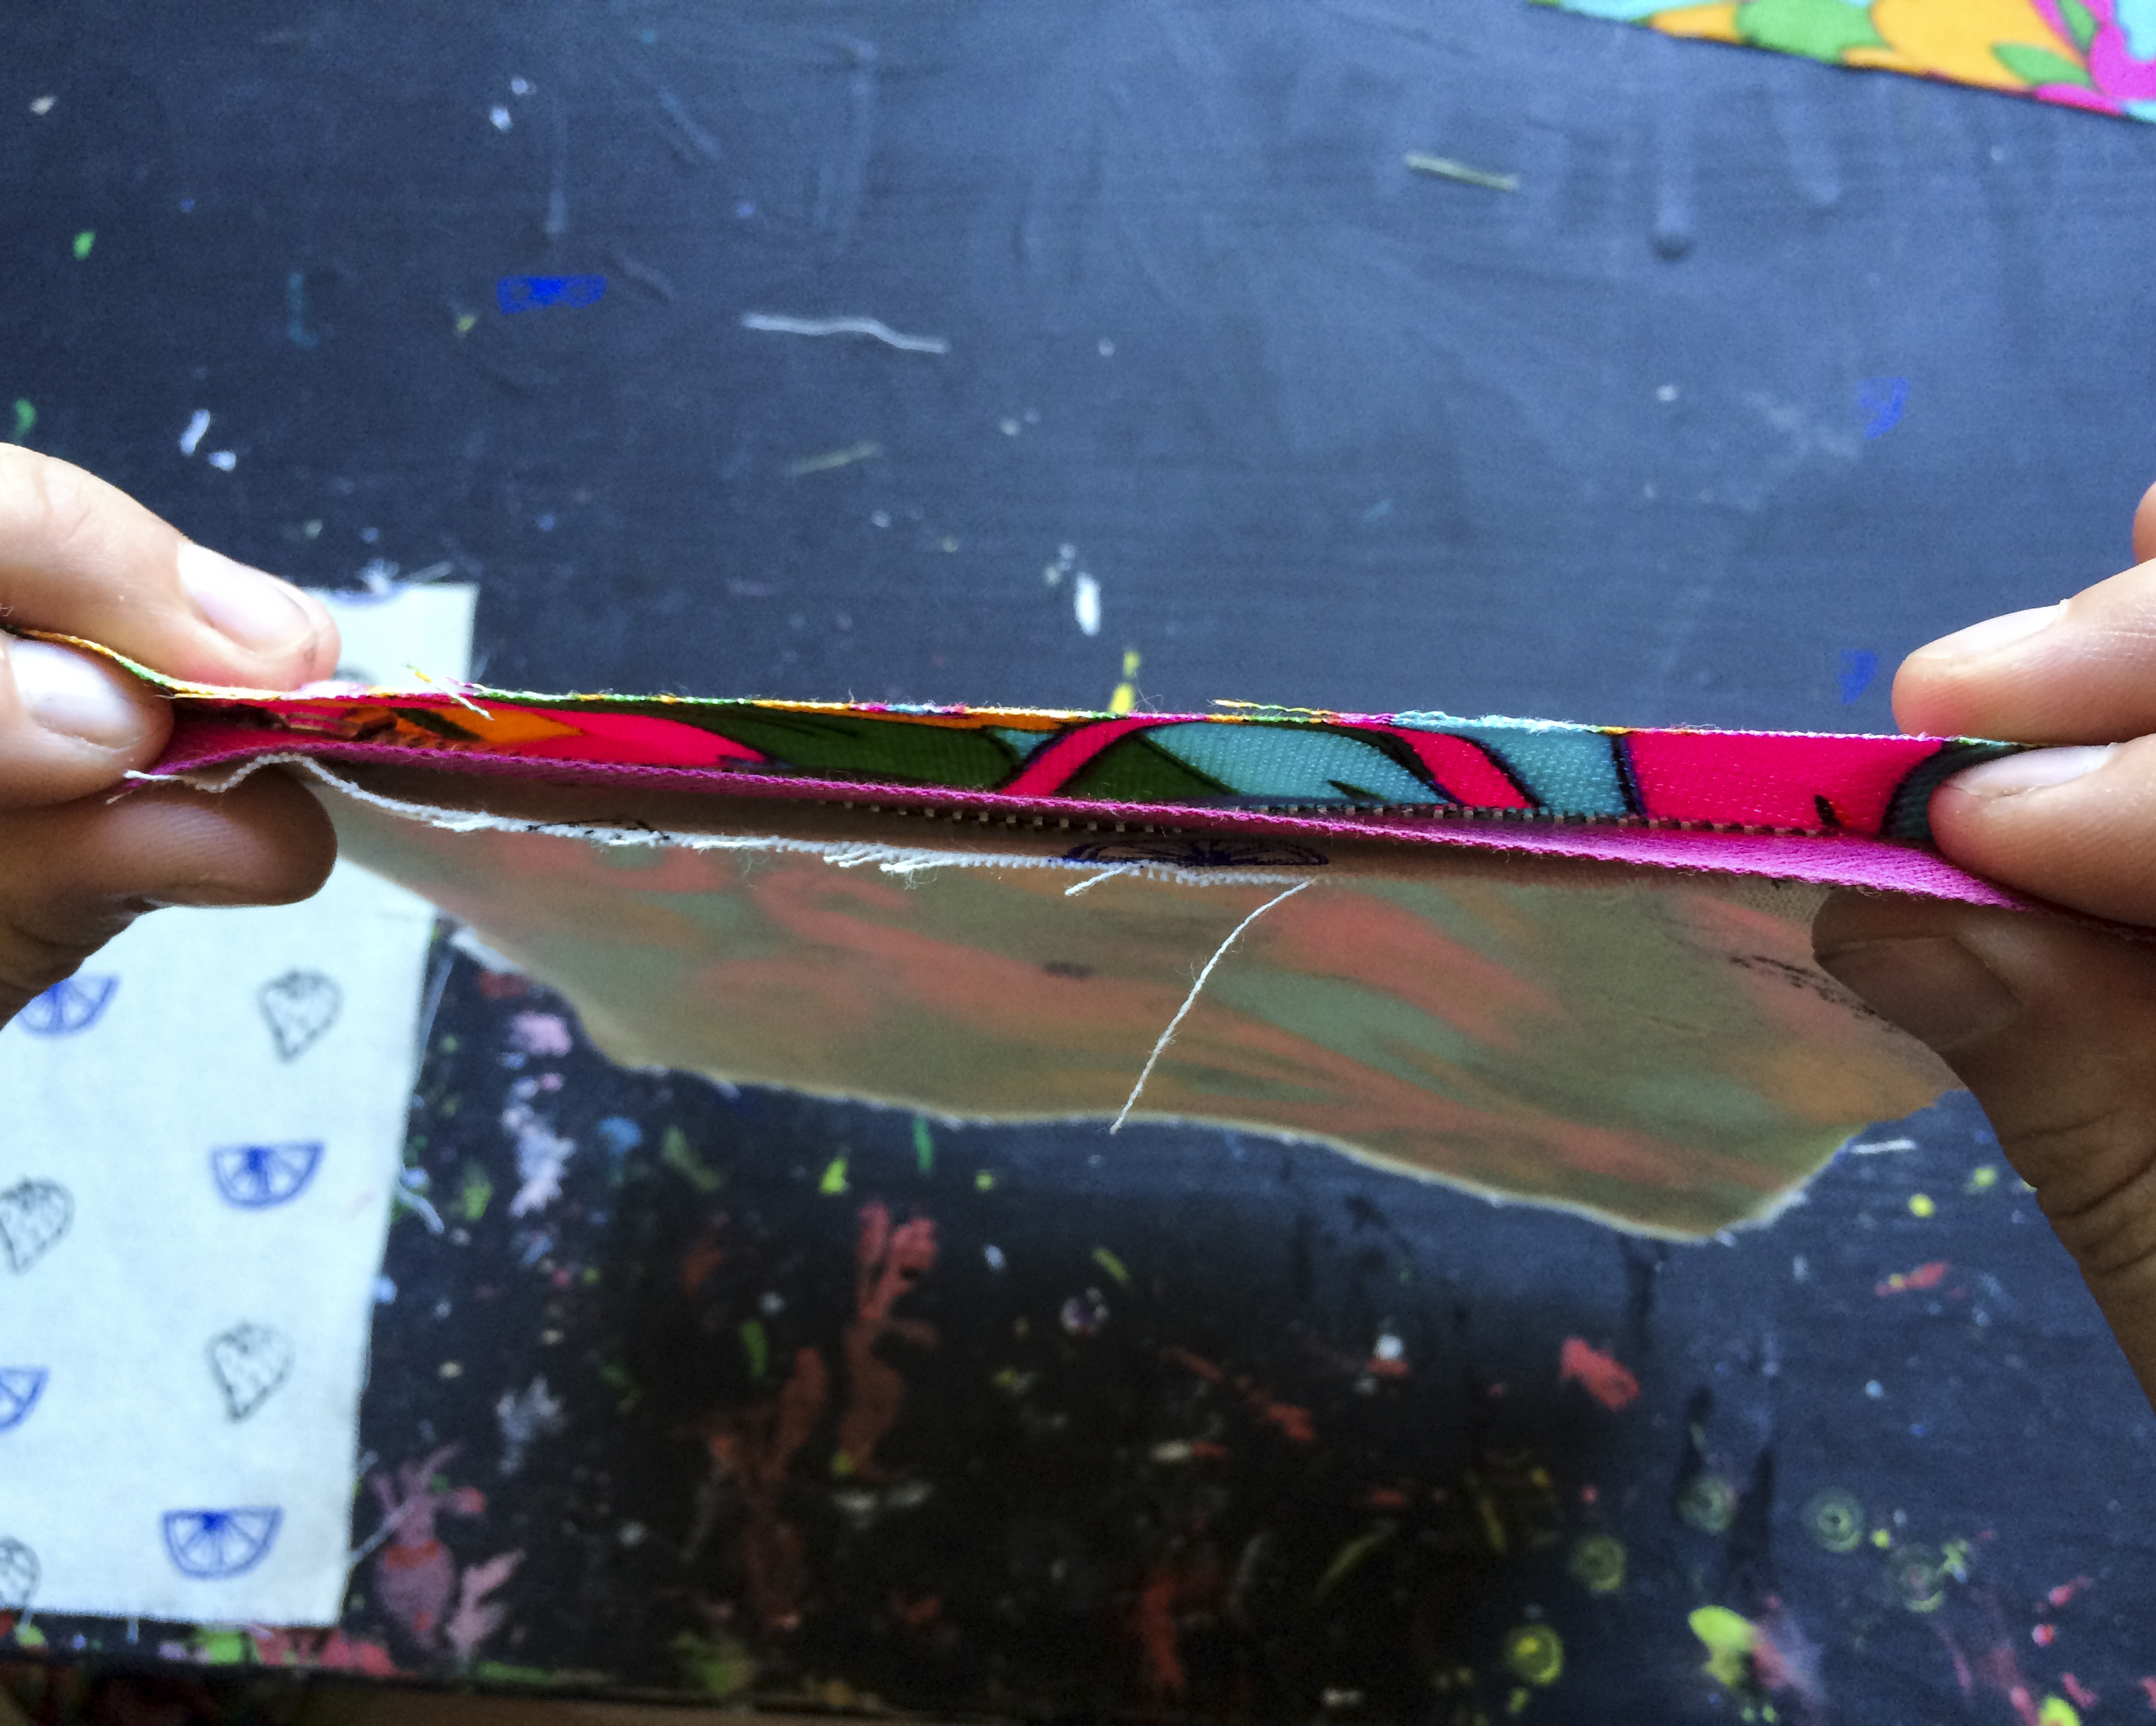
Then, she matched up the liner fabric to the edge of the zipper, making sure the front side is facing away from the hand stamped muslin.
Charlotte then sewed the three pieces together, moving straight along the side of the zipper. After sewing, she folded the fabric so that the stamped fabric was facing up and the liner fabric was facing the table. She made it a point to iron the fabric alongside the zipper after sewing, as to prevent any bumpiness against the seems. She repeated these exact same steps on the other side of the zipper, sewing the last two pieces of fabric onto the other side of the zipper!
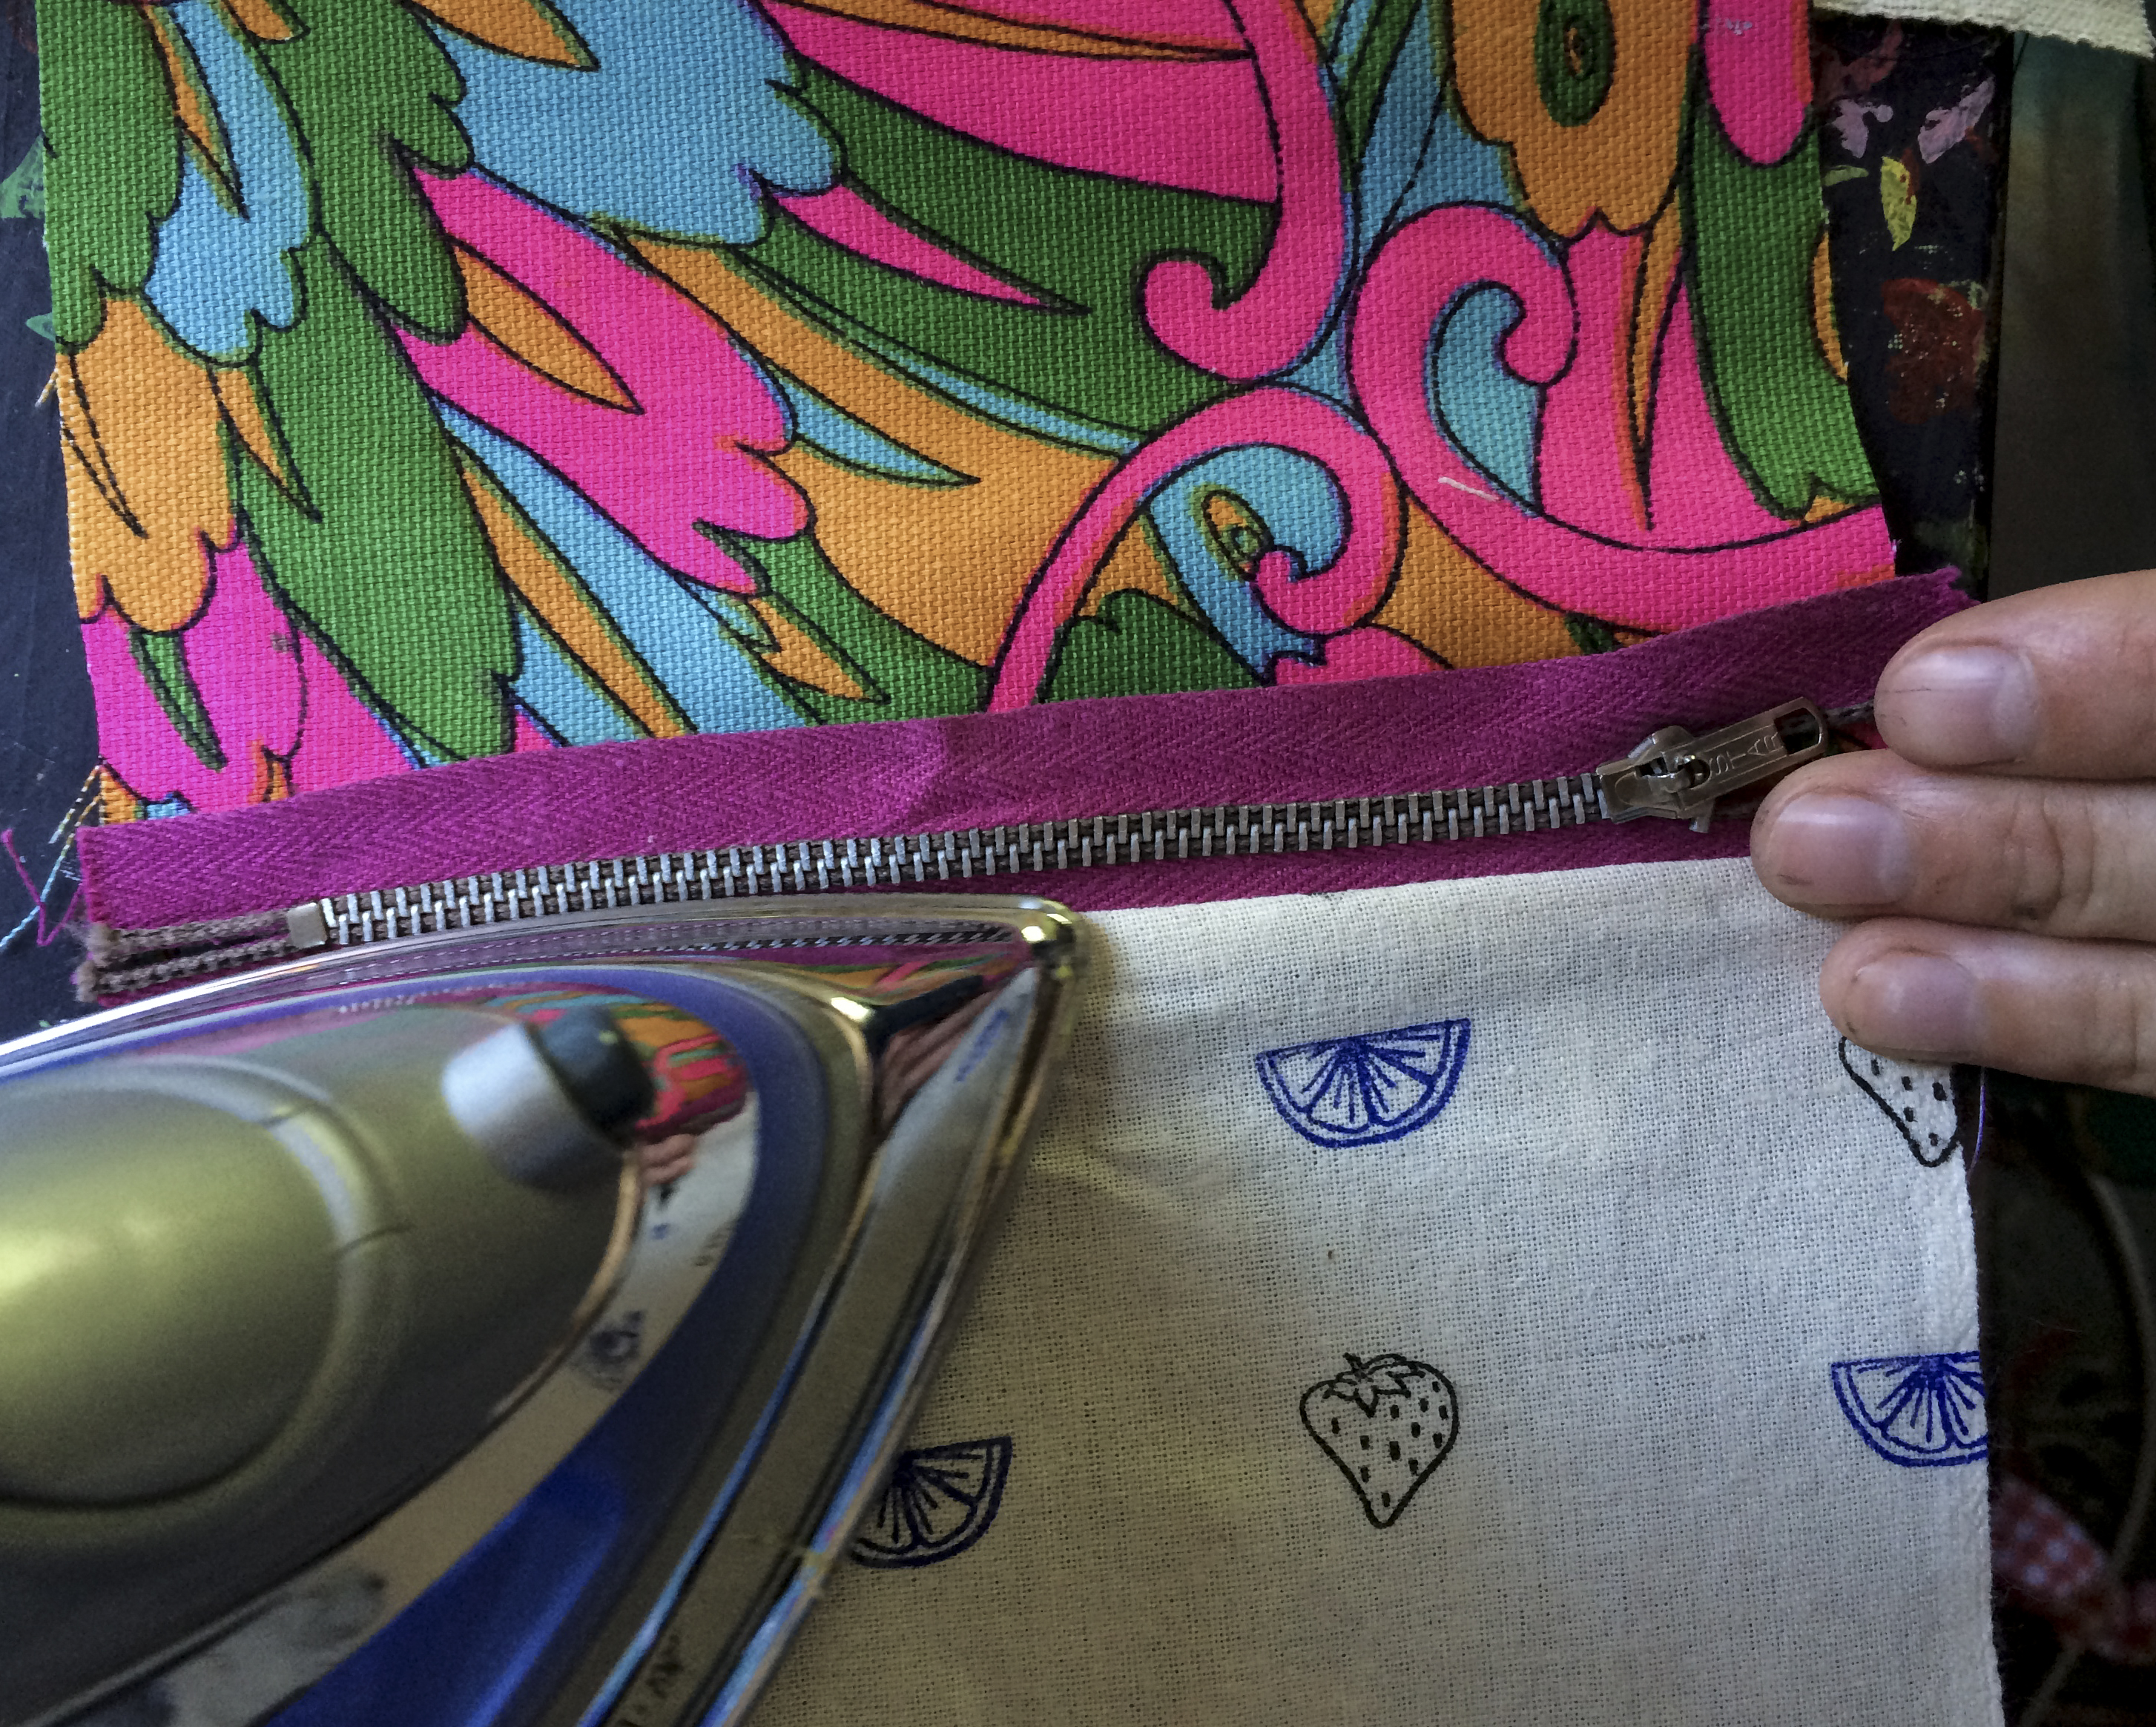
"Iron the zippy!" Charlotte makes sure that the fabric is completely ironed on both sides of the zipper, to ensure a flat end product!
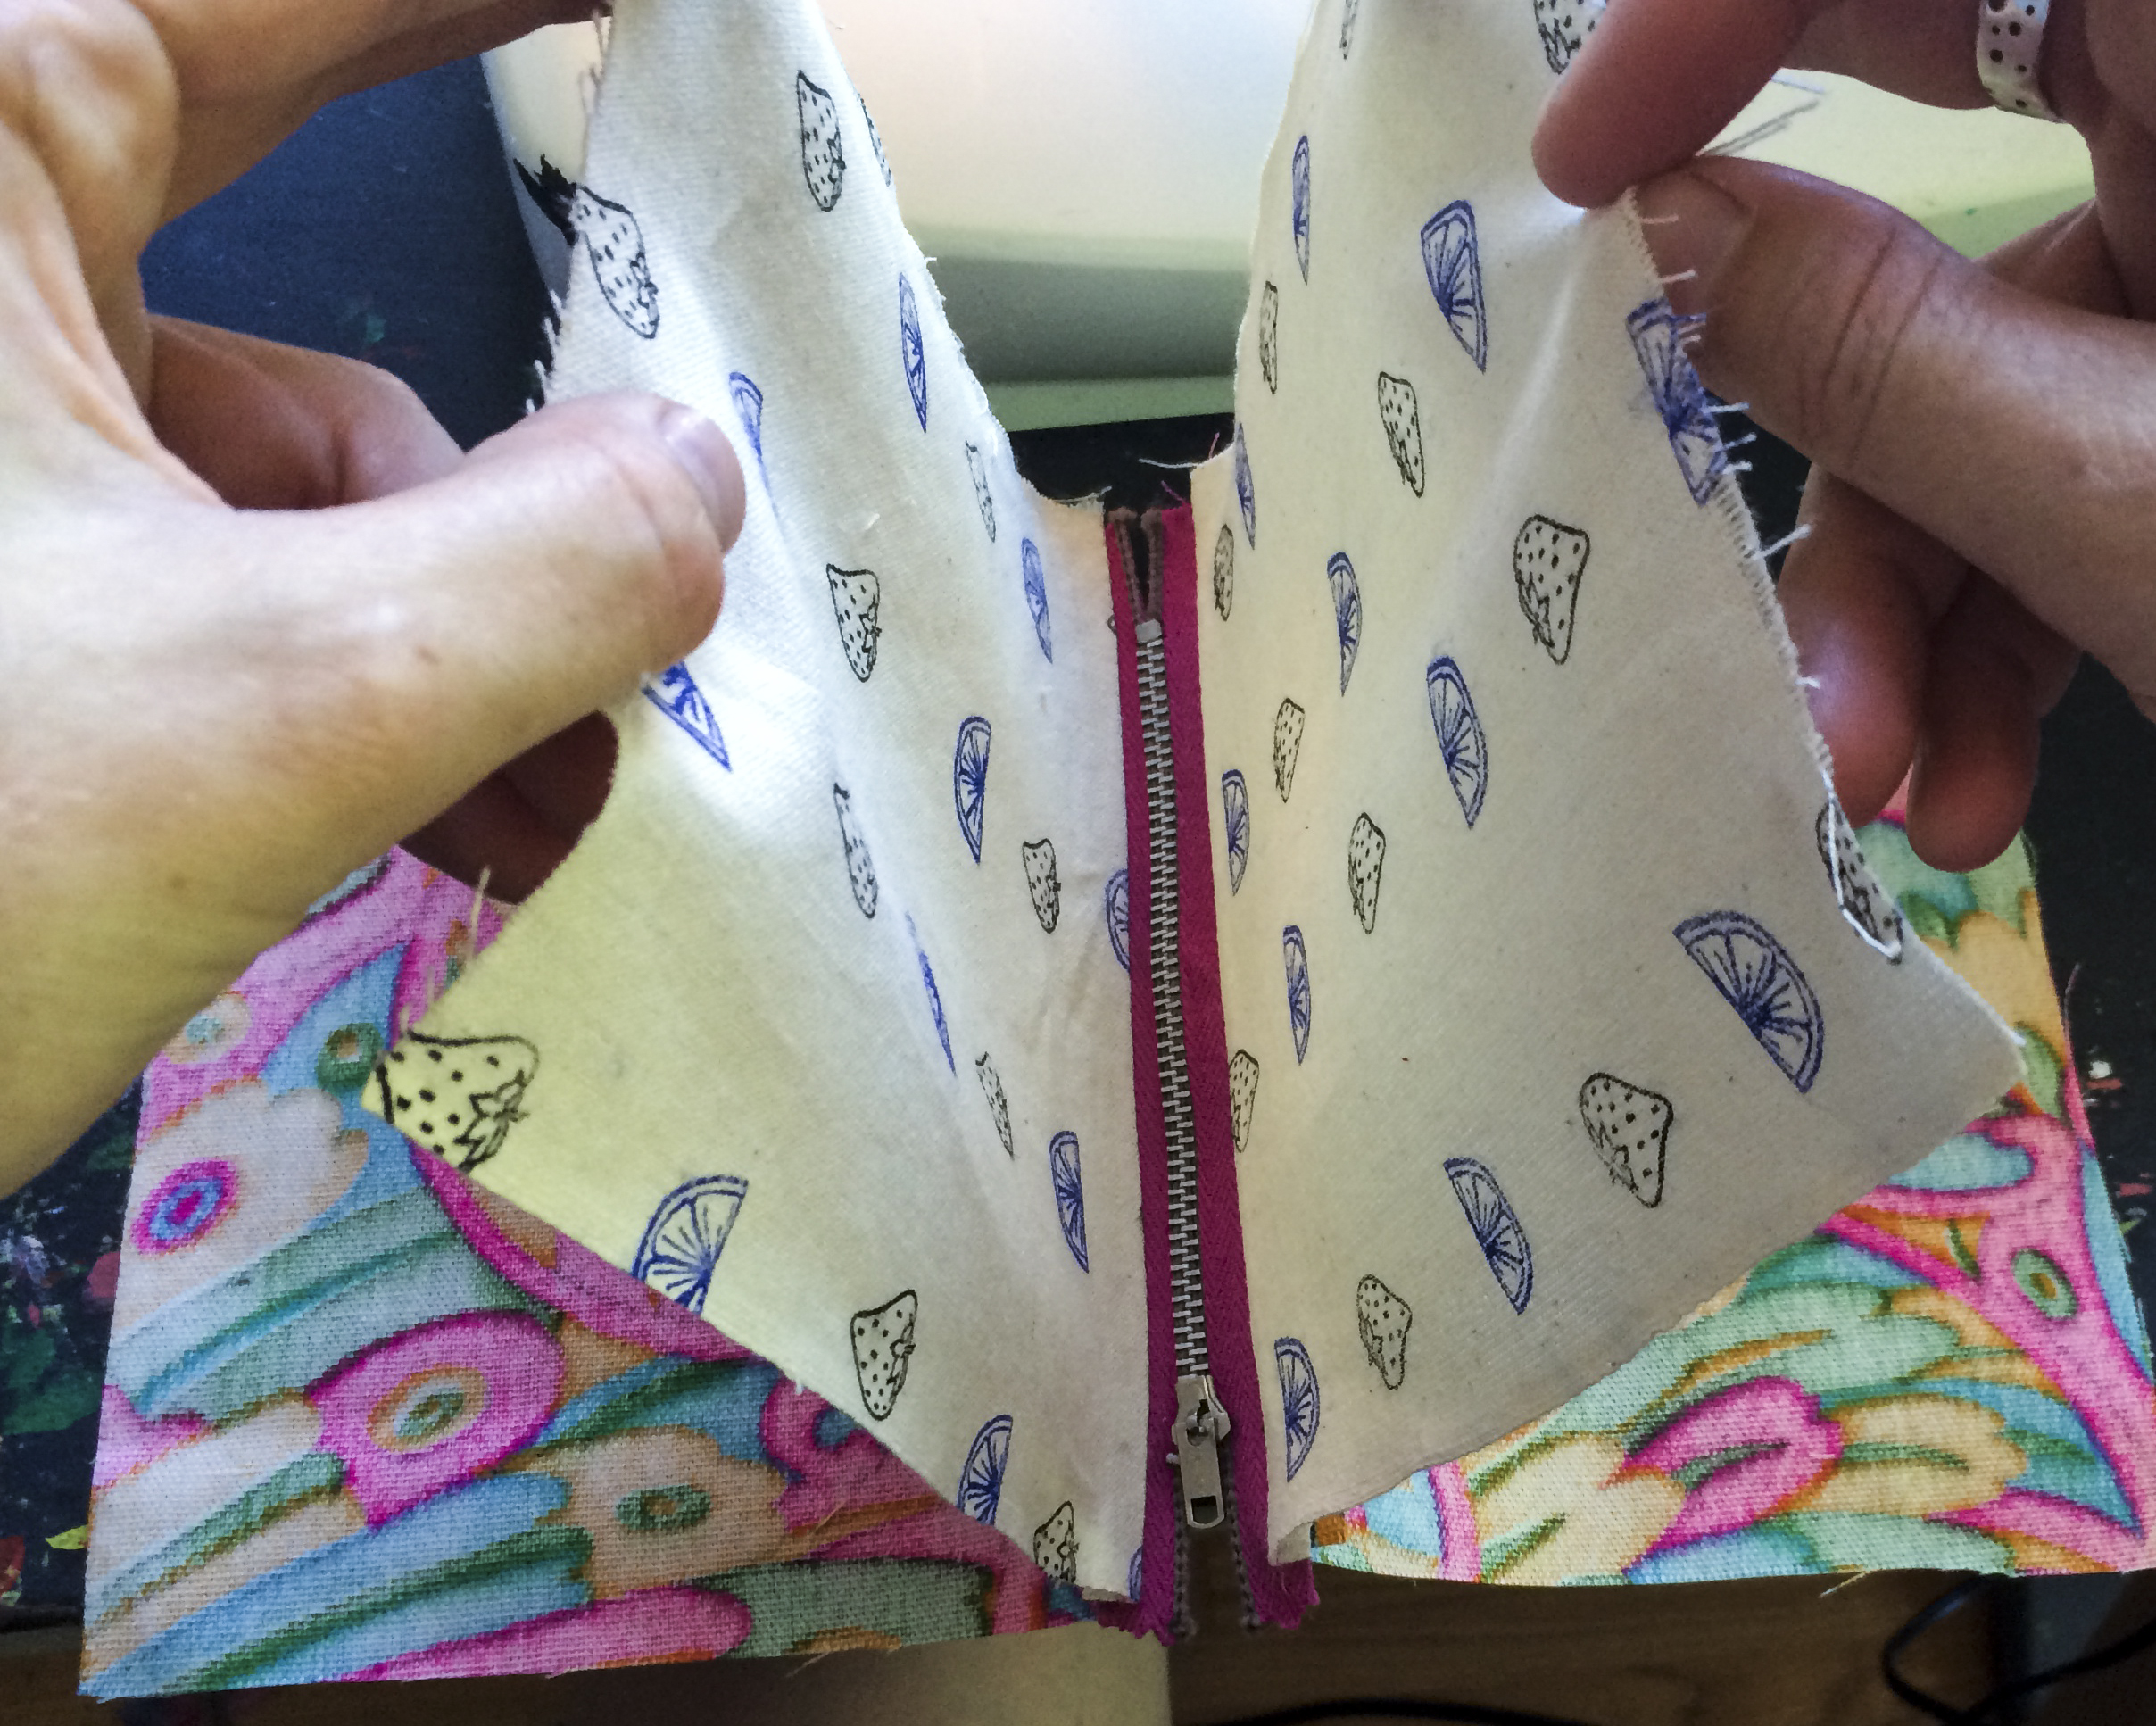
Once unfolded and ironed, they should look like little wings!
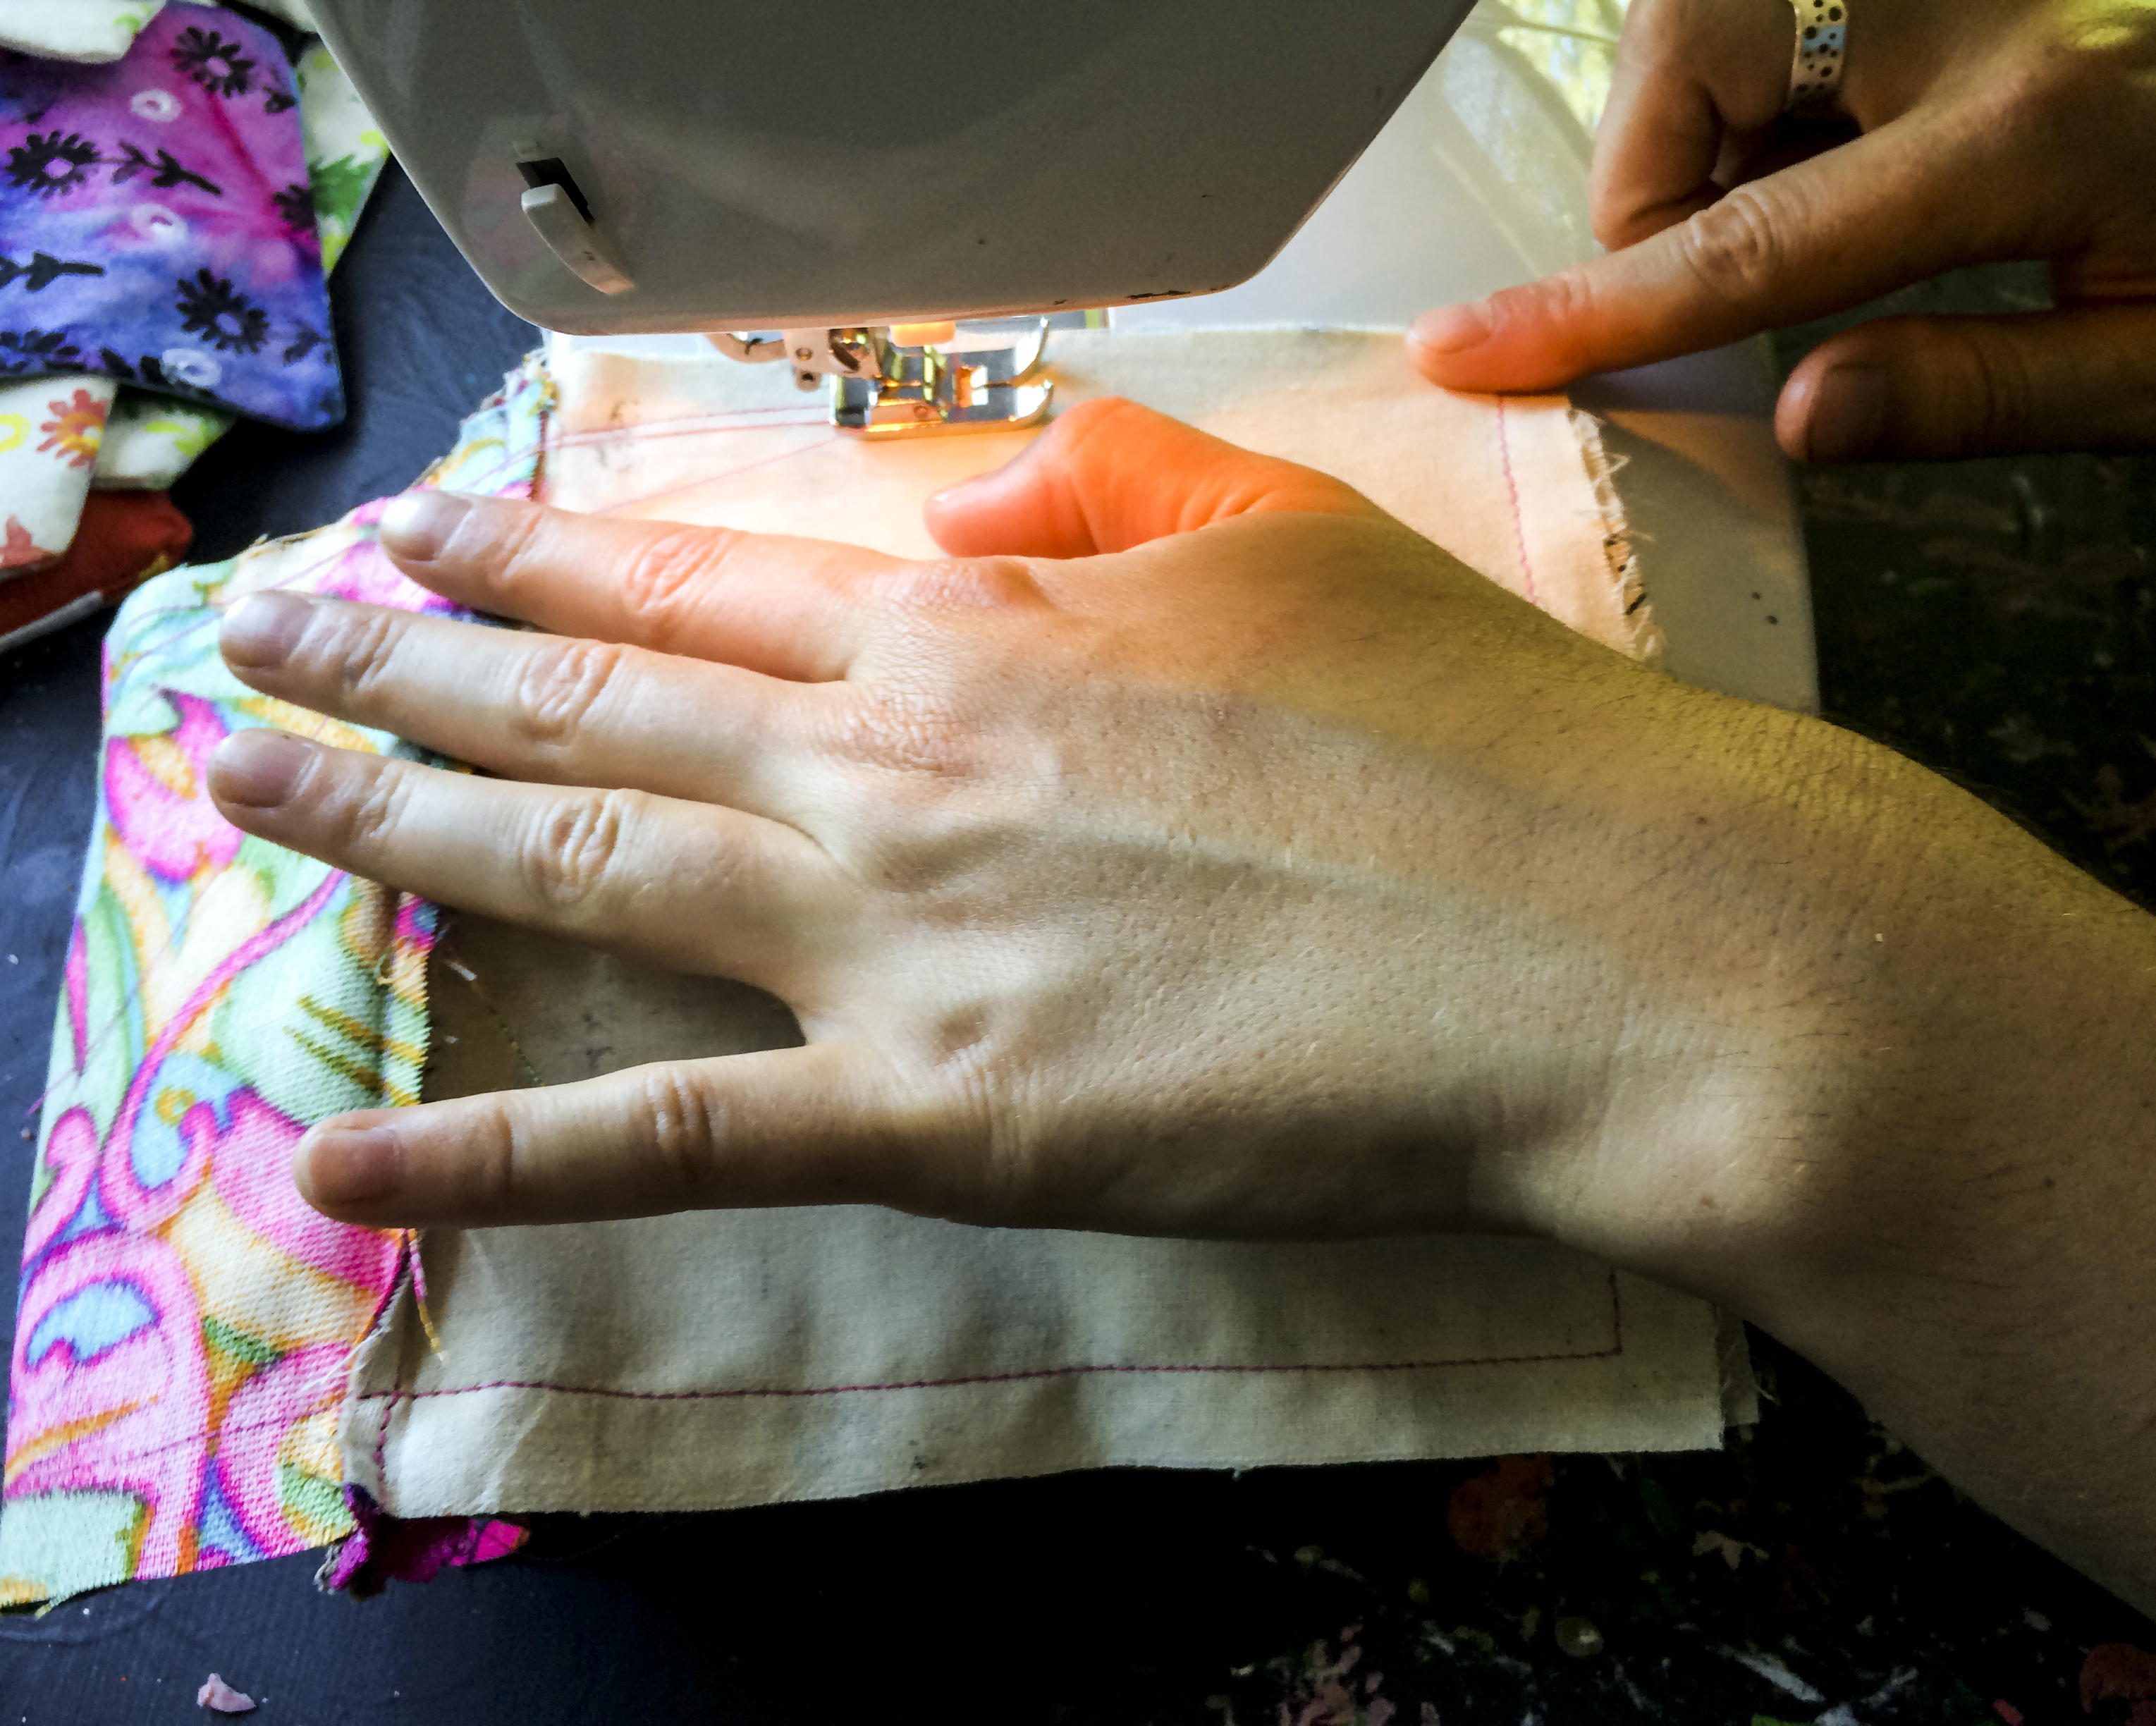
She flipped the pouch so that the two hand stamped muslin pieces faced each other, and the liner fabric pieces faced each other, hiding the zipper. Then she sewed all the way around the pouch, over the fabric edges of the zipper. Not so quick! The secret to being able to pull the pouch inside-out, and actually be able to use the pouch, is to leave a small opening (non-sewn) on the edge of the liner fabric!
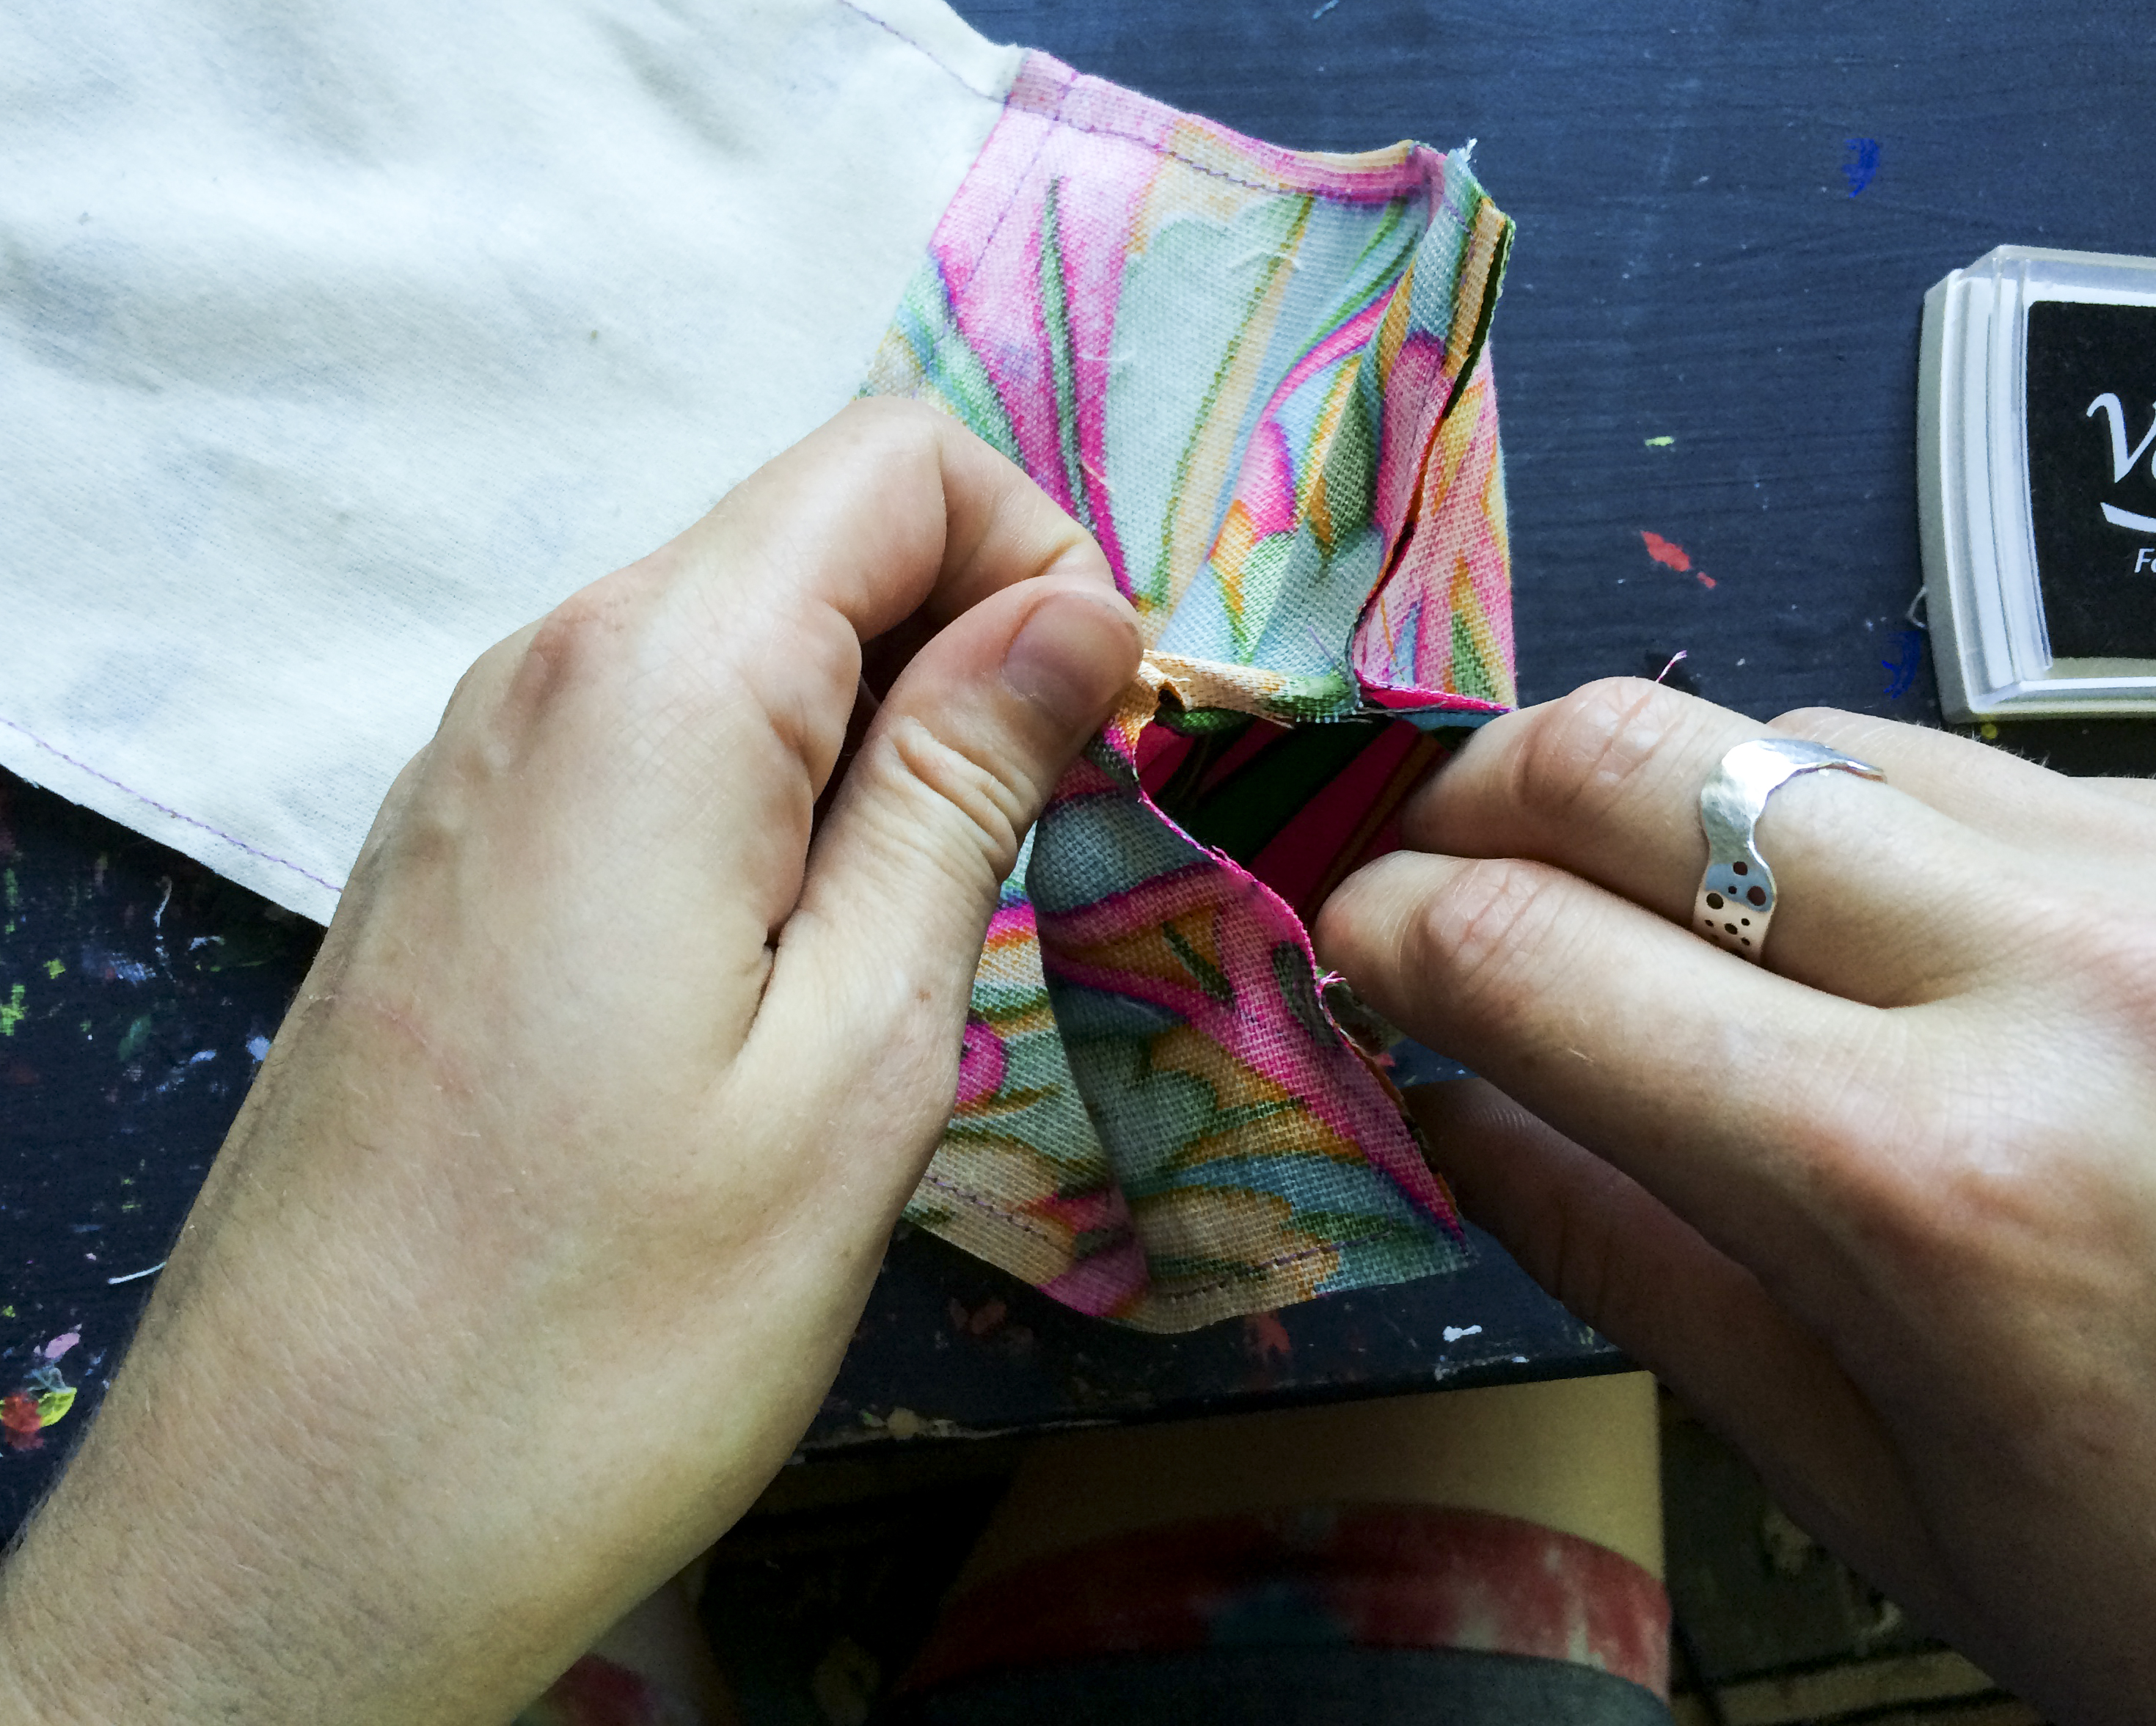
She stuck her hand through the liner opening and pulled it inside out, exposing both of the patterned fabrics! She hemmed up the little liner opening, as to make sure there were no holes in the pouch.
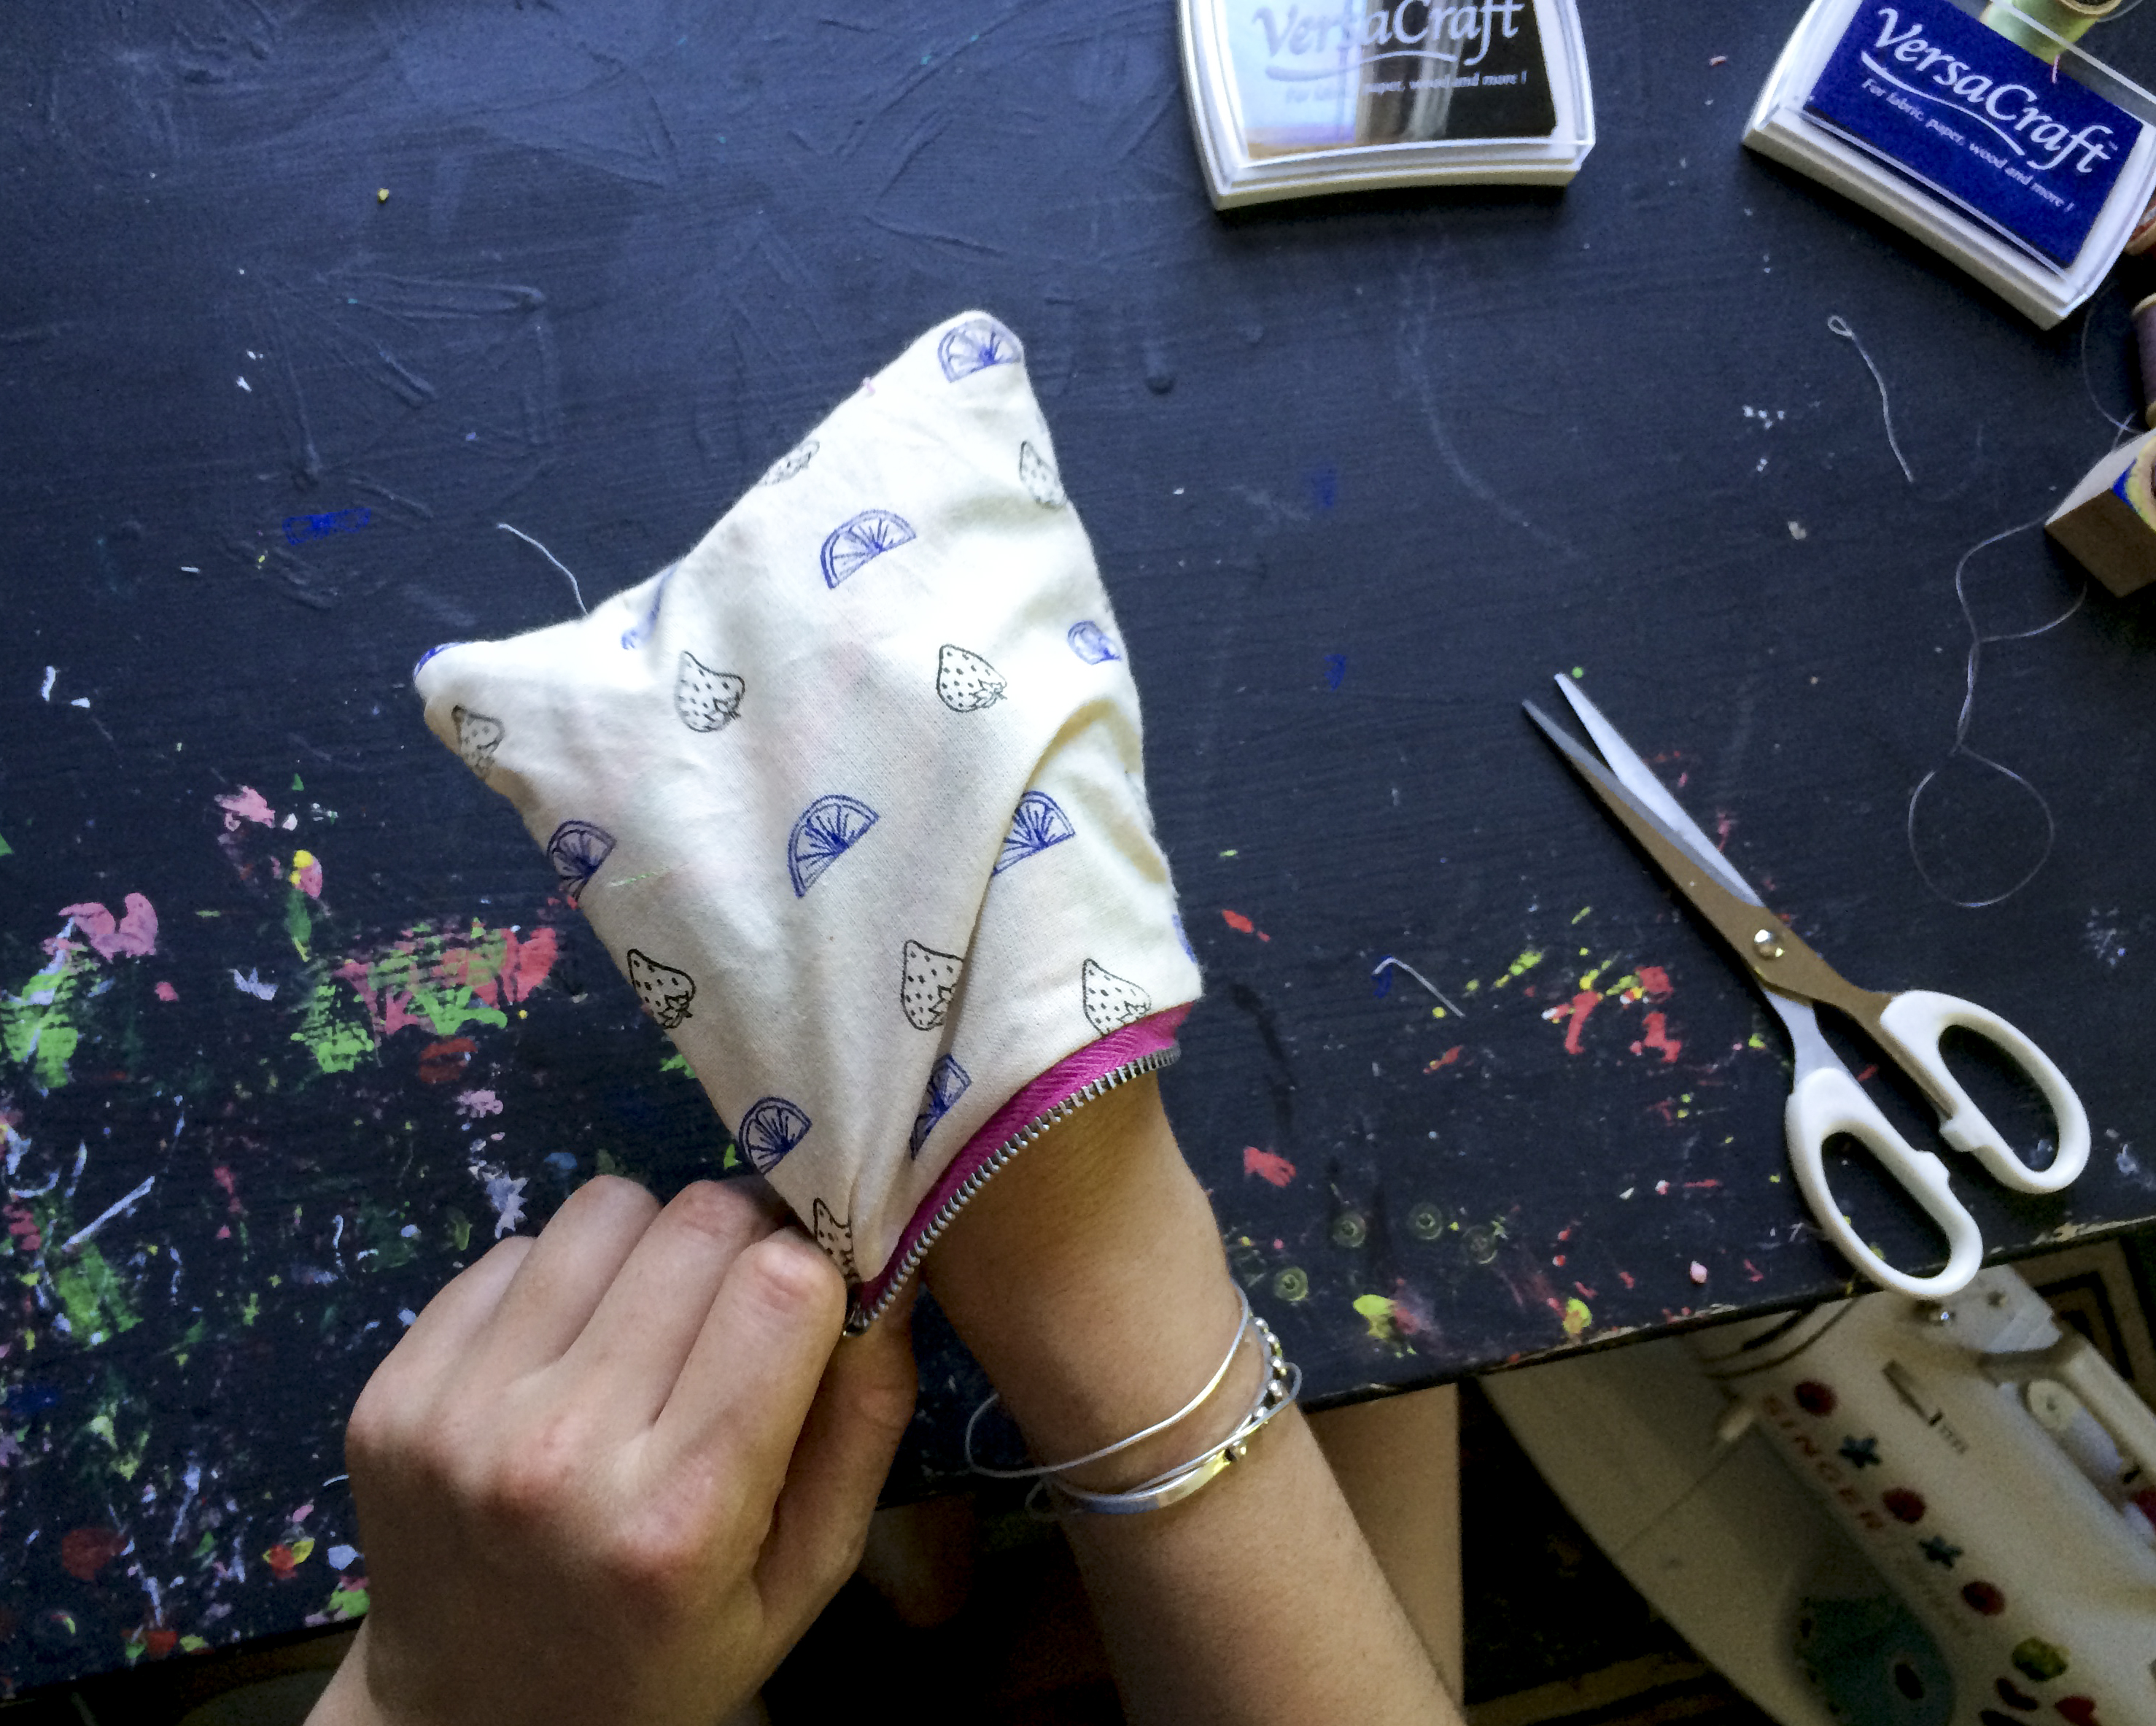
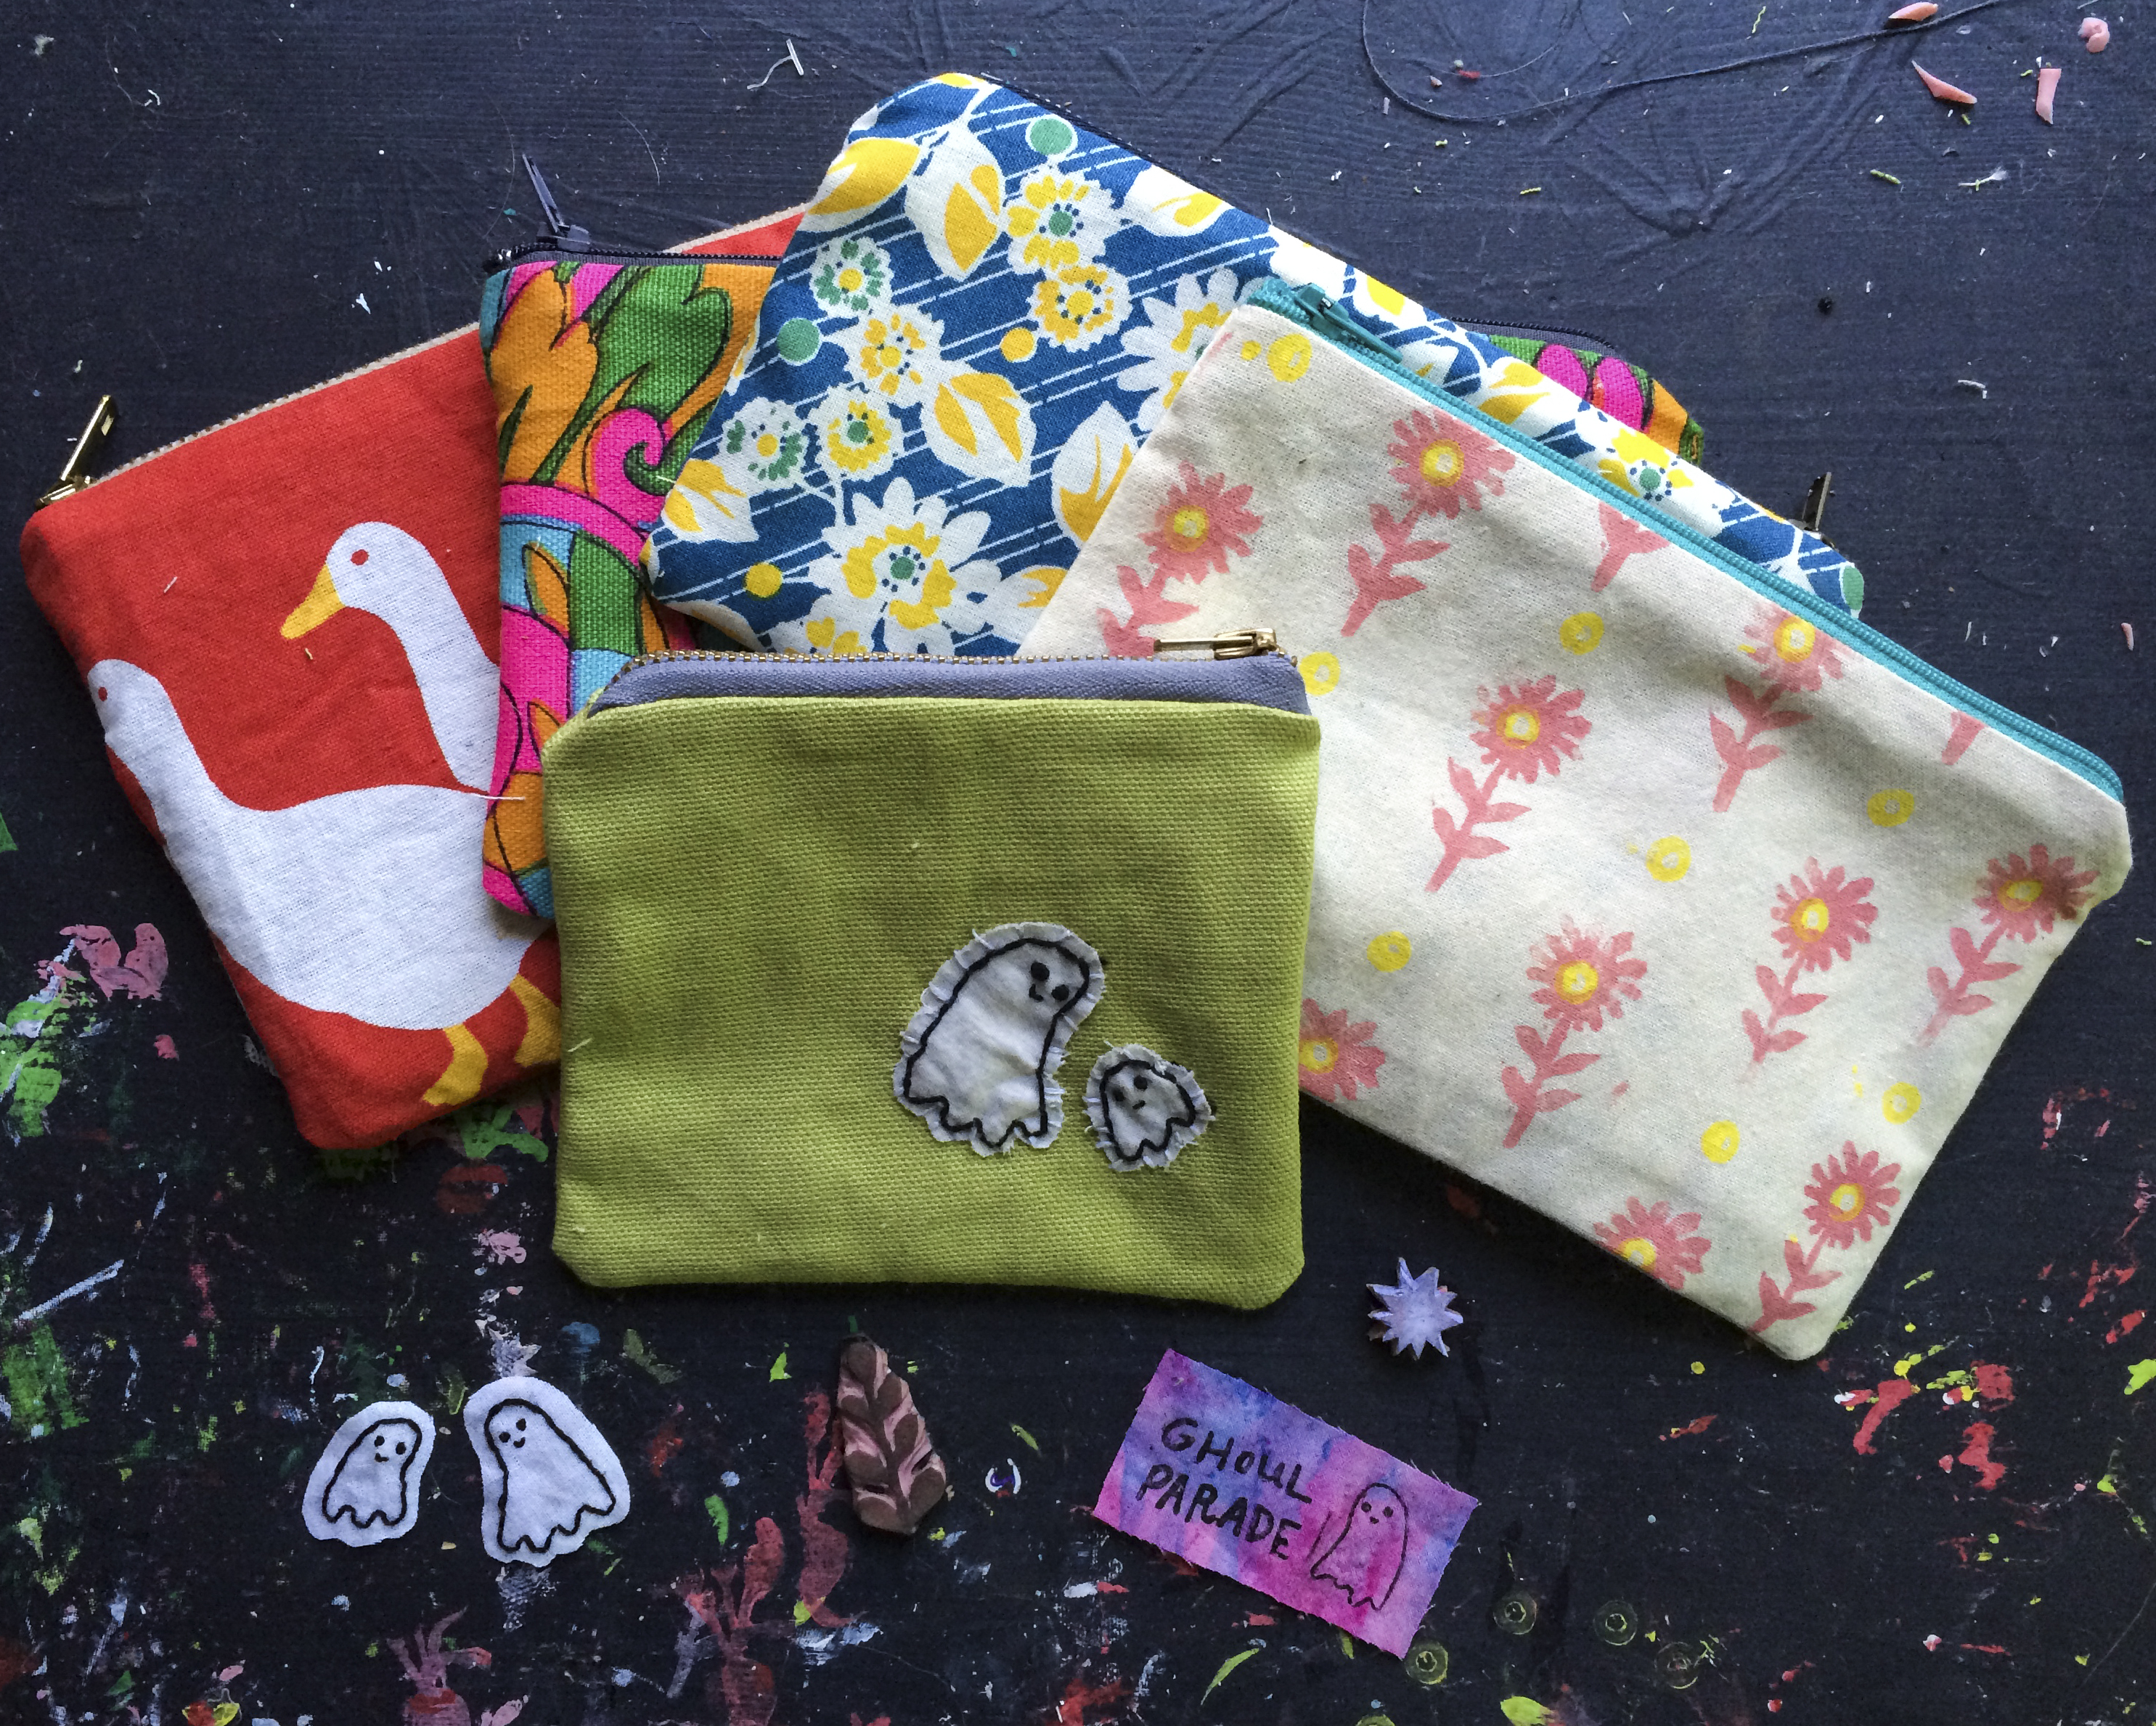
Charlotte then pushed the liner inside of the pouch, ironed one last time, and VOILA an adorable zippy pouch! ! !
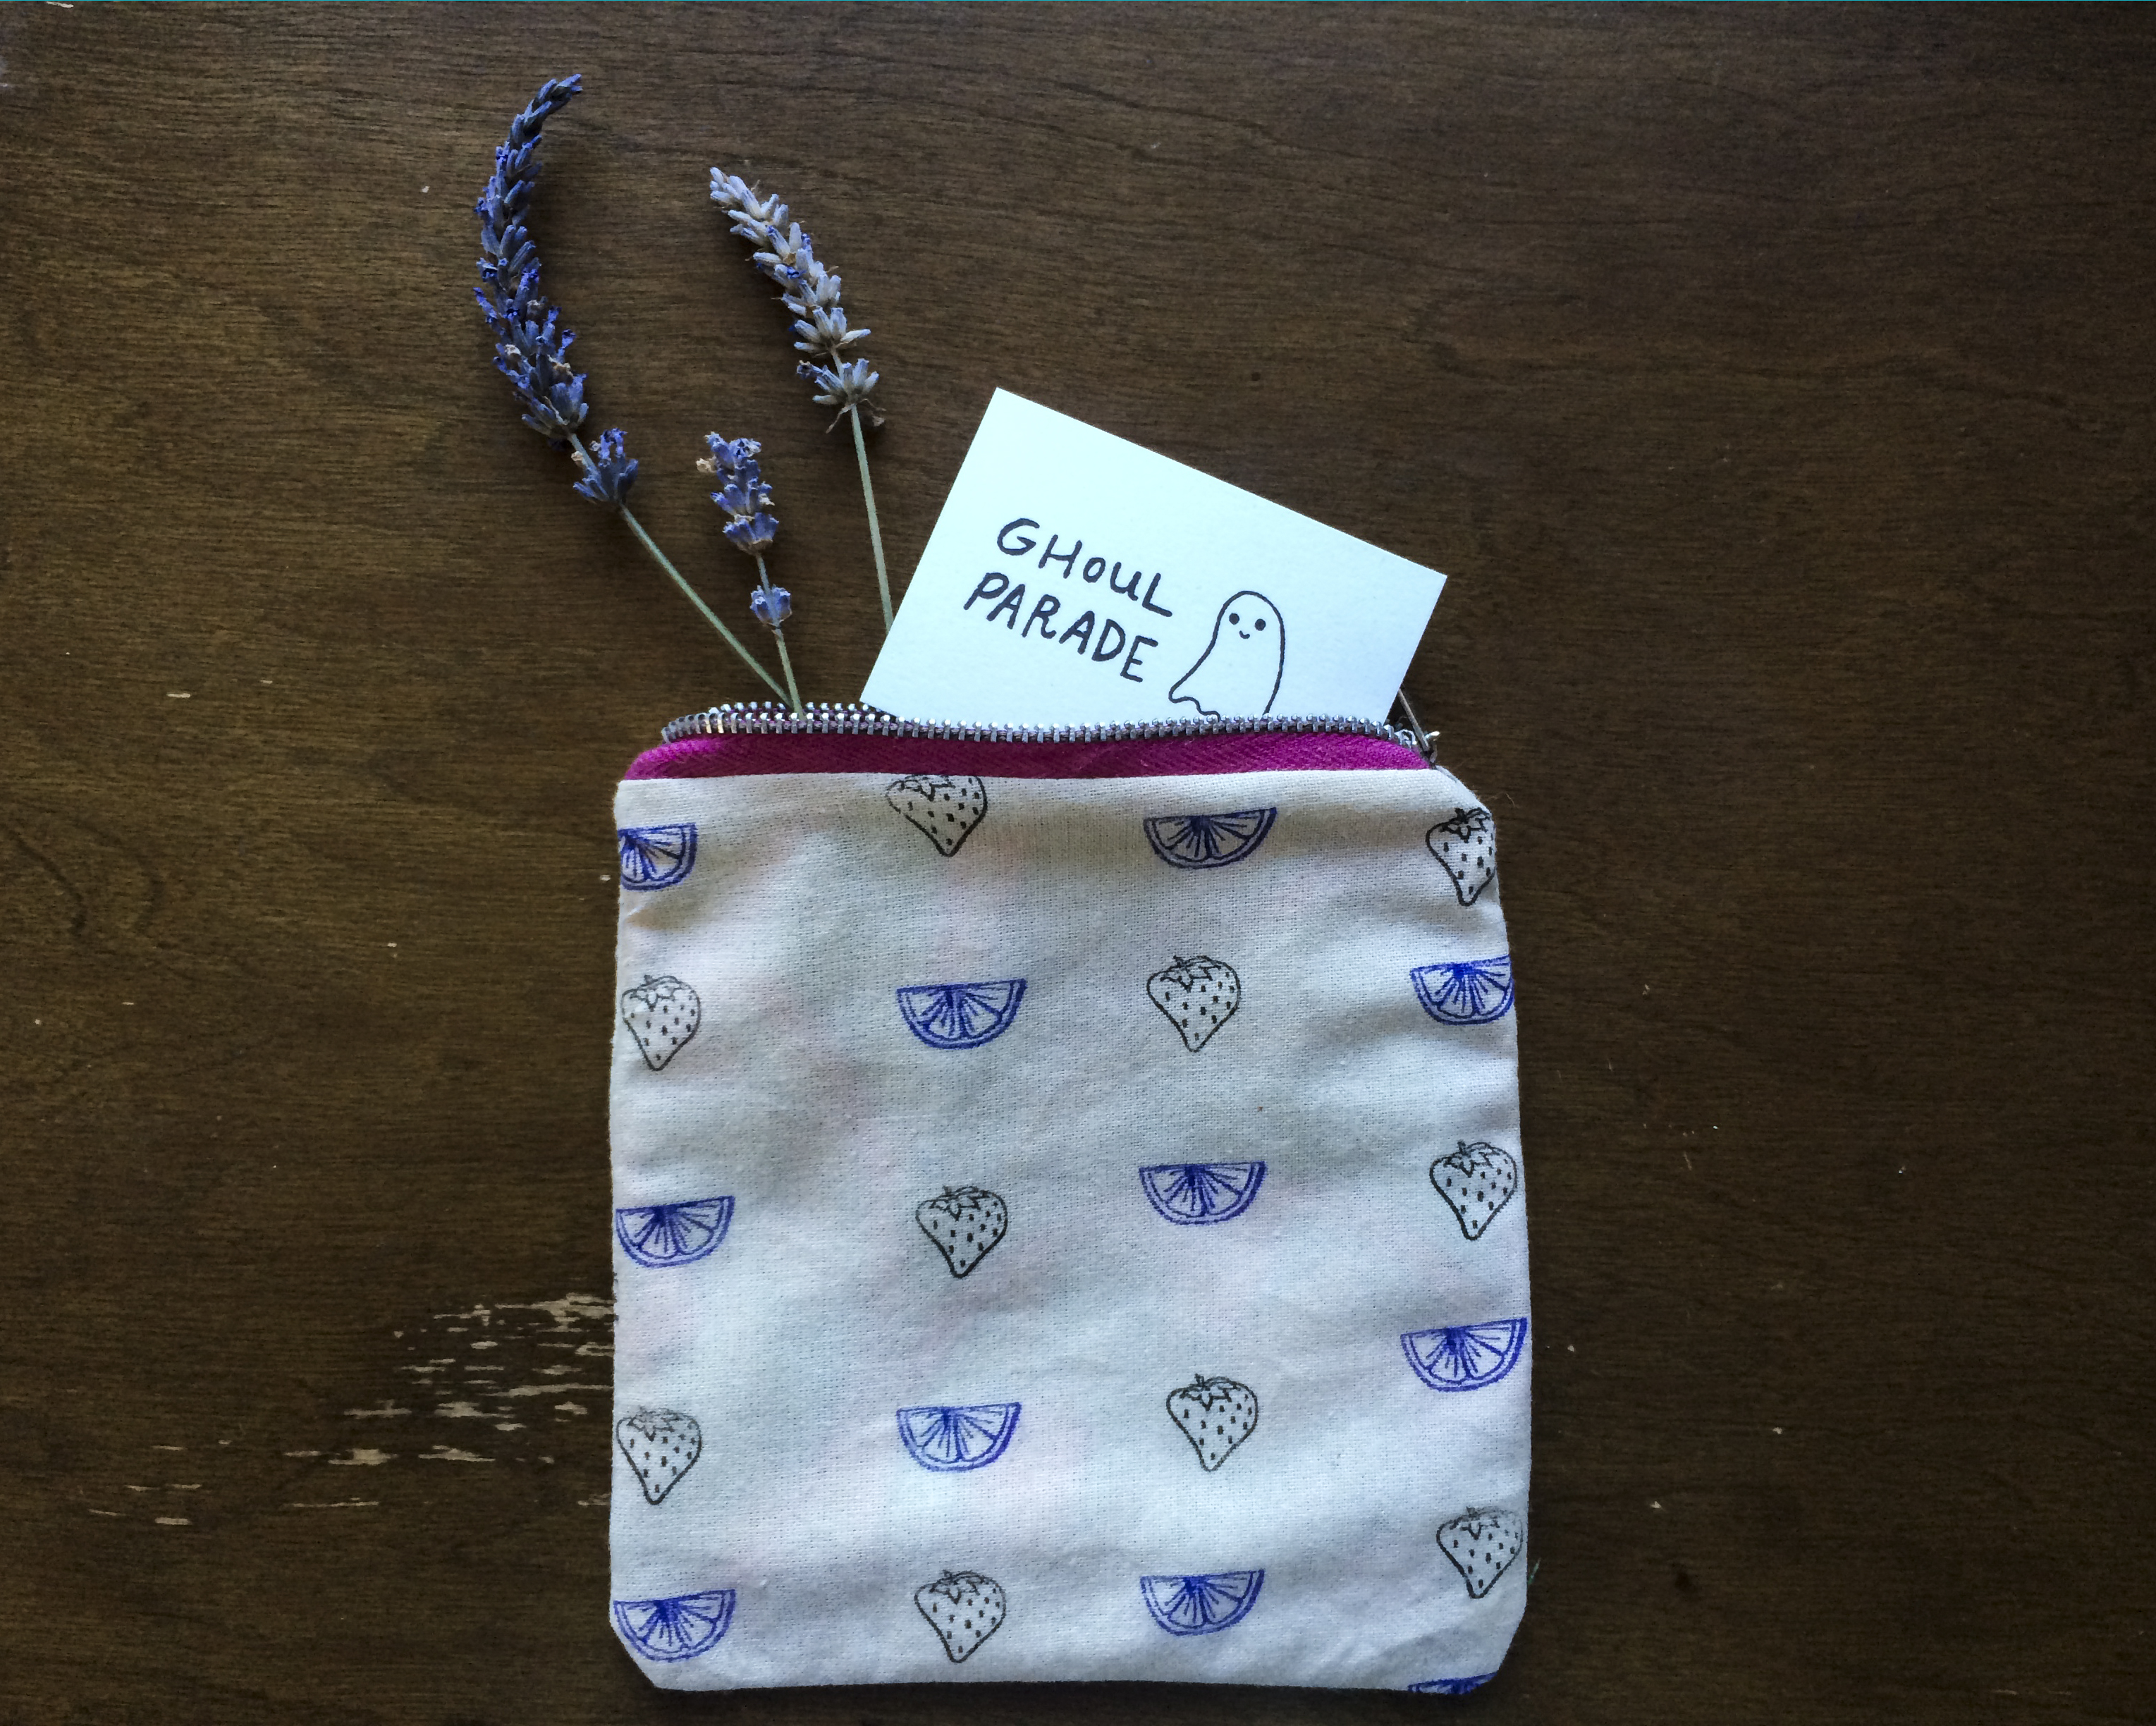
Thanks, Ghoul Parade & Charlotte! Love the idea, but want to skip to the end result? Pick up own your hand stamped, zippy pouch in Charlotte's shop on Etsy!
We'd love to see how you stamp your fabric!
Share your photos on our Facebook or use #papersushi on Instagram !
- emily -