
How to Stamp Impeccably
Posted by Emily on 10th Feb 2015
Hi friends! Welcome to our comprehensive tutorial on inking and printing with rubber stamps! This step-by-step guide is perfect for novice stampers, as well as stamping experts! You never know, you might pick up new tricks from fellow stampers...
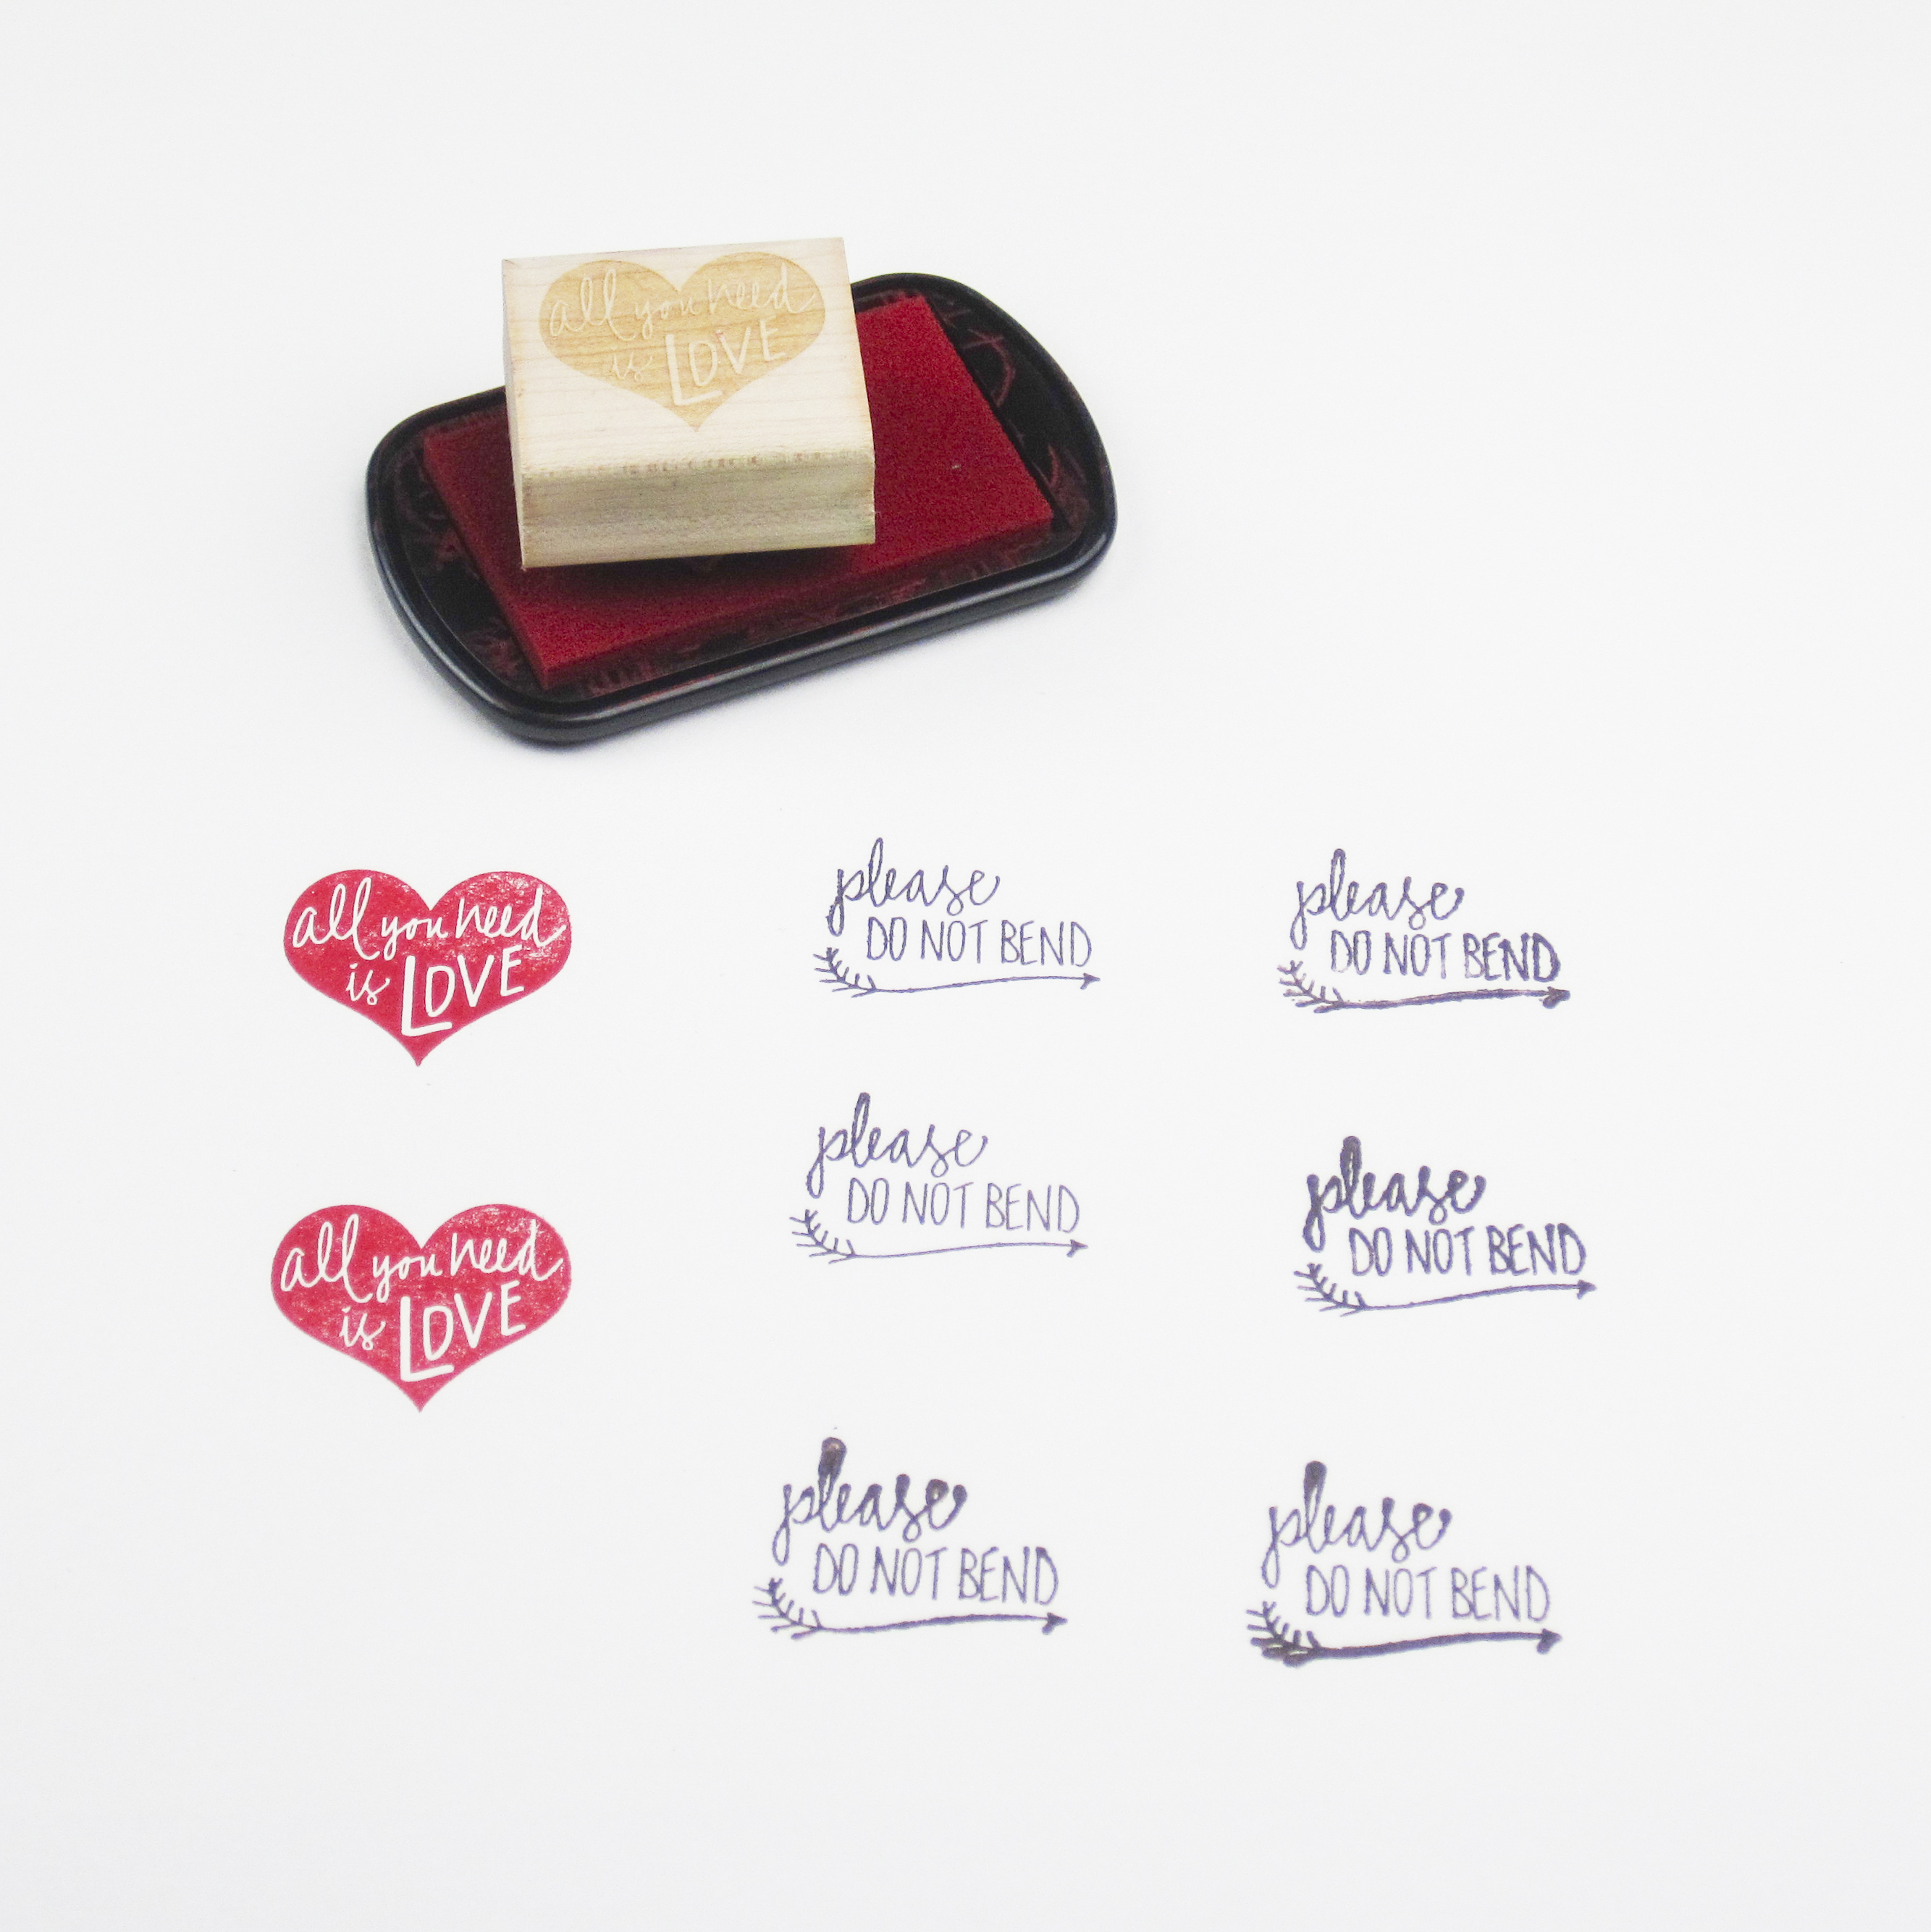
We've seen poorly made stamps that can create problems when not etched deeply enough, made with cheaper materials or cut improperly. But, you'll never have those problems with Paper Sushi stamps! With high quality stamps, the proper ink and the tips below, stamping can be a breeze.
First off, make sure you're using the correct ink for your surface! Whether you're using matte paper, wood, fabric, or metal, there is the perfect ink out there! We recommend taking a look at our blog post specifically about using the right kind of ink as a first step. You can read our post, What Kind of Ink Should I Use?
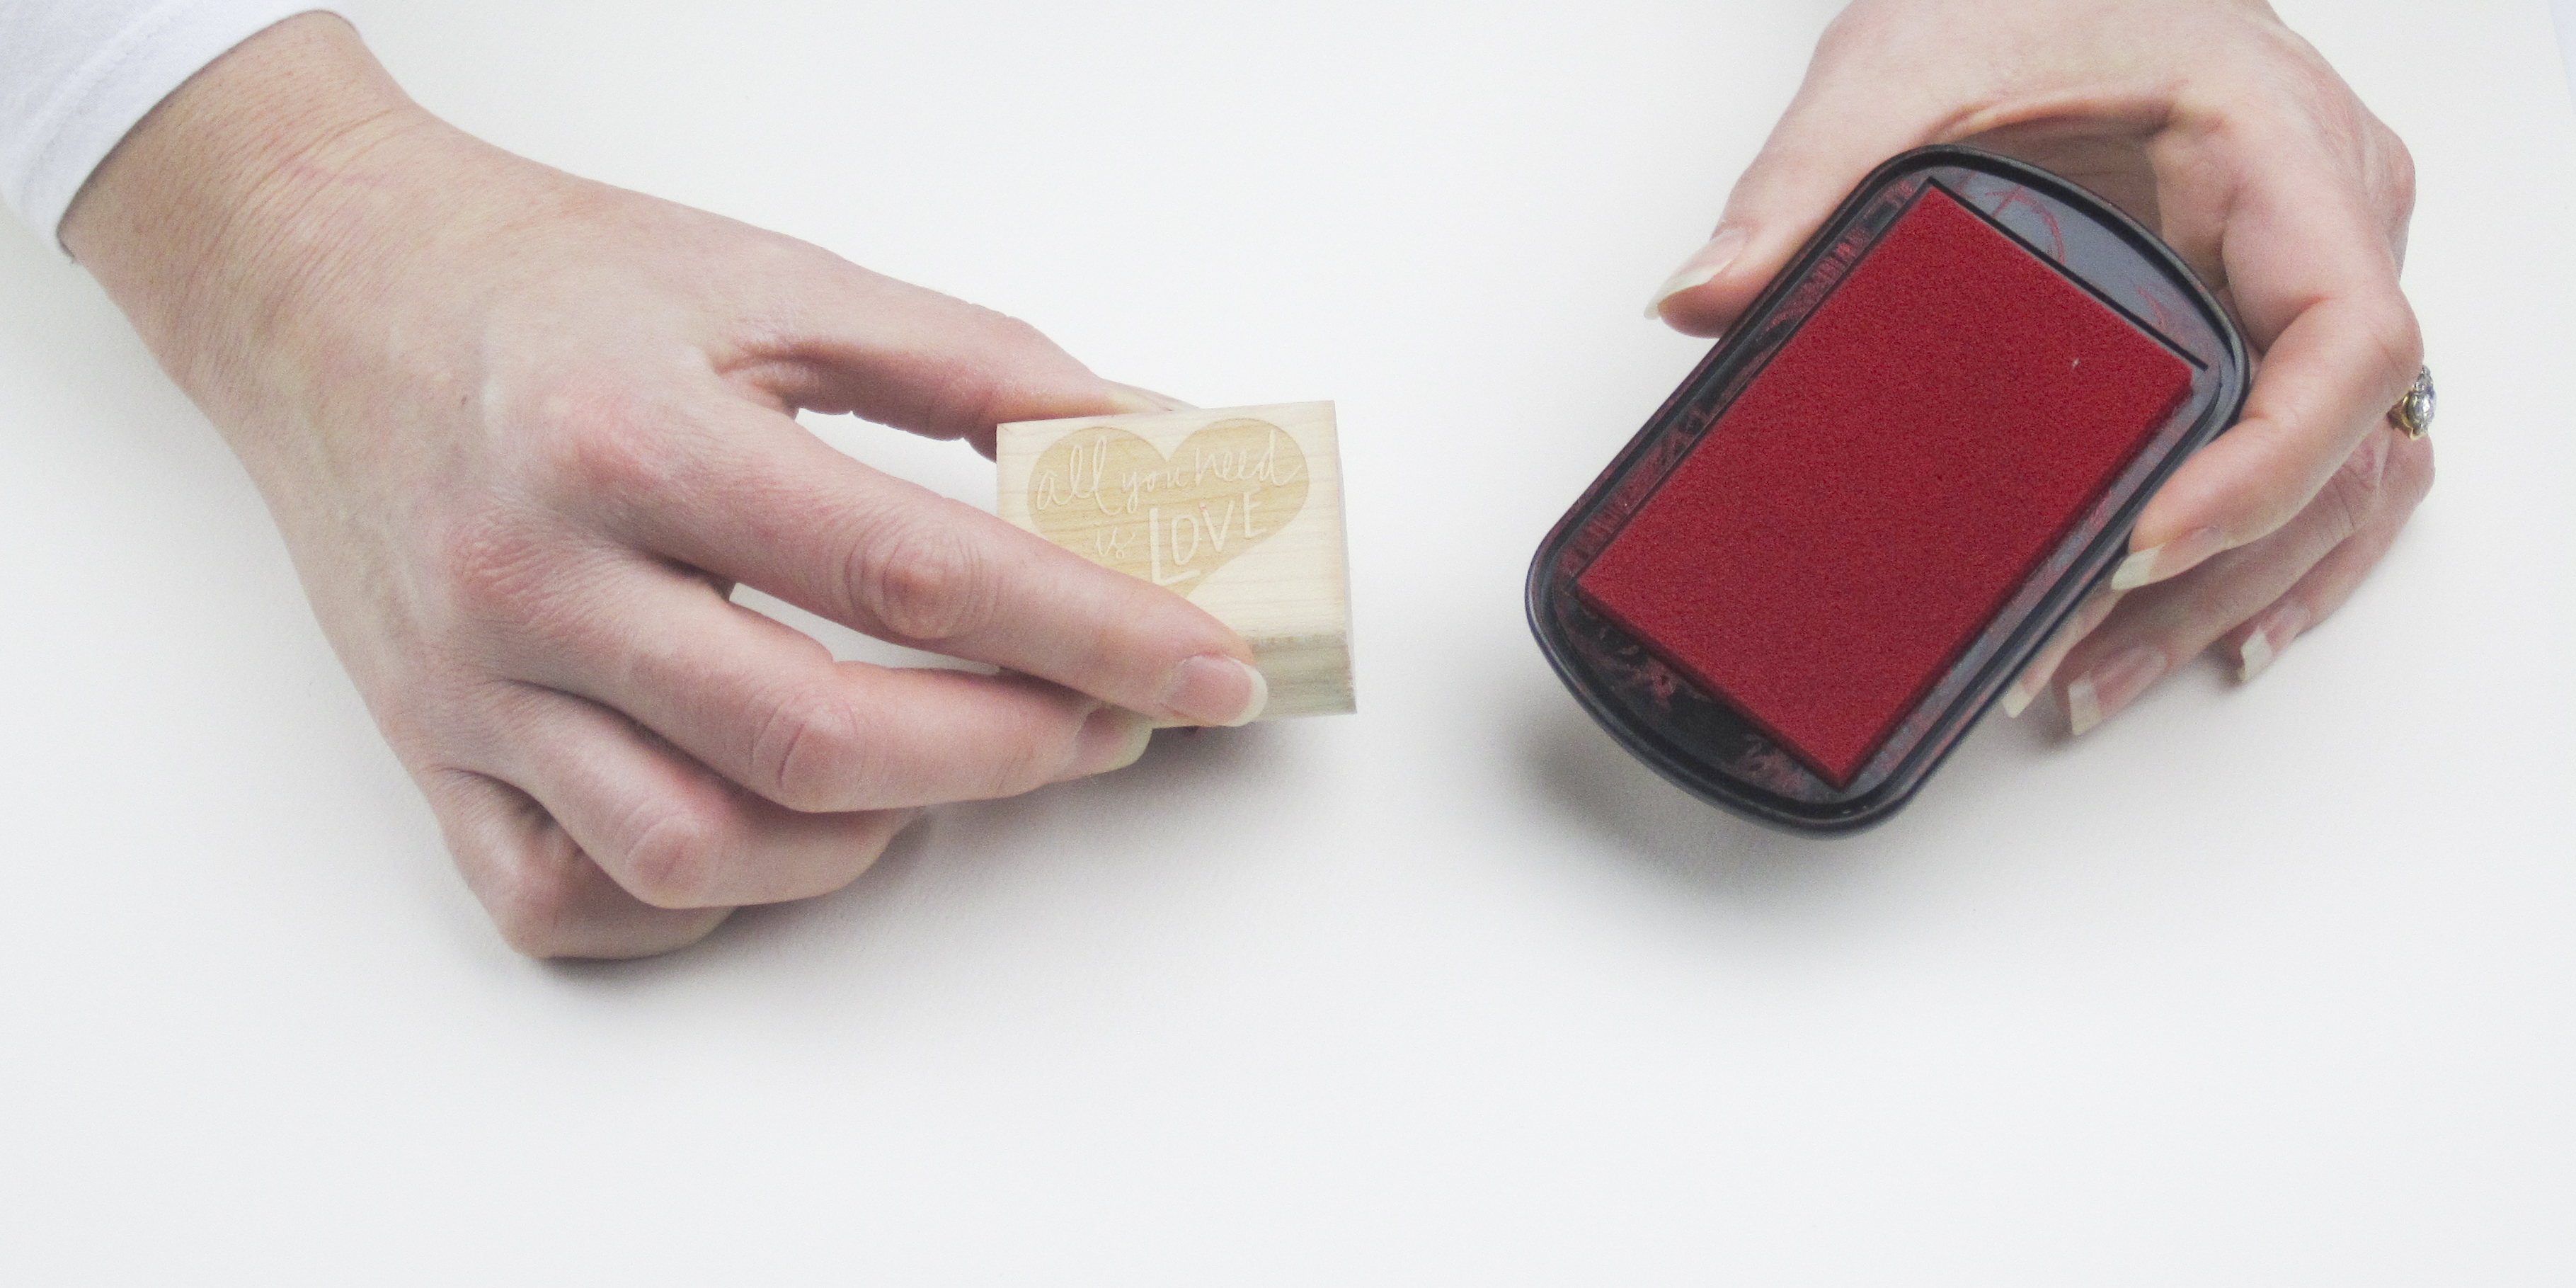
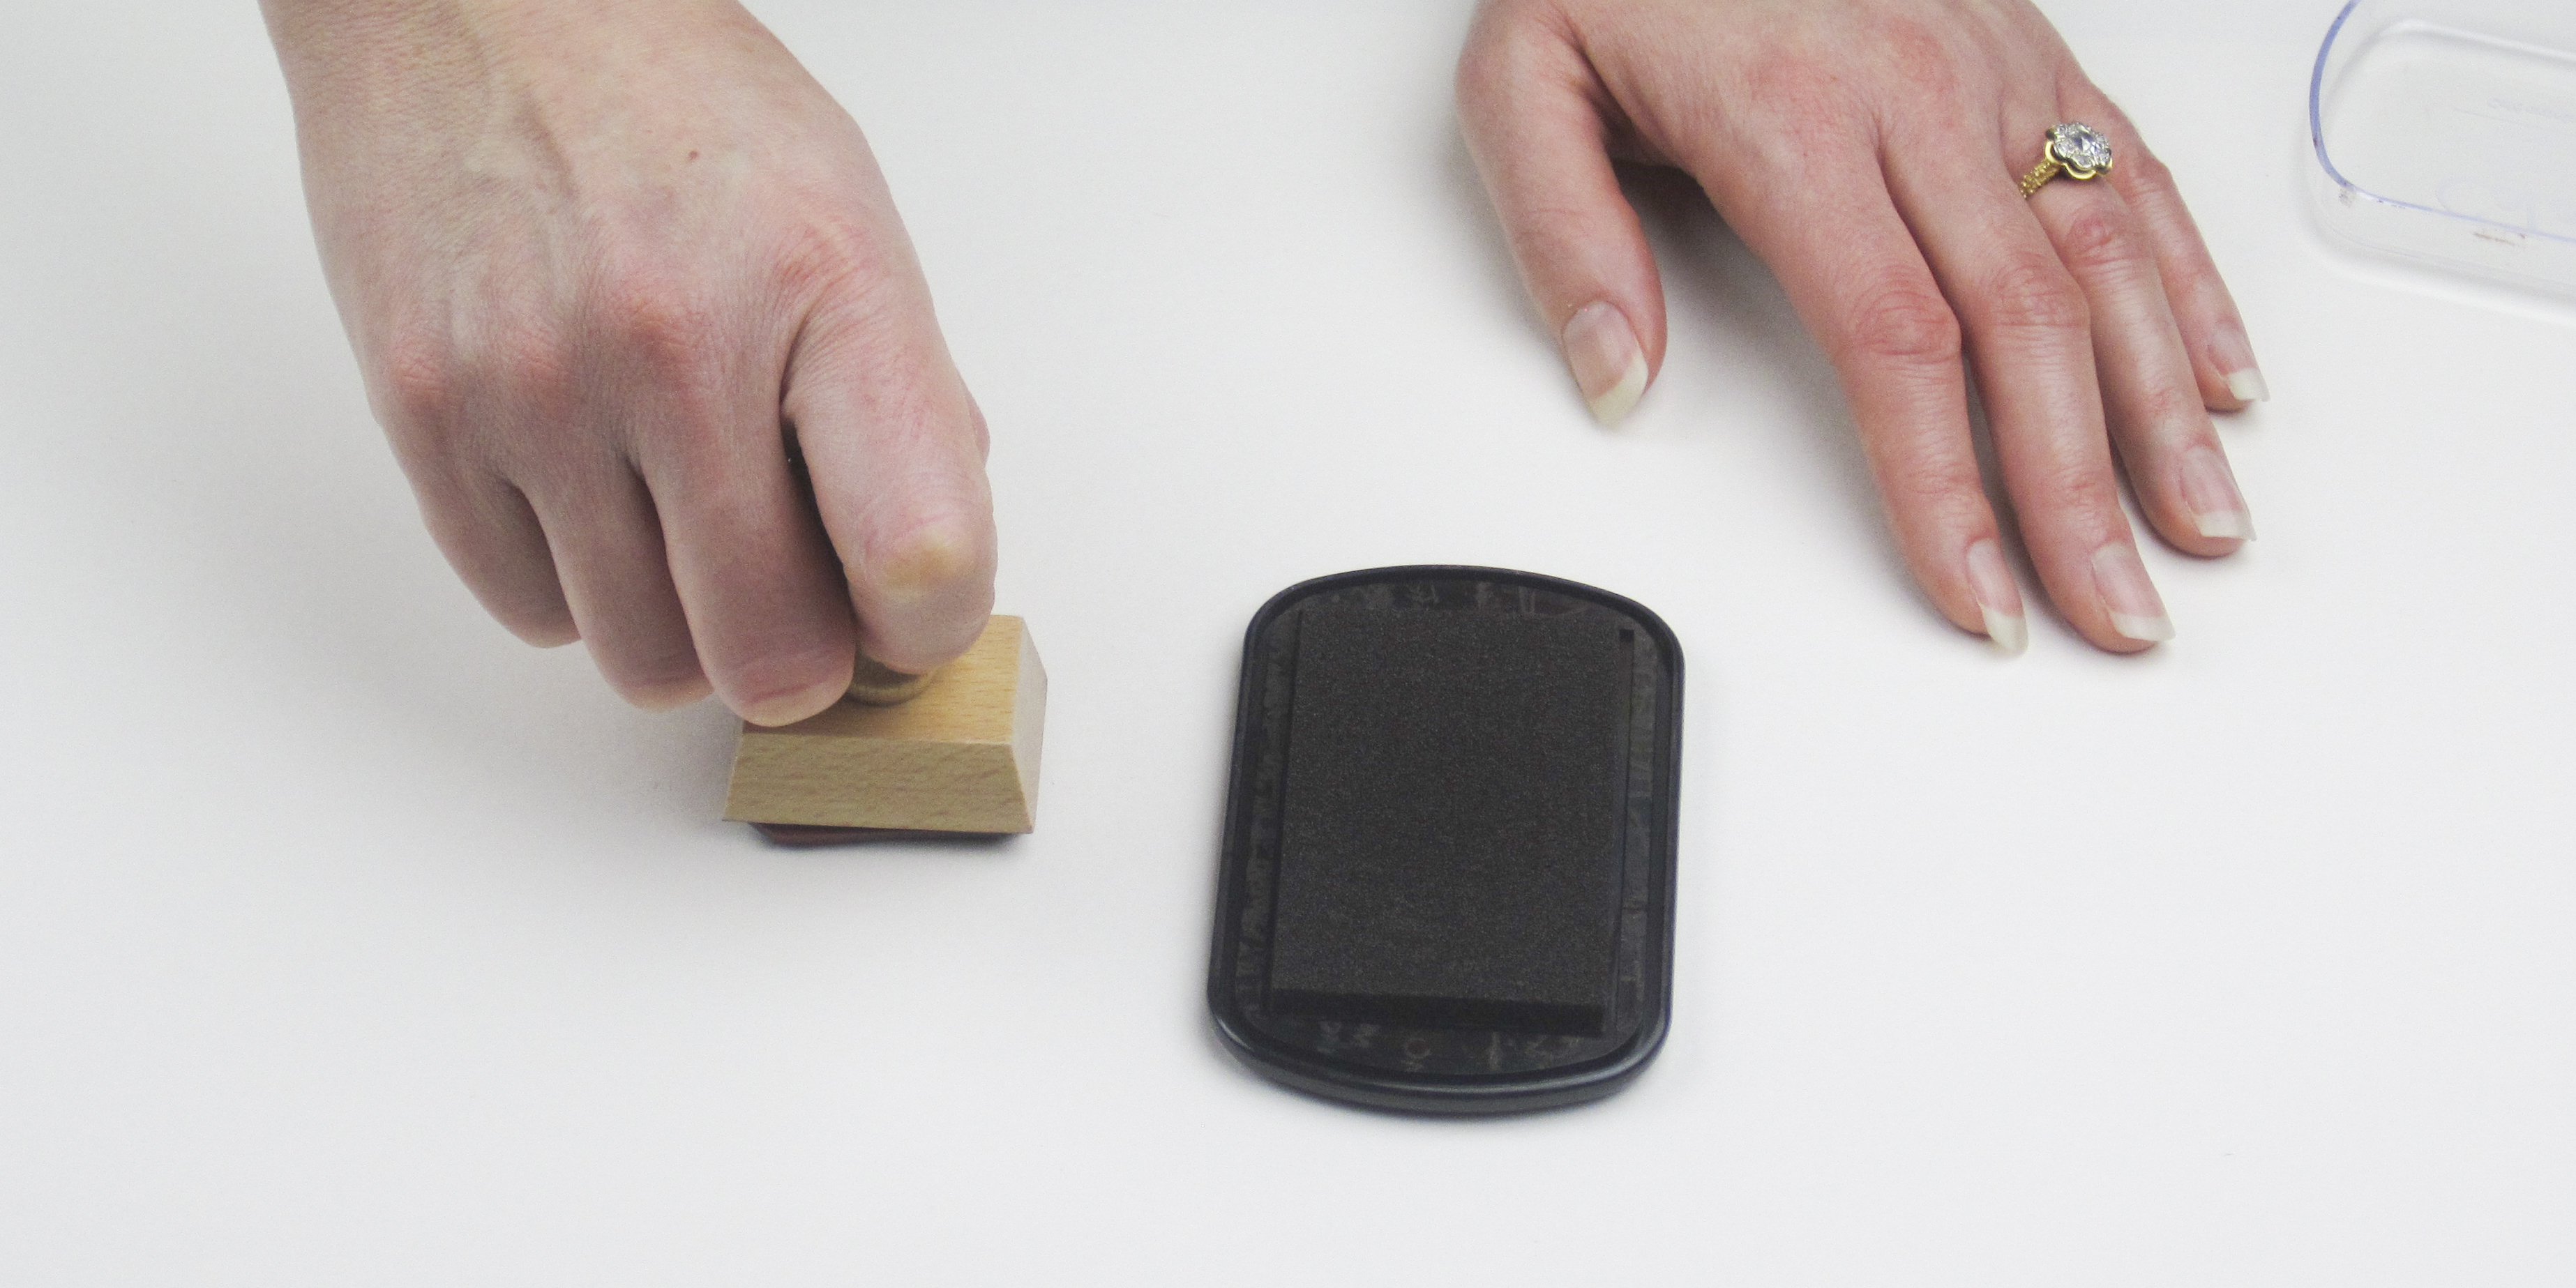
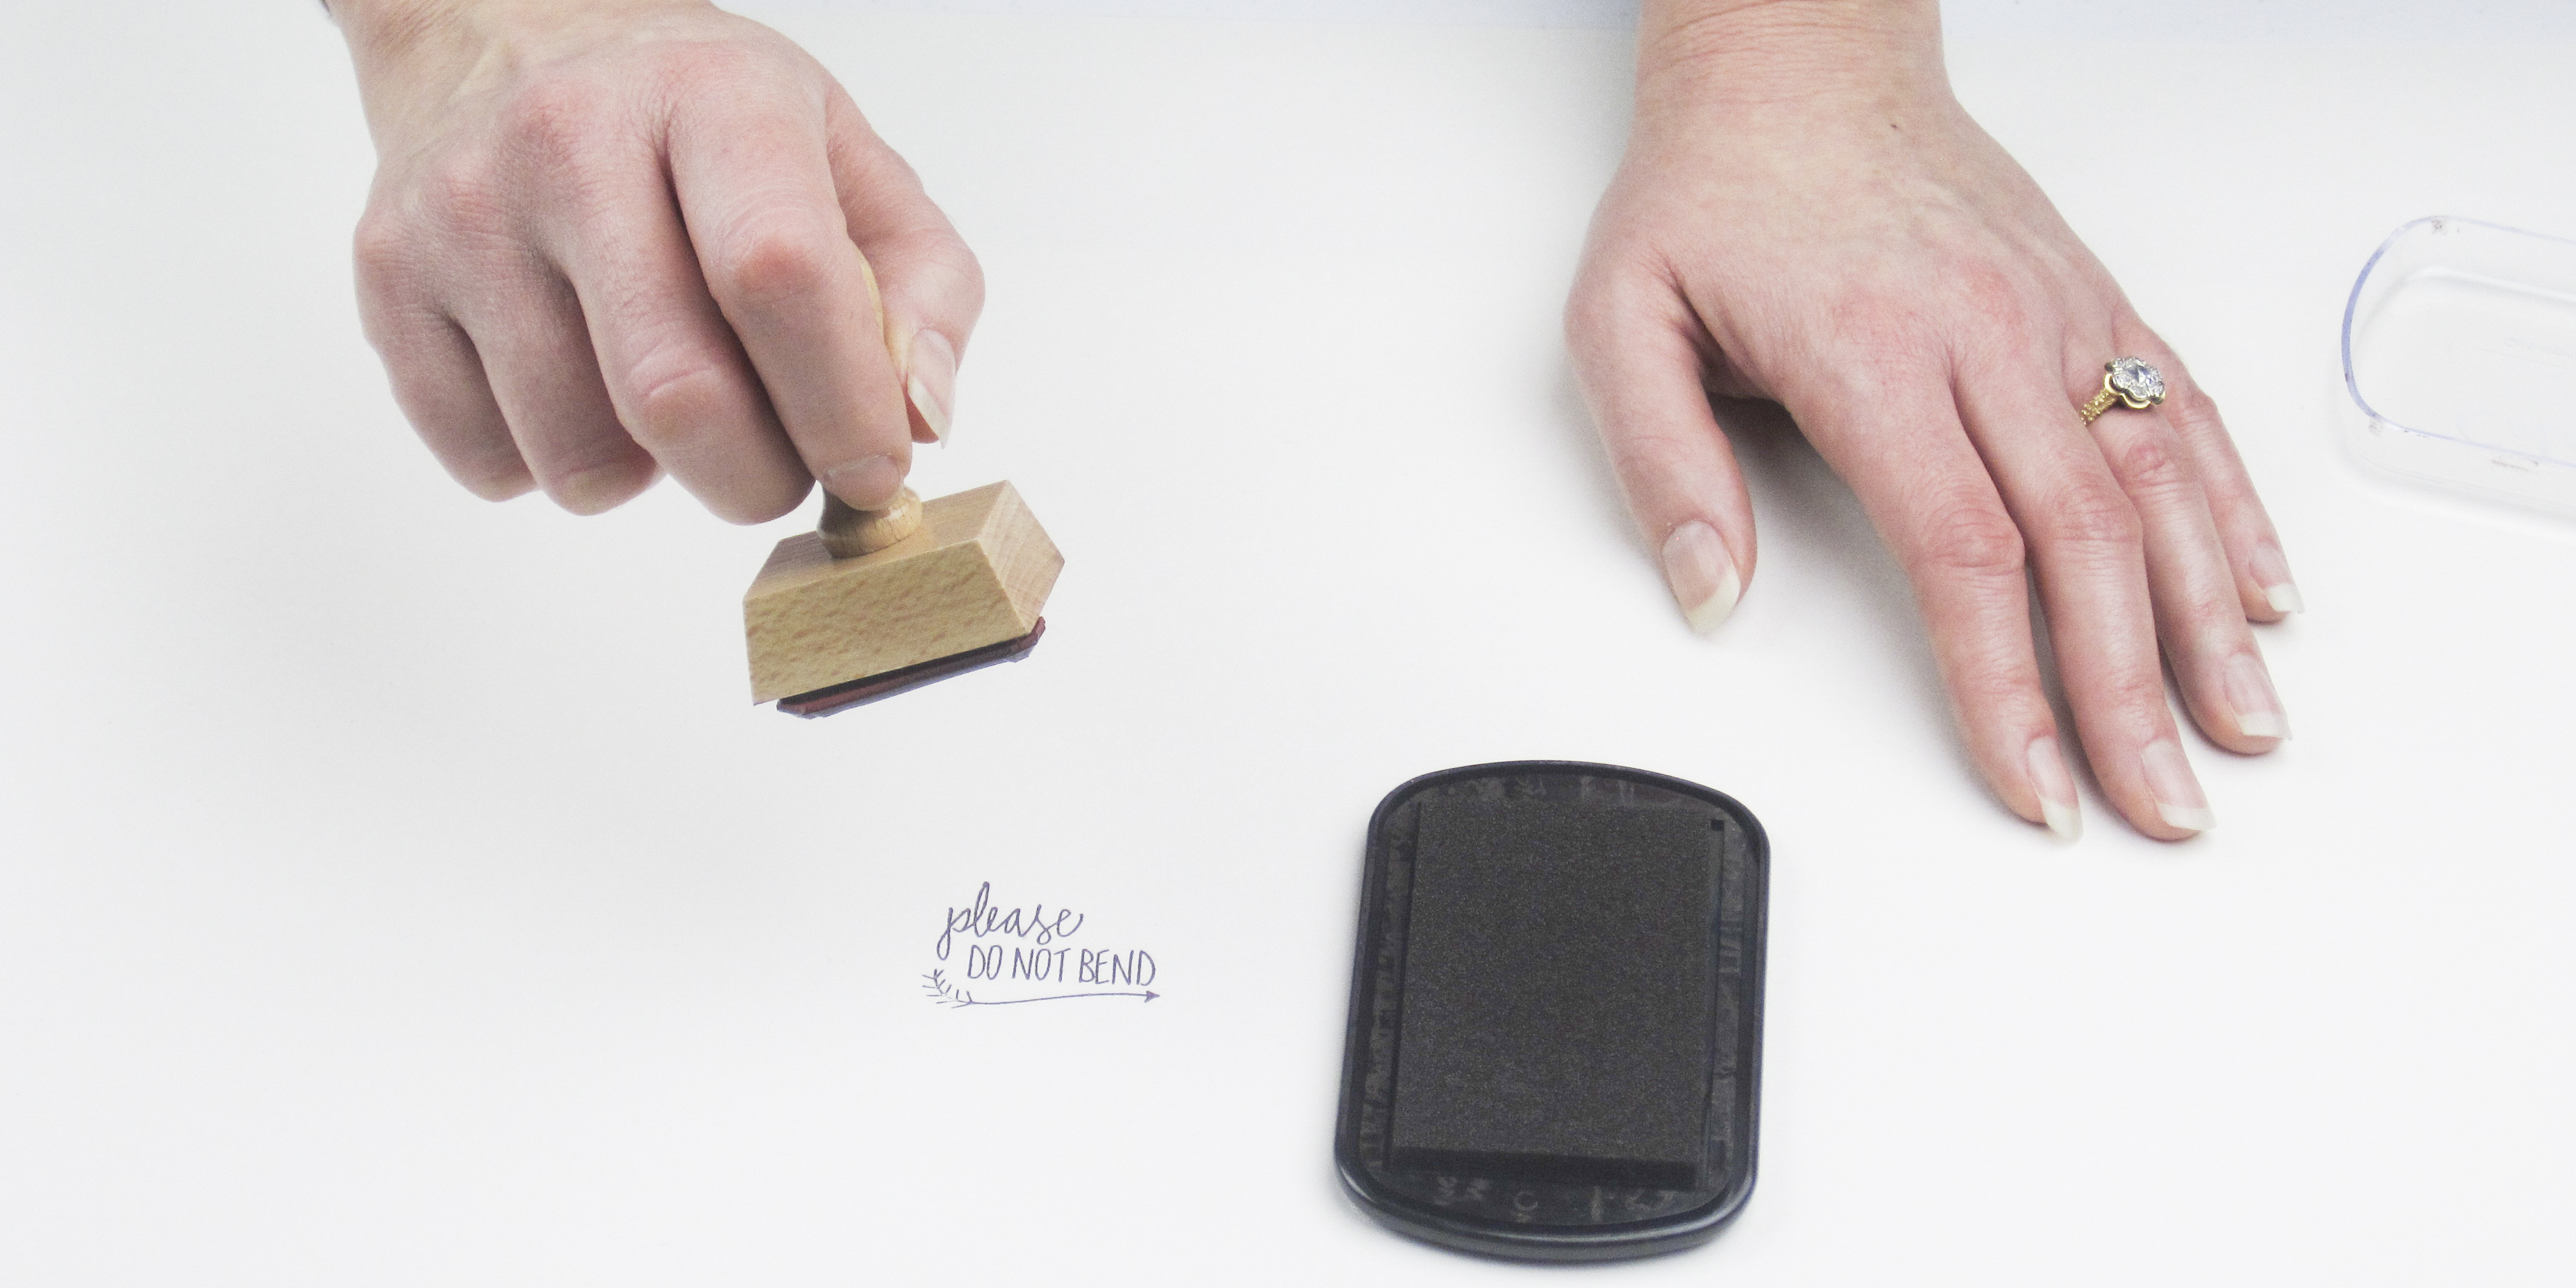
Inking properly can be the most difficult step, as it takes some practice to get a feel for the right amount of ink. We find that a lot of brand new stampers like to use more ink than they actually need! Pushing the stamp into the ink pad can overink your stamp and get excess ink around the edges and even on the mount. We recommend holding the ink pad in your non-dominant hand and the stamp in your dominant hand. If you don't find this way comfortable, place the stamp on the table. Then lightly pat the ink pad against the stamp from one edge, moving horizontally to the opposite edge. With inverted stamps (stamps like our All You Need is Love), with a lot more stamping surface area, you'll need a bit more ink coverage.
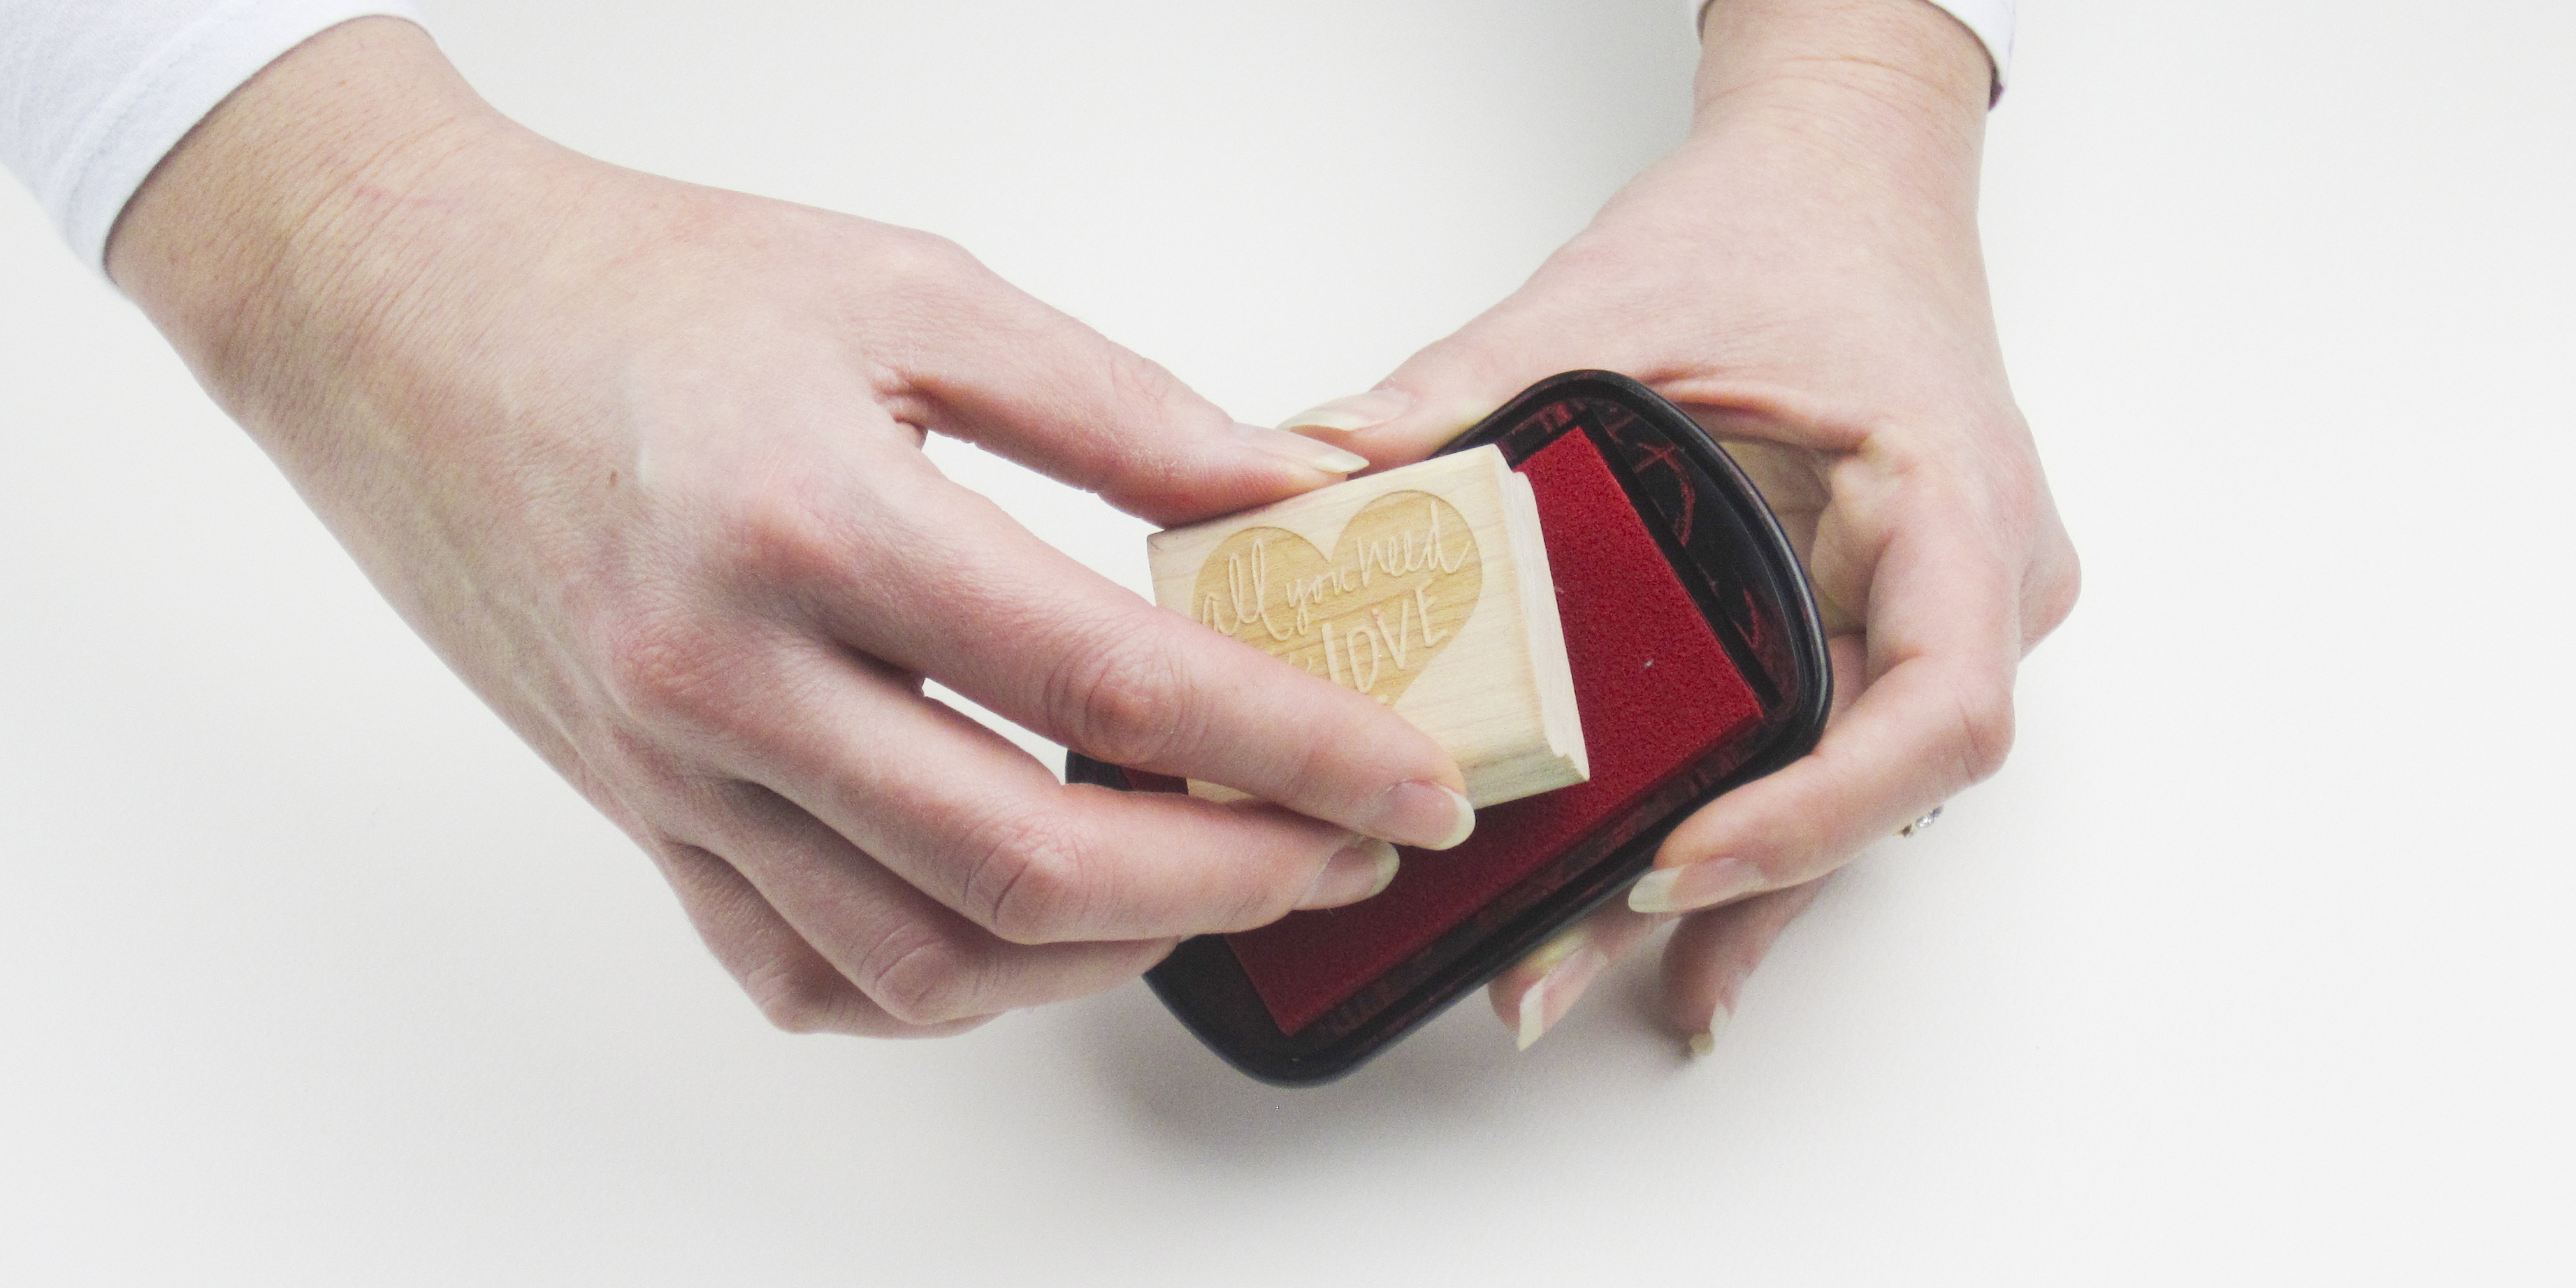
Whichever direction you go with the stamp and ink pad, try not to firmly press your stamp into the ink pad. It will make the ink well up into the rubber engraving, ultimately resulting in an uneven imprint. Keep an eye on the rubber - is the raised part of the rubber catching the ink completely? If there is a bit of unevenness, lightly tap the ink over the rubber again. If you find that there is so much ink that your rubber is pooling with it, you might need to take some off. You can do this by pressing the stamp down hard on a piece of scrap paper a few times or rinsing your stamp in the sink, and trying our inking process once more but with much lighter pressure.
Once you have your stamp inked properly, flip over your rubber stamp, and line up the rubber with the surface. Lower your stamp evenly onto of your surface. Lowering your stamp at an angle may result in a smudged image. Lightly, with even pressure, press your stamp onto the surface once. Do not press your stamp too firmly onto your surface as this will make your stamp wall collapse and make a messy imprint. Do not rock your stamp, as this can result in a completely smudged image. Lift your stamp from your surface, and voila! you've got a perfect stamped image!
We recommend practicing this process several times on scrap paper before making a final stamp, to get a feel for how much ink and pressure to use.
Below, we have made a video tutorial so you can see us stamping in action!
How to Stamp Impeccably by Paper Sushi
We hope this tutorial helps you stamp perfectly every time! If you have any further questions about stamping, please feel free to contact us.
- Jen & Emily