
Colorful Stamping With Paper Sushi
Posted by Emily on 30th Jun 2014
We posted a how to on inking oversized stamps last week and we've been playing around with the possibilities this week!
Looking for ways to spice up your large stamps? Look no further! We've been having fun in the studio creating multi-colored imprints of your favorite large stamps! Below is a collection of colorful stamp imprint ideas, easy for you to make at home!
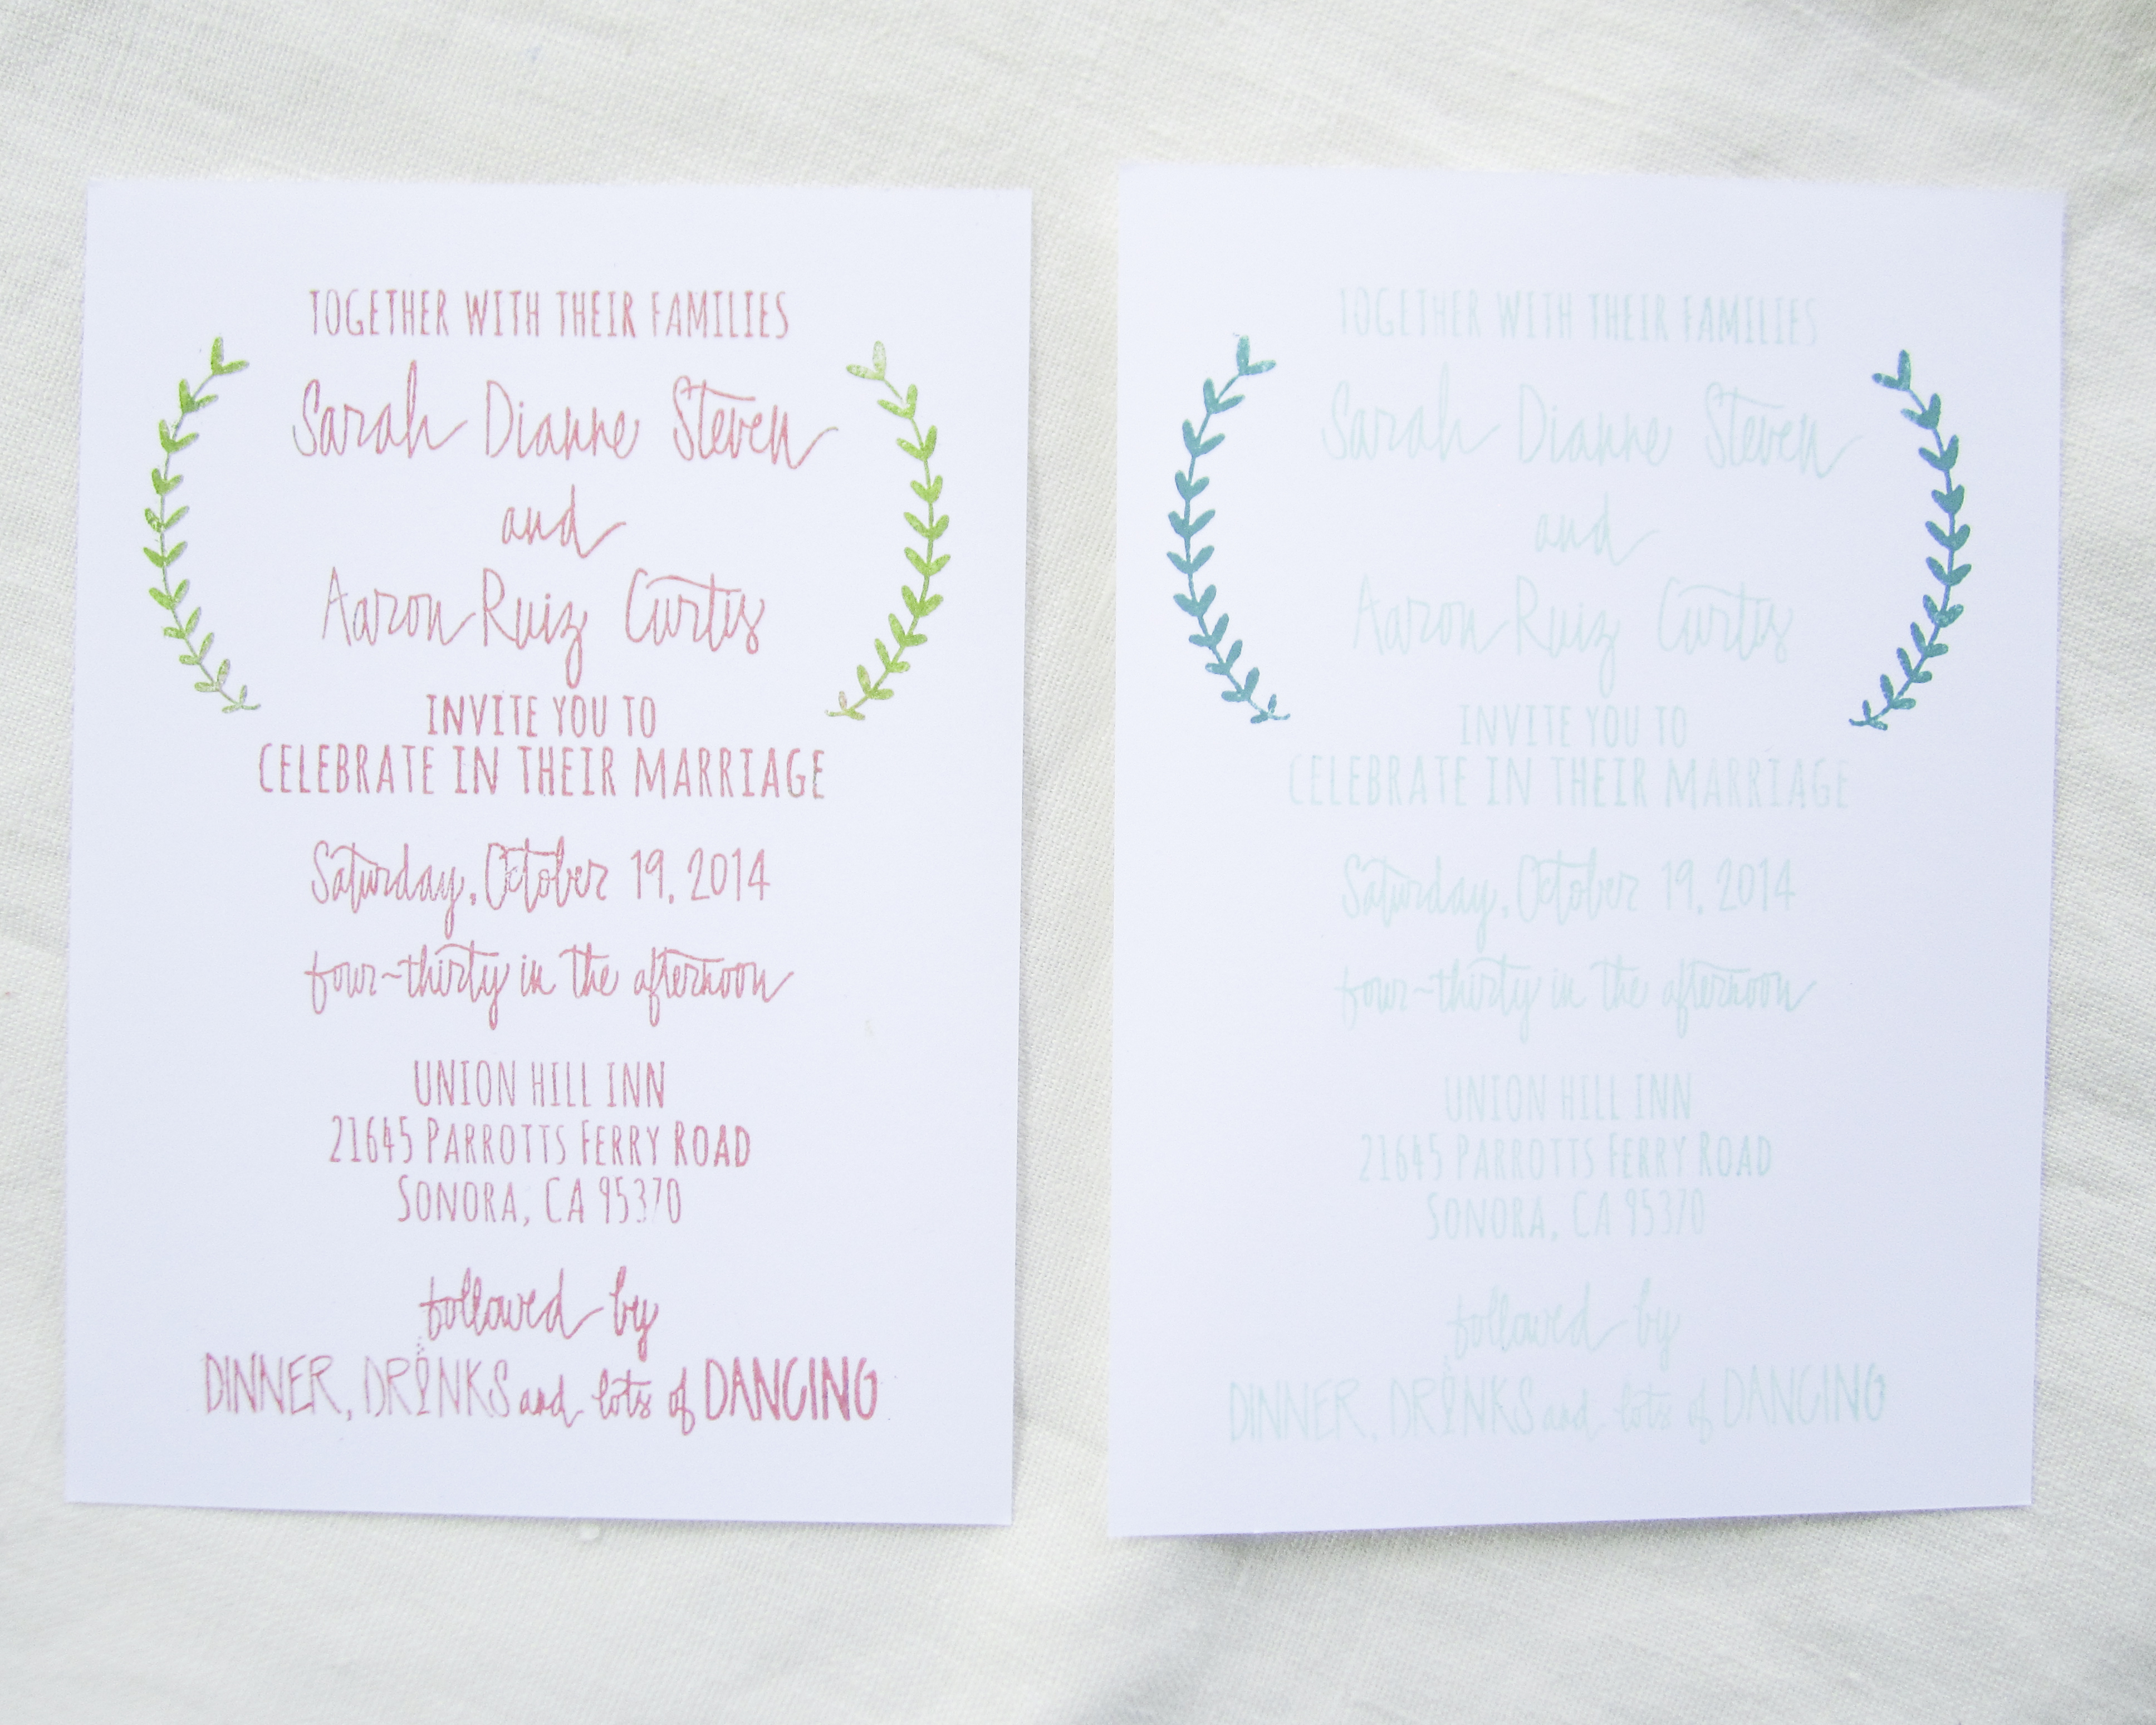
OMBRE
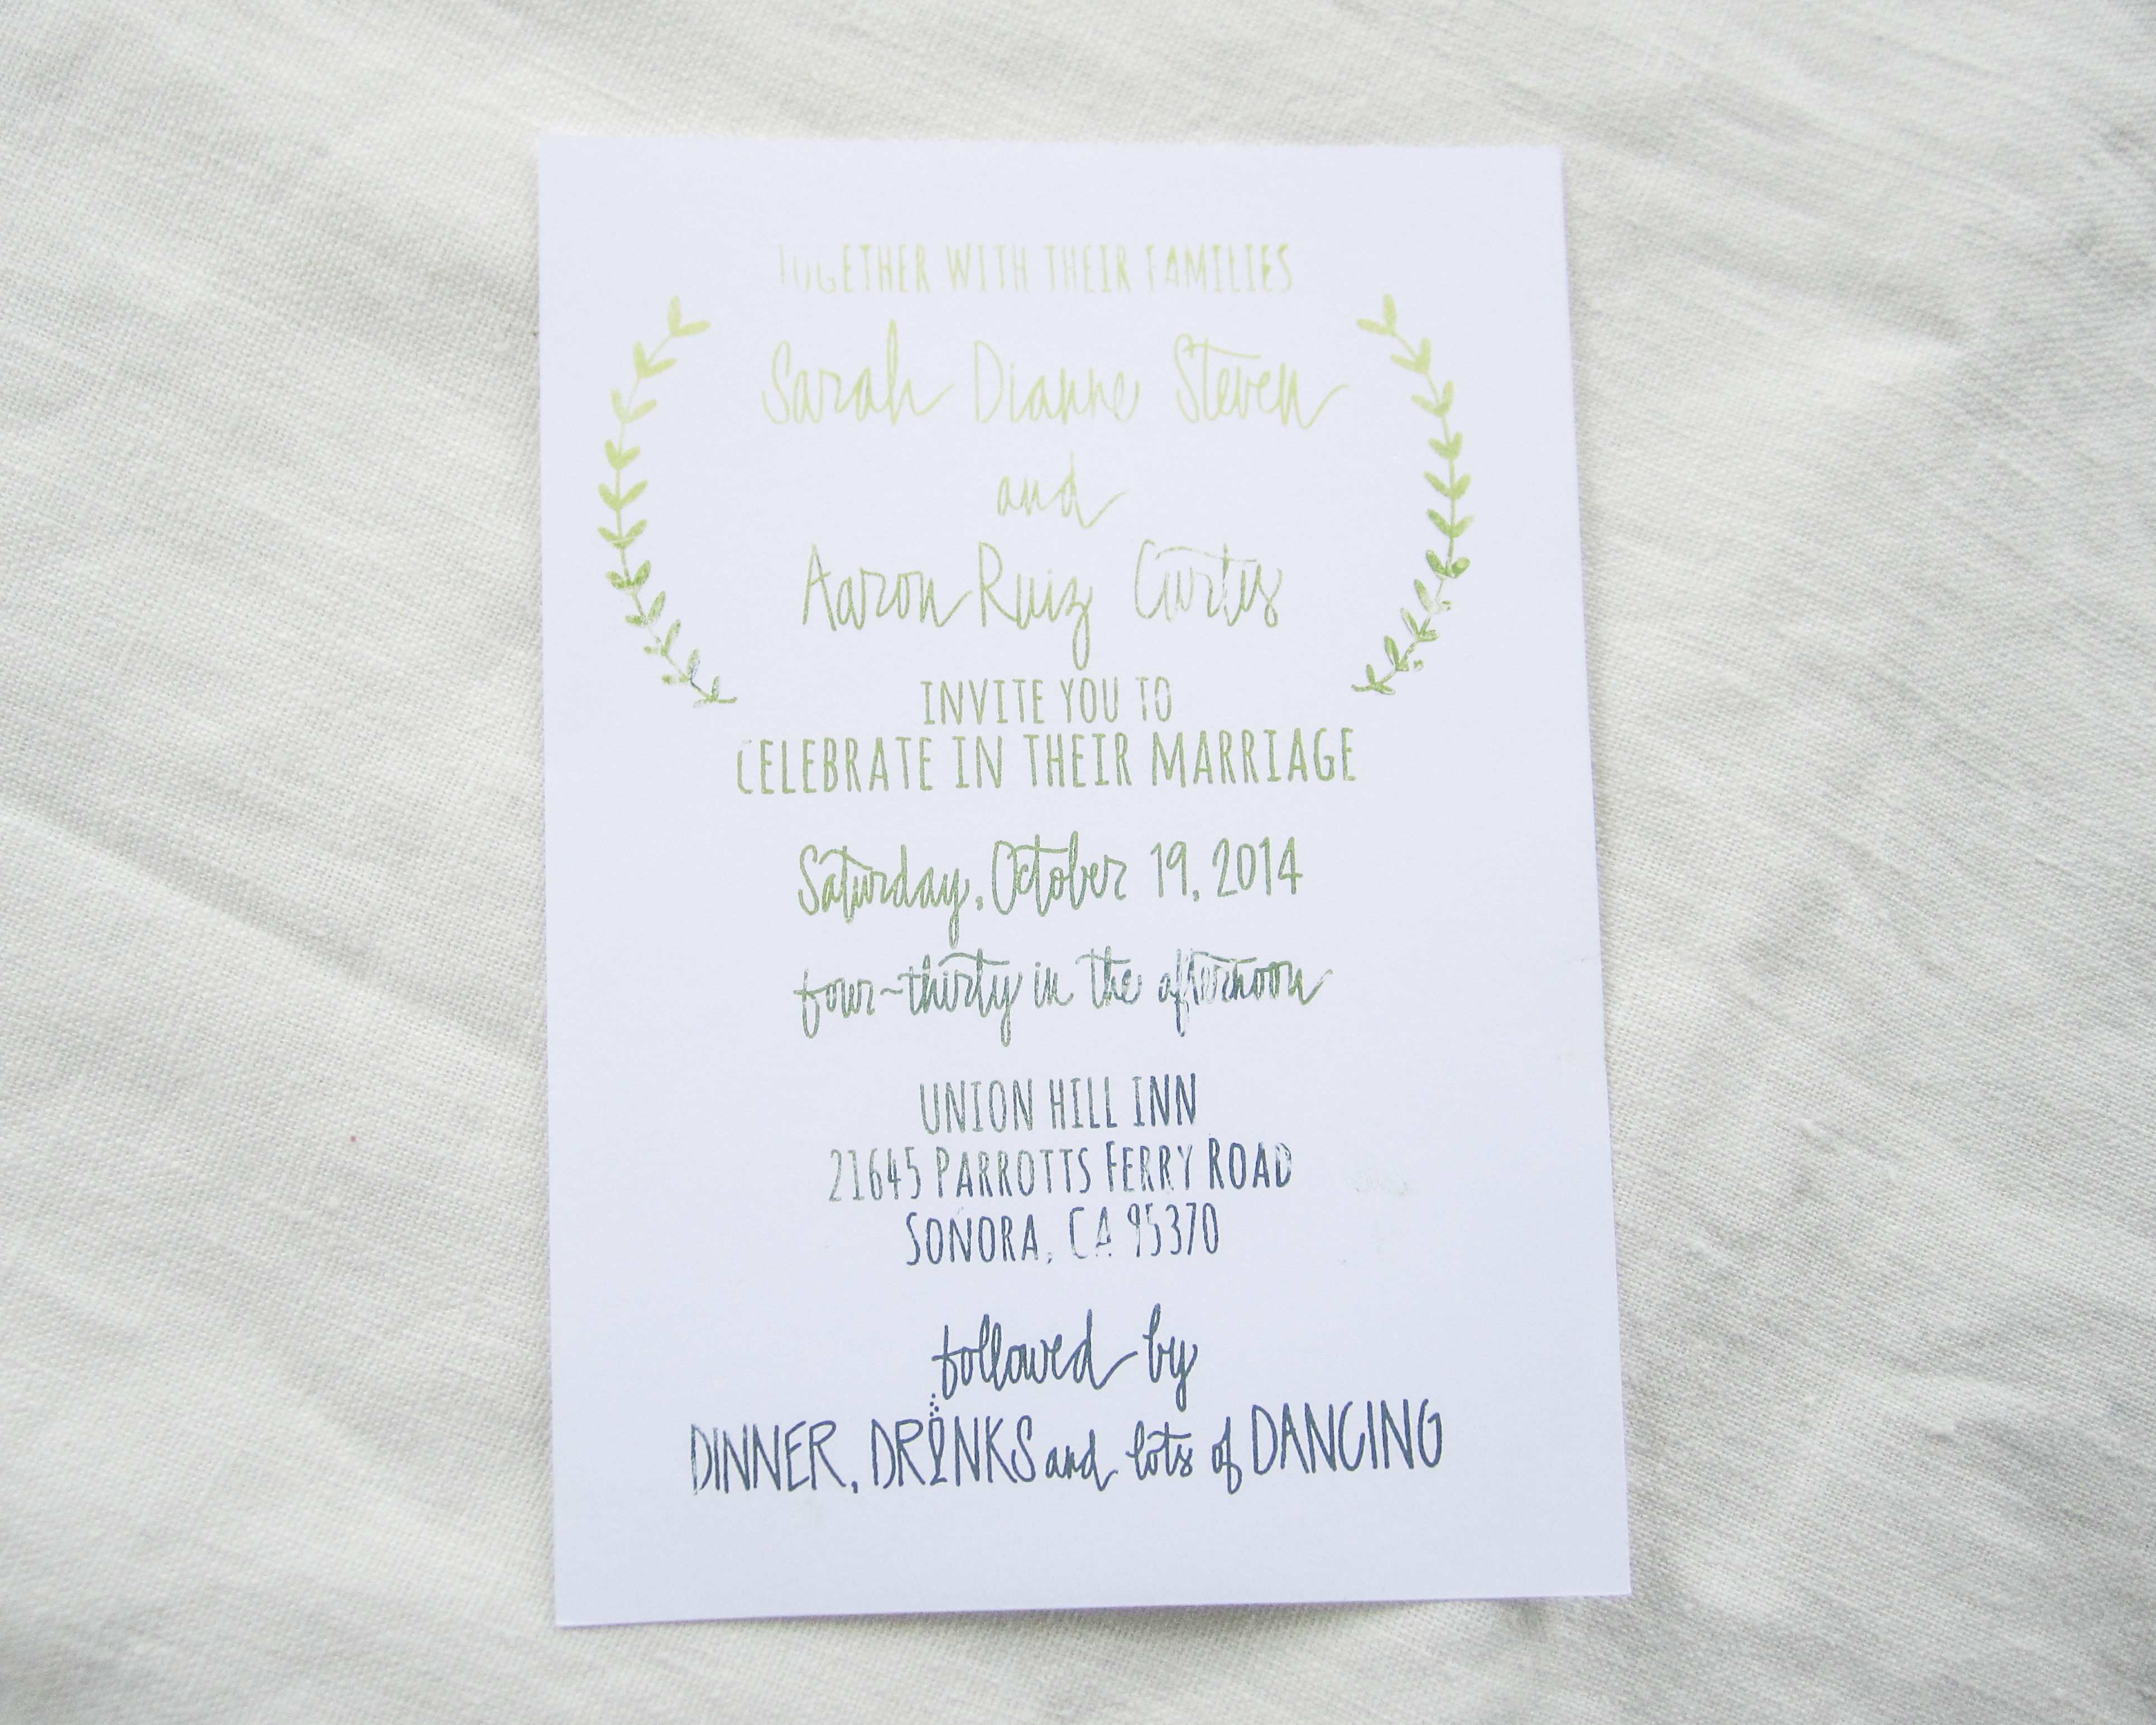
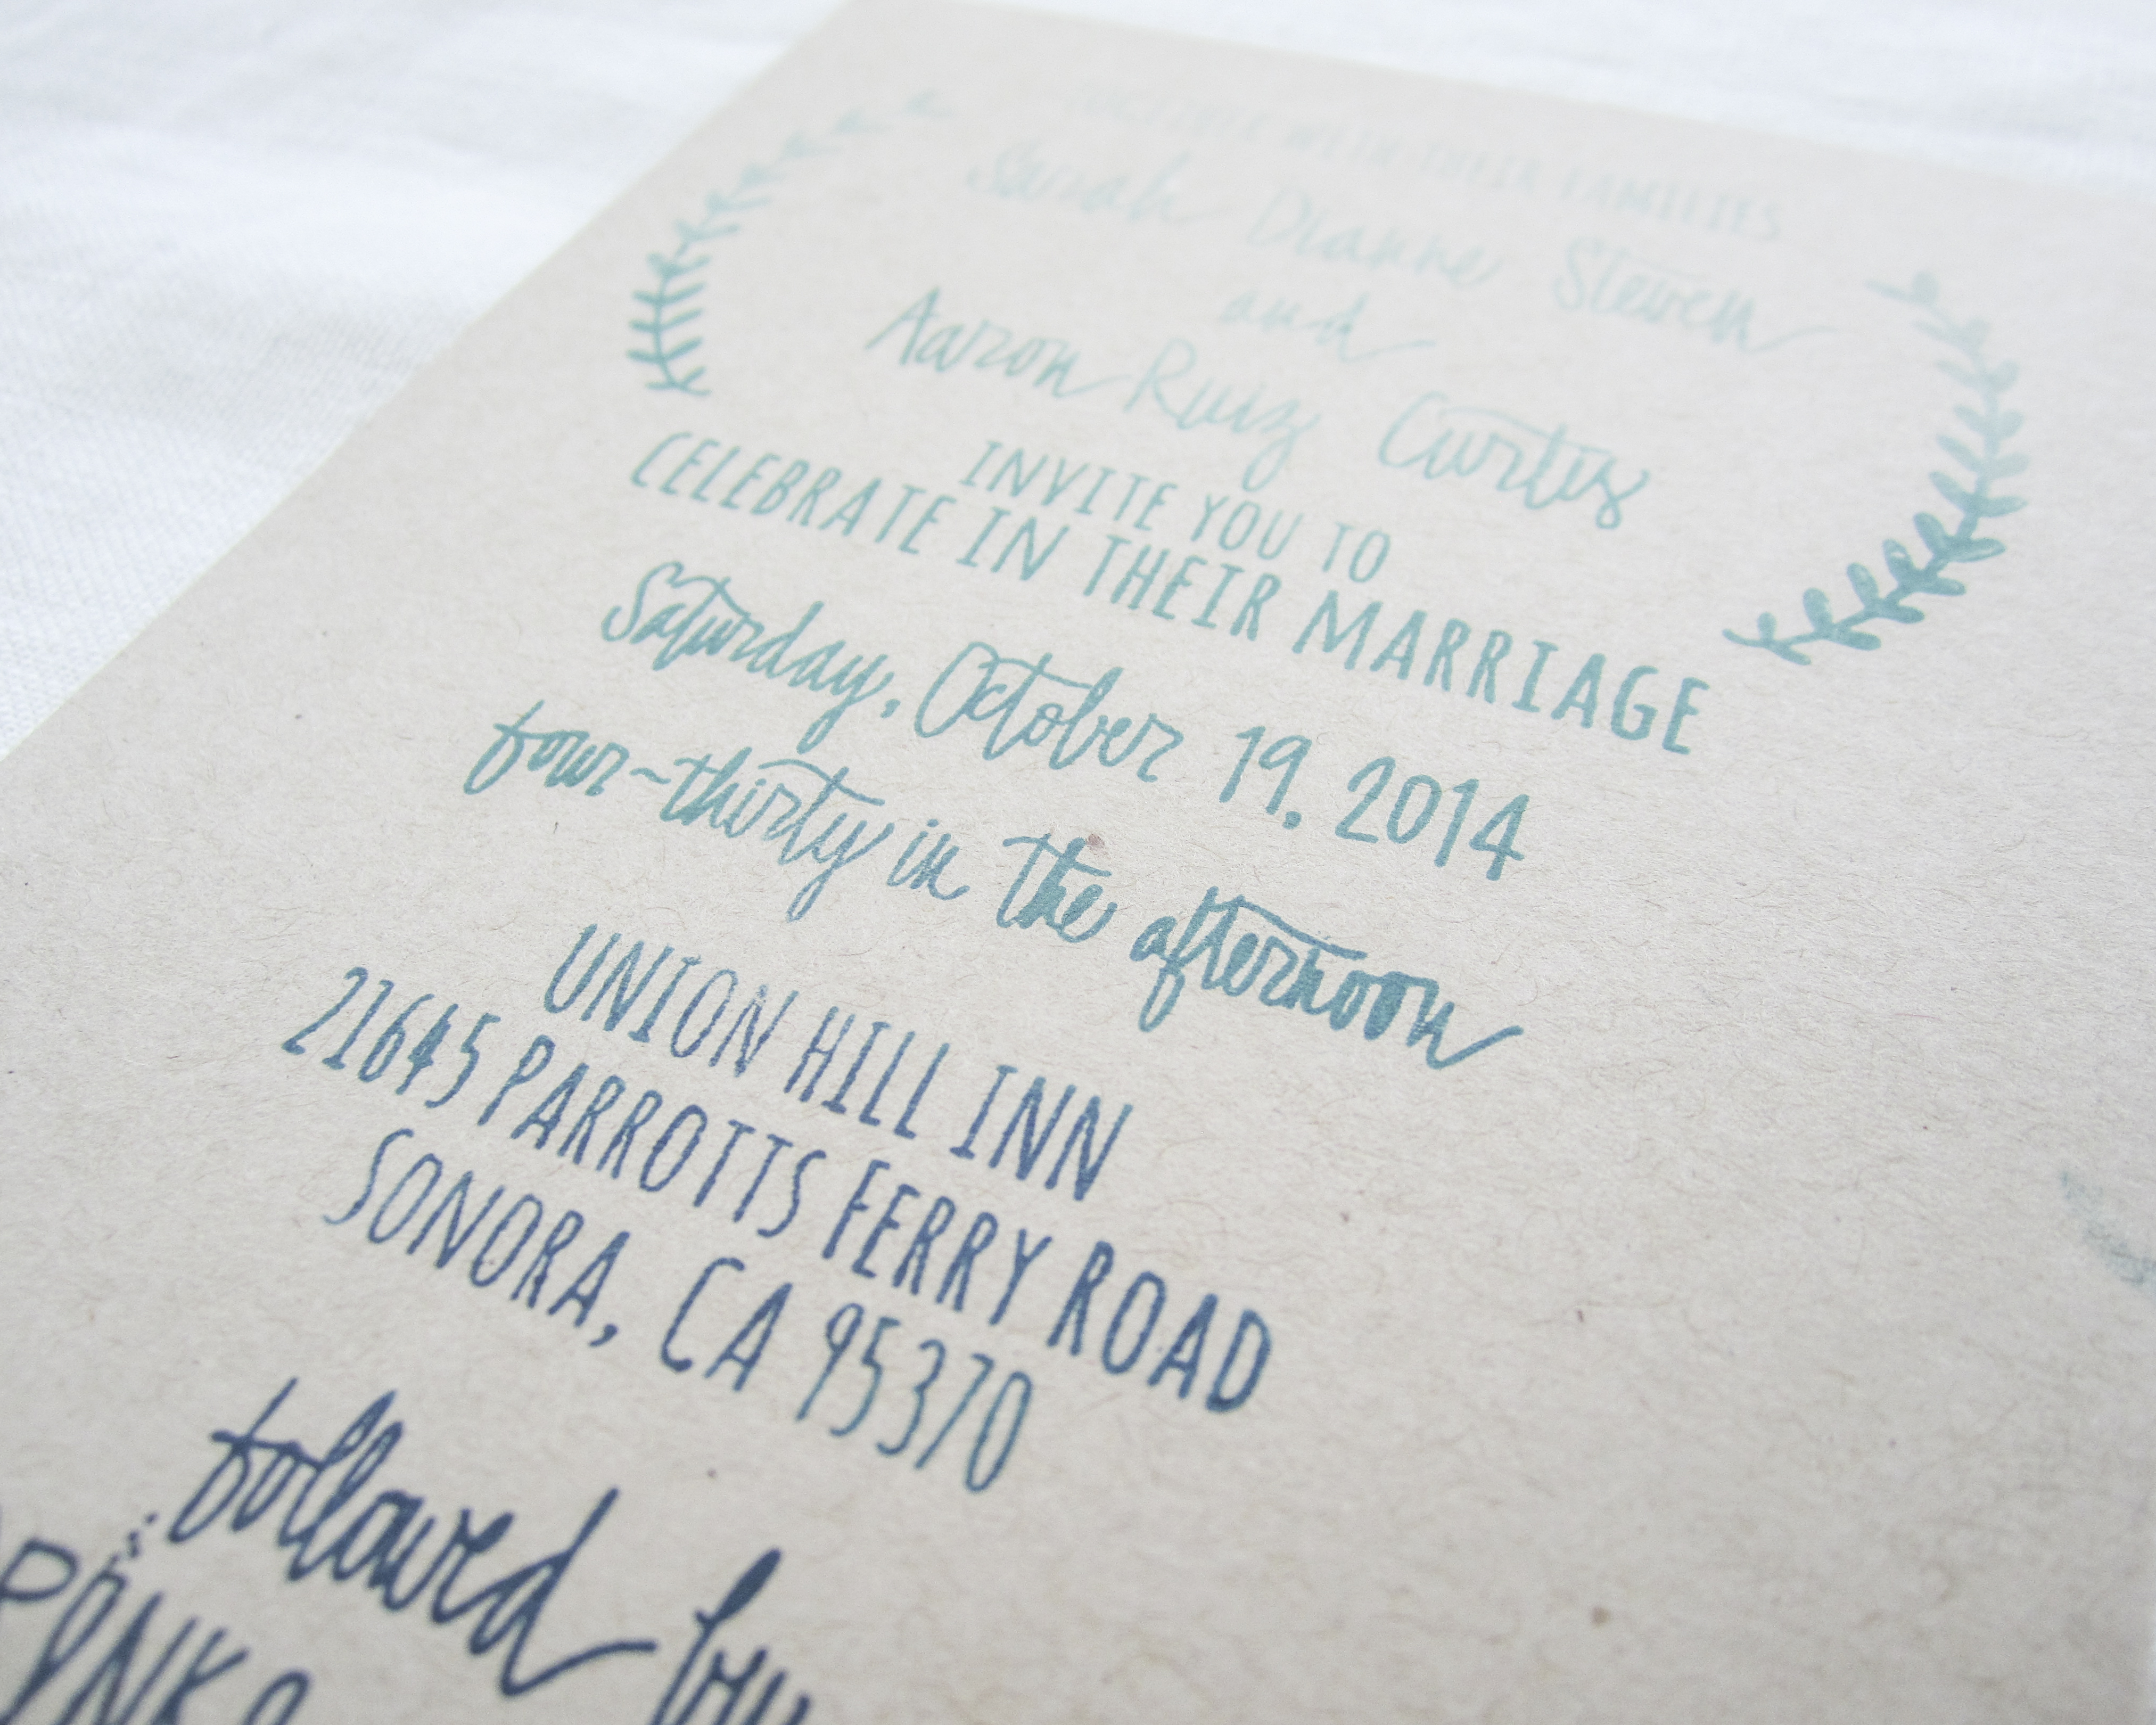
Who doesn't love ombre?! We're smitten with these gorgeous light-to-dark colored invitations! Simply choose three shades of one color ink pads. In the left photo we've used shades of green: ColorBox Pigment Inks in Lemon Grass, Moss Green, and Evergreen. In the right photo, we've used shades of teal: ColorBox Pigment Inks in Ocean, Emerald, and Harbor. We recommend starting with your darkest shade, patting the rubber portion closest to you first, and slowly patting away from you, lightening your pats as you reach the center of the stamp. Take your middle shade and pat the middle of the rubber. To make the ink blend with the darker shade and the lighter shade, lightly pat above and below the middle portion of the rubber. Lastly, take your lightest ink and pat the top portion of the rubber, lightly patting the ink over the top portion of the middle shade. Flip over and stamp onto your stationery!
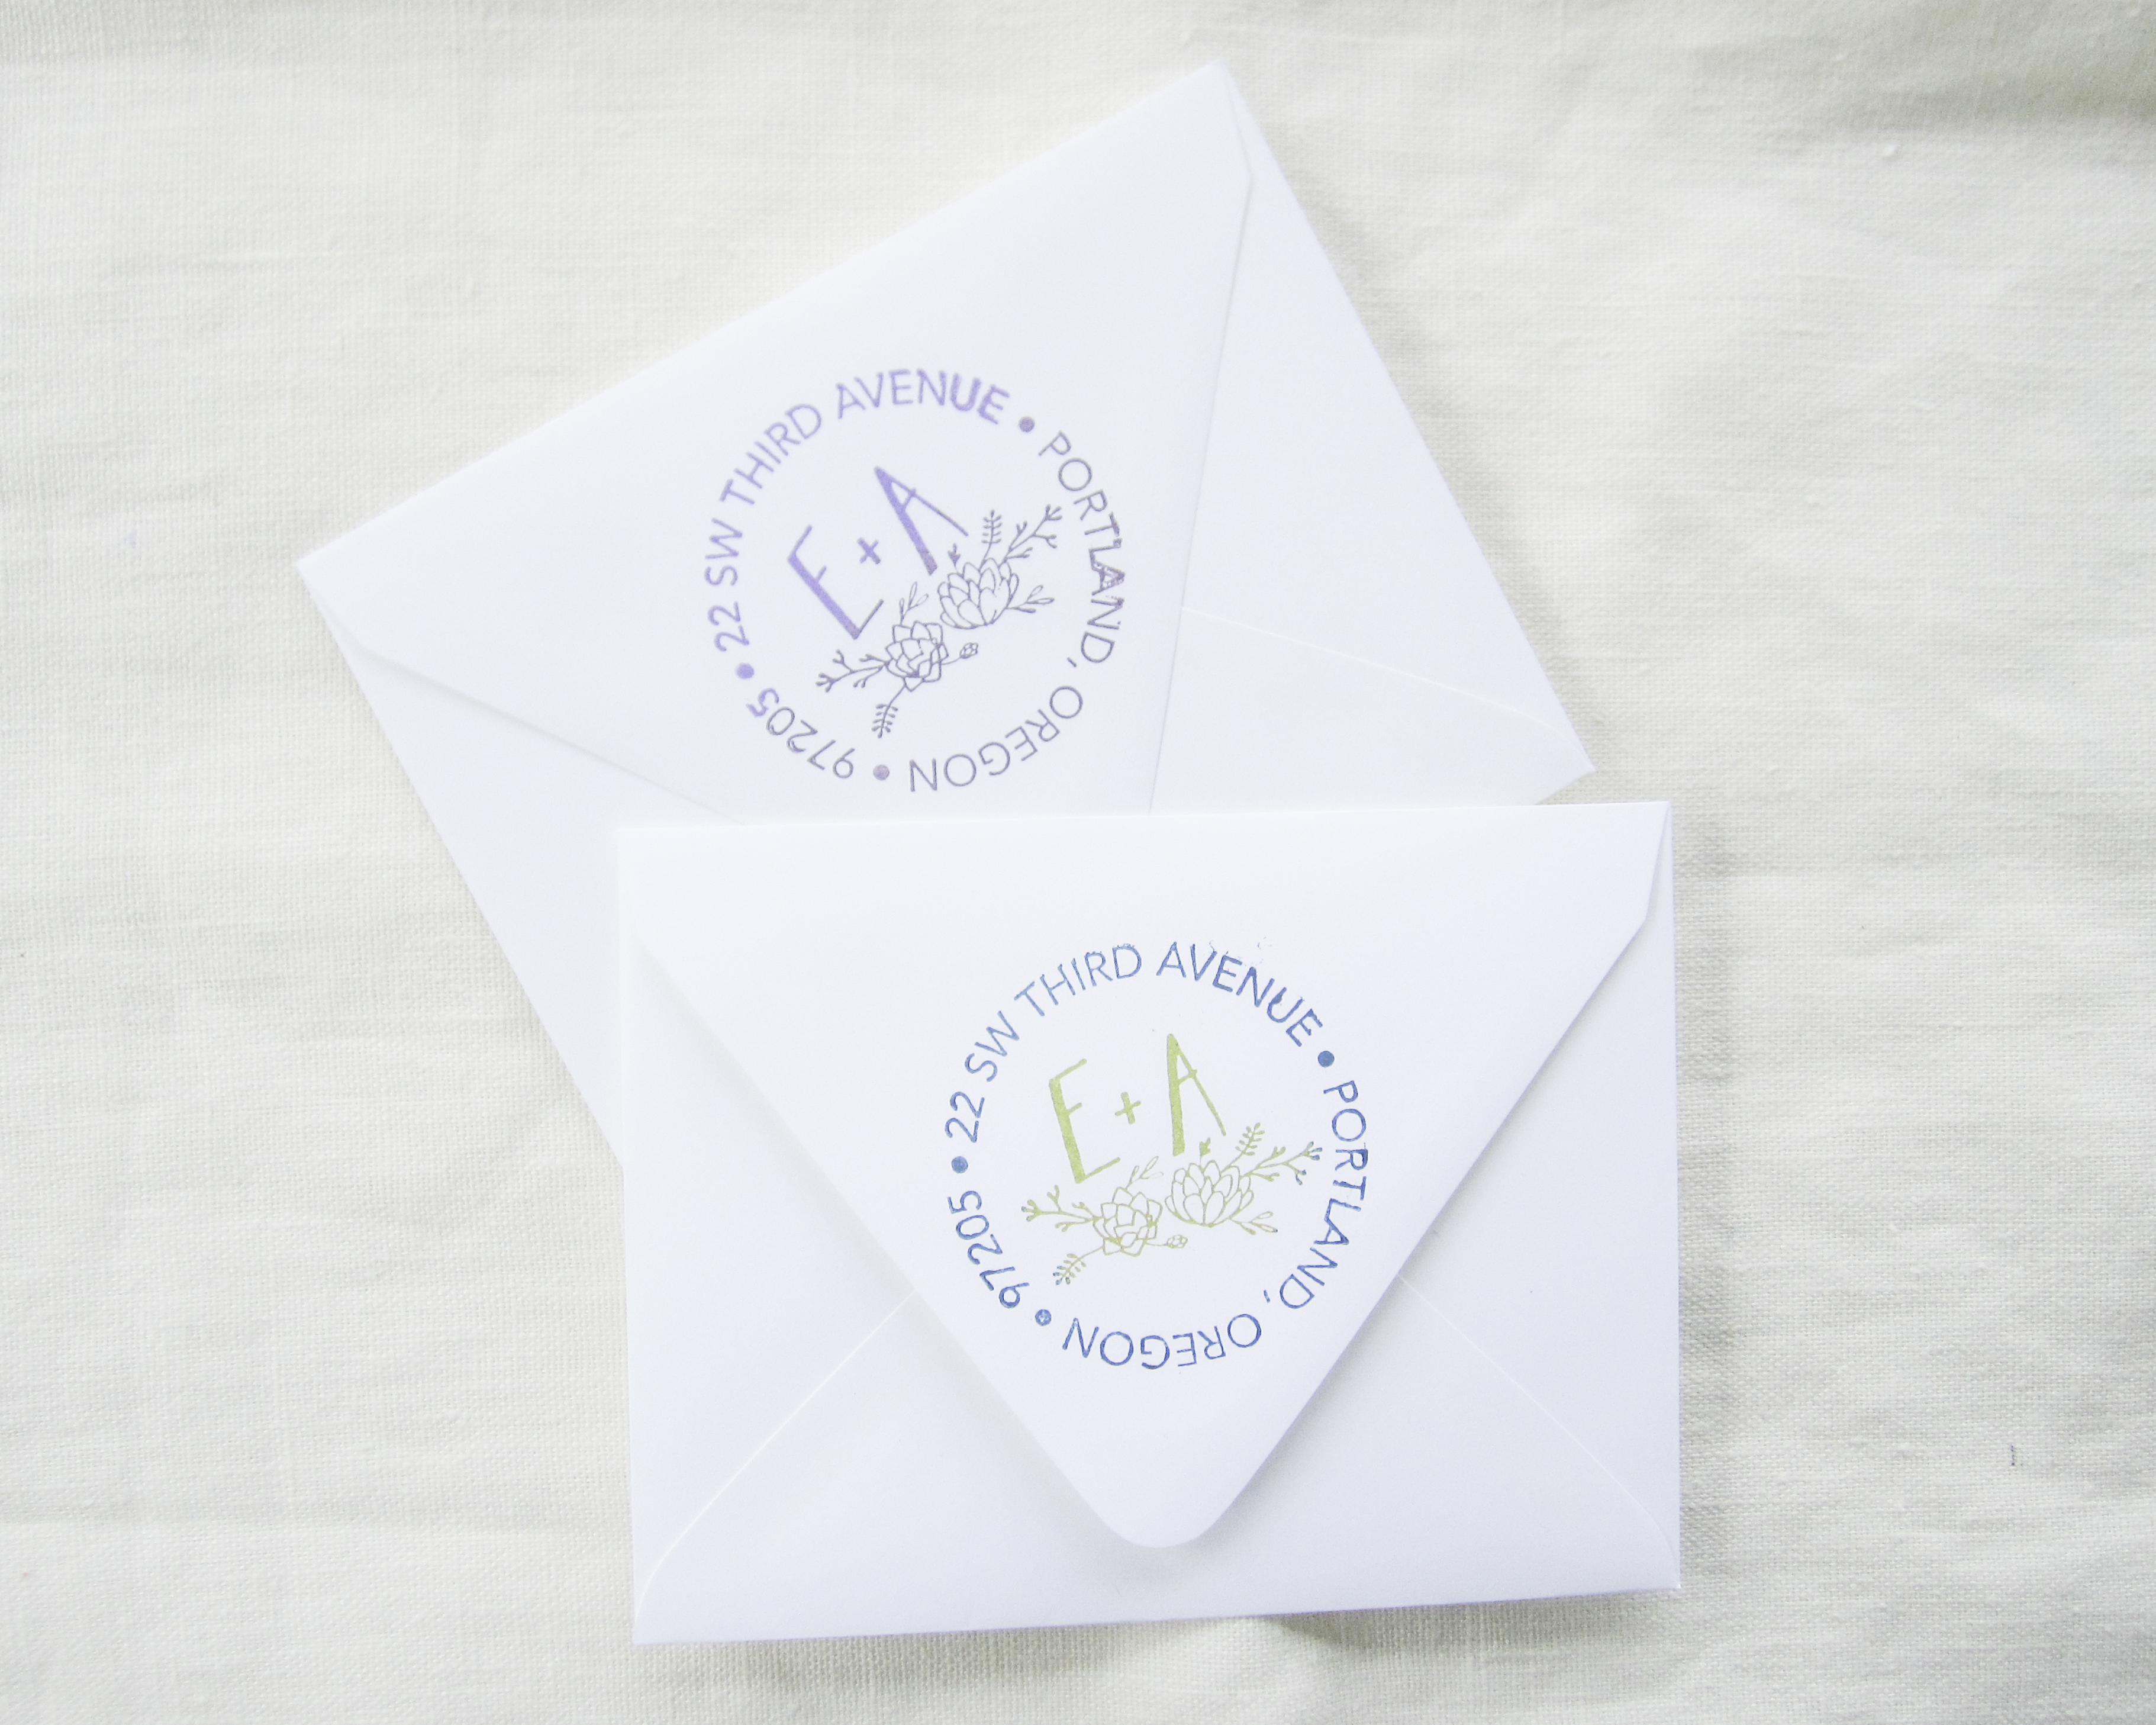
WATERCOLOR EFFECT
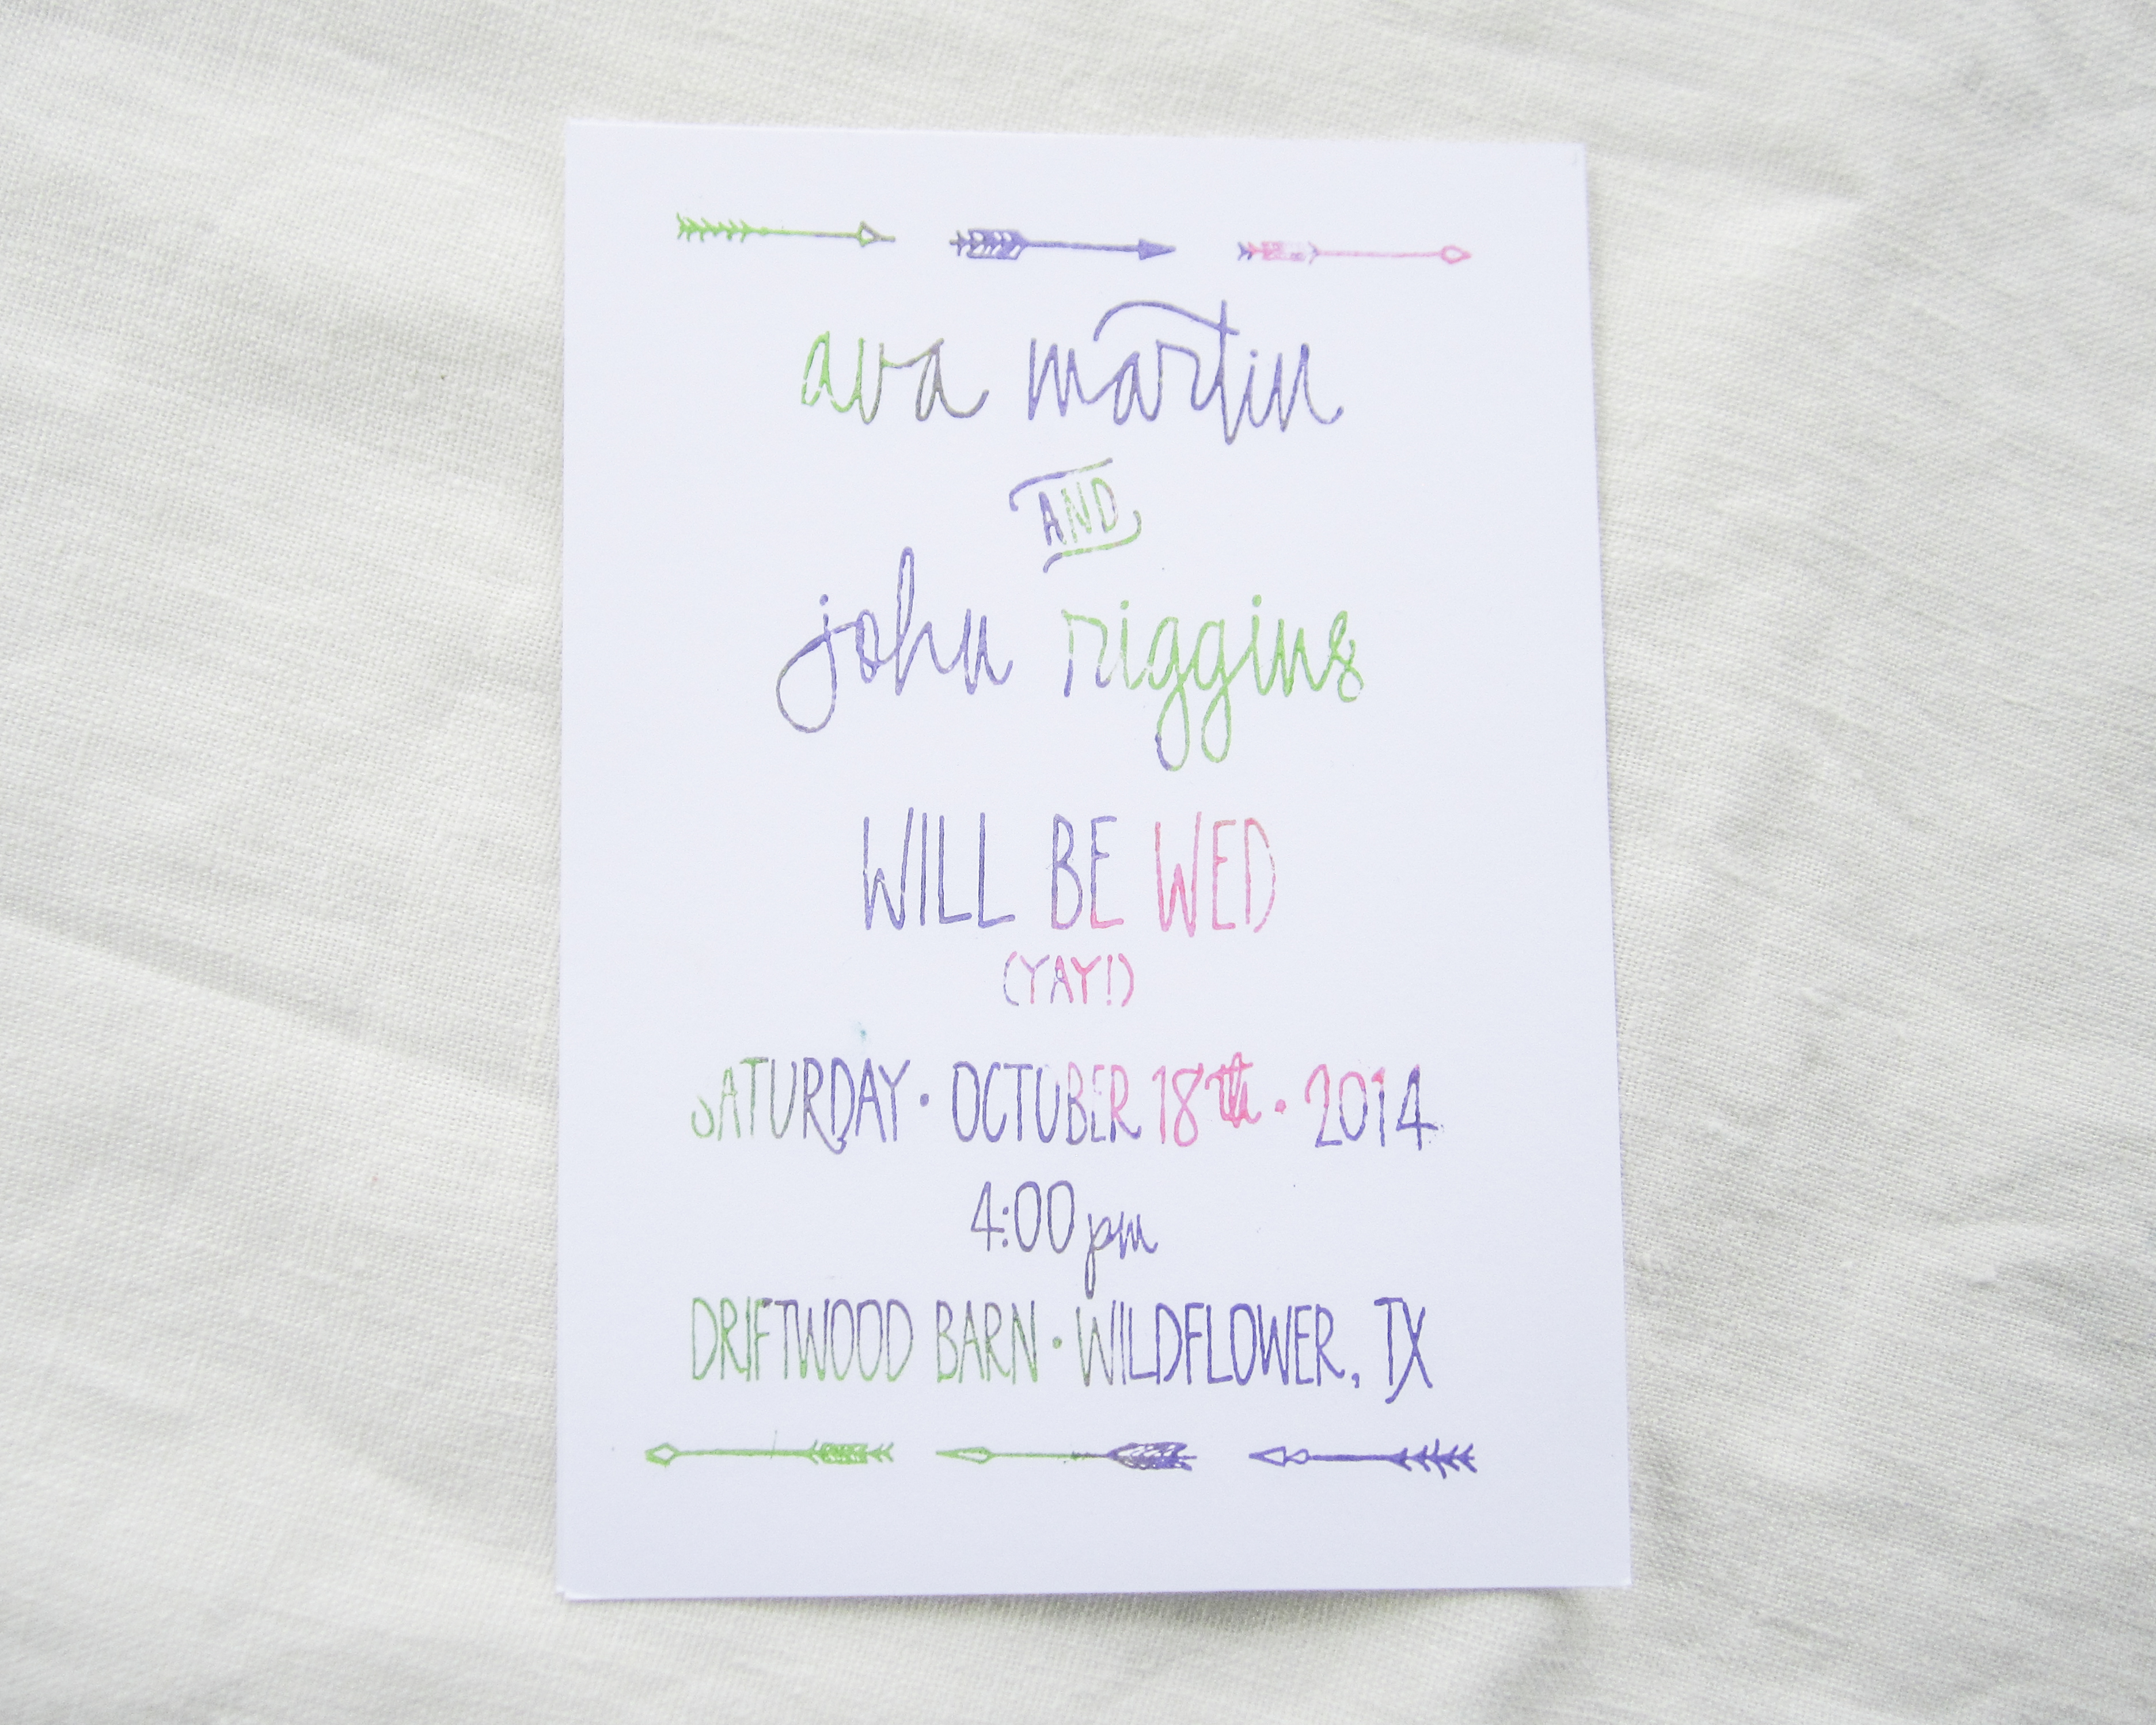
Making kaleidoscopic and vibrant imprints is even easier than inking ombre! Simply choose 2-5 ink colors you feel compliment each other, and pat ink onto small portions all over the rubber. On the left, we chose Versacraft's Spring Green, Cherry Pink, and Peony Purple. On the right, we chose Colorbox Pigment Inks in Old Rose, Turtle, and Lettuce. Alternate patting colors onto different areas, until the entire rubber is covered. Flip over and stamp onto your stationery!
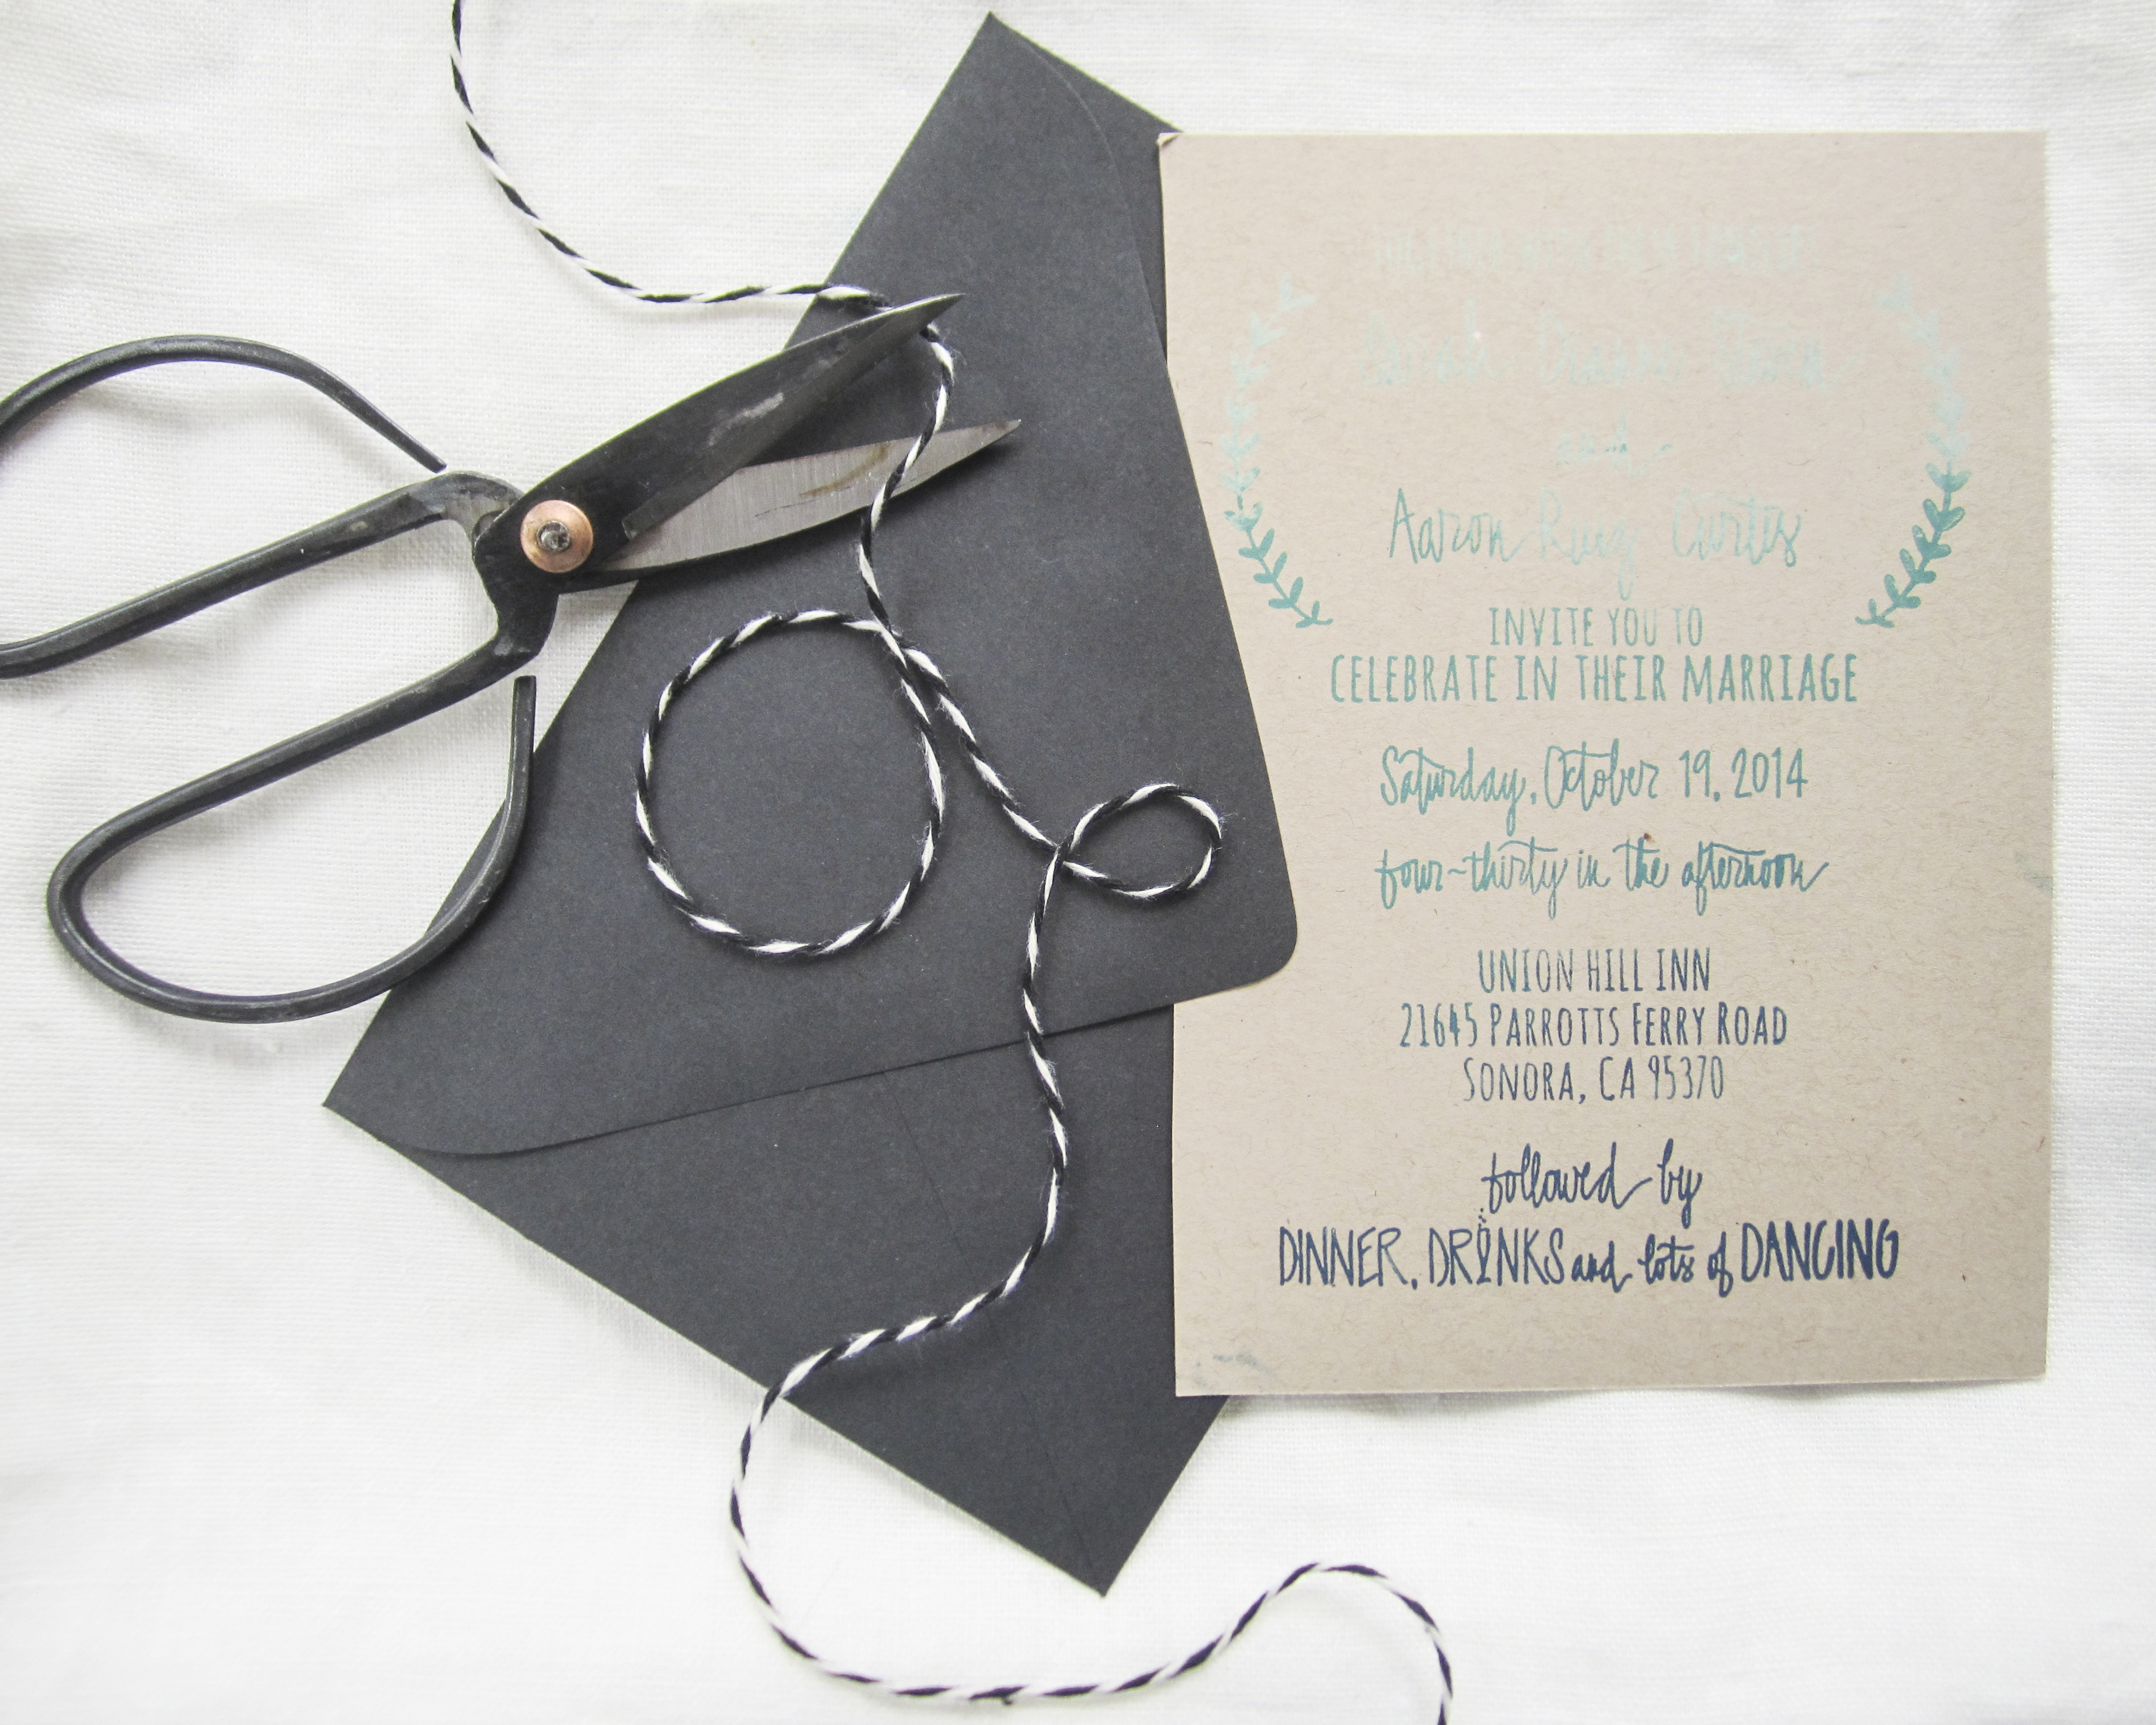
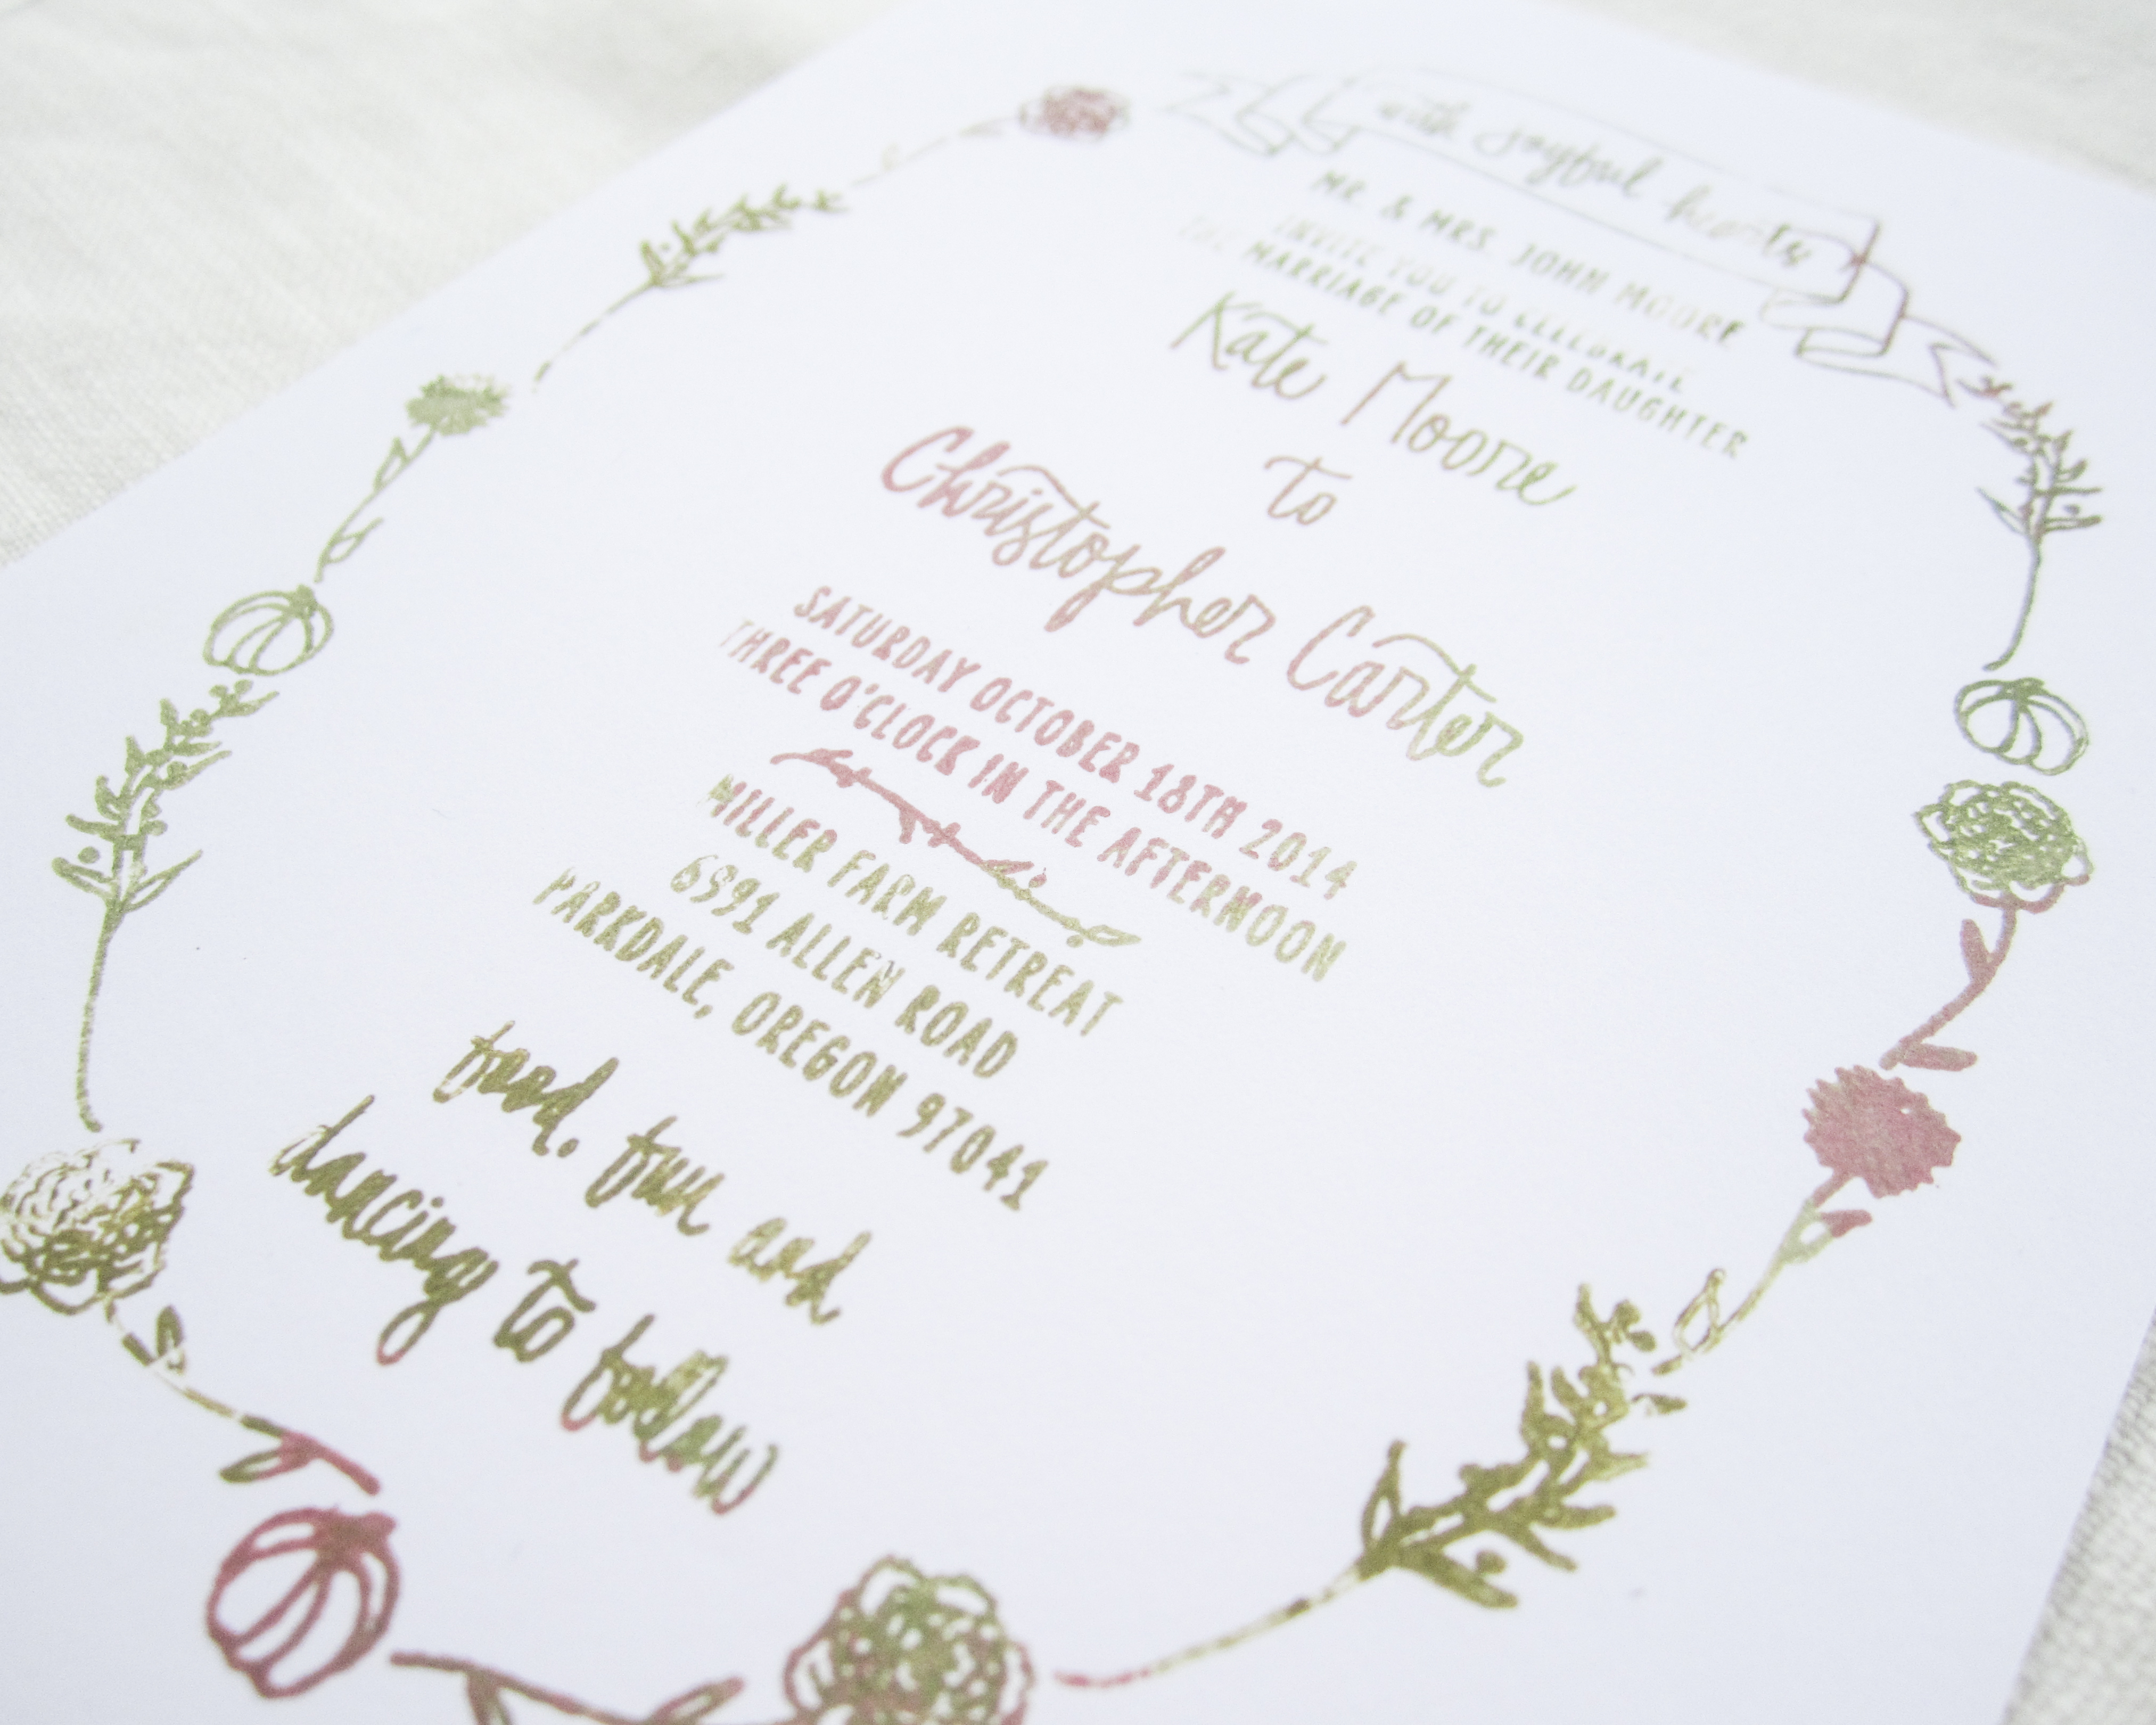
COLOR BLOCK
Color blocking can make such a pretty invitation! Whether your wedding is casual or sophisticated, color blocking can compliment any wedding theme! We went with a whimsical look for our color blocking experimentation, but these invitations could be made classy by using black and gold ink!
This process is time-consuming, but totally worth the effort! We started by choosing two ink colors, one for the laurel wreath and one for the lettering. First, we stamped the rubber lettering with one color, paying mind to not get ink on the laurel portion of the rubber. Once the lettering was fully covered, we wiped away any ink that may have accidentally touched the laurel. Then we took our second ink color and inked the laurel. This part can take some time, but patience is key! Flip your stamp and print your stationery!
We were pleasantly surprised to find that we didn't notice staining on any of the ink pads, throughout our experimentation. Stamp with care, and your ink pads should come out unscathed as well!
As an overview of how to ink large stamps, please refer to our video tutorial:
We hope you try out some of our colorful stamping techniques and really have fun with your stamp! We'd love to see your stamp projects! Follow us on Facebook and tag #papersushi on Instagram.
- Emily -